Dynamic vs. Static Software

These may not be the official terms for the software, but I’m going to choose to use these terms to try to help with the distinction between “cloud” software and installed software. To ensure our definitions are aligned, when I refer to static software I am speaking of software that you purchase and install to your hard drive (back in the day, on a disc or CD).  By dynamic software I am speaking of applications we use that are updated automatically without incurring additional costs.

The technological revolution has occurred at an alarming rate. As a society, we’ve not had the internet in our homes for even 25 years yet. And if you recall that first internet we all had (it used your telephone cord – back when telephones plugged into the wall) and it made “that noise” when it connected you to the internet.

Once you were connected, you had to wait… for practically everything to download. Remember how images looked as they gradually loaded onto your screen? The internet, as it were, could barely handle one-way traffic – it sent data to you. Few websites offered any interactivity whatsoever. The Internet was still a baby.  

Then along came cable internet! We could bring in the guys from Shaw to hook this modem thing into our cable jack and it would allow data to travel through those wires. And it was WAY faster. It was also the era of 

Napster where people were beginning to use the web interactively. To share music illegally. (You’ve gotta love humans). Regardless of the ethics of sharing music, the capacity of the internet to handle traffic was improving! It’s around this time that Web 2.0 began to be a thing. And all “web 2.0” means is the internet with two way traffic. News stories that anyone and everyone can count on. YouTube videos that provoke discussions. Social Media. The Internet became a place where we could participate. We could collaborate. It ushered in a new era of computer usage. (For those who are curious, web 3.0 is where the internet will begin to move into 3D cyberworld.)

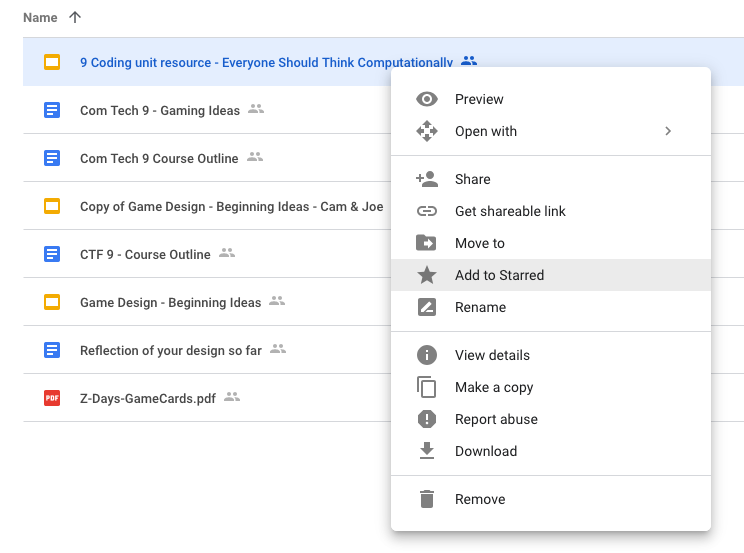
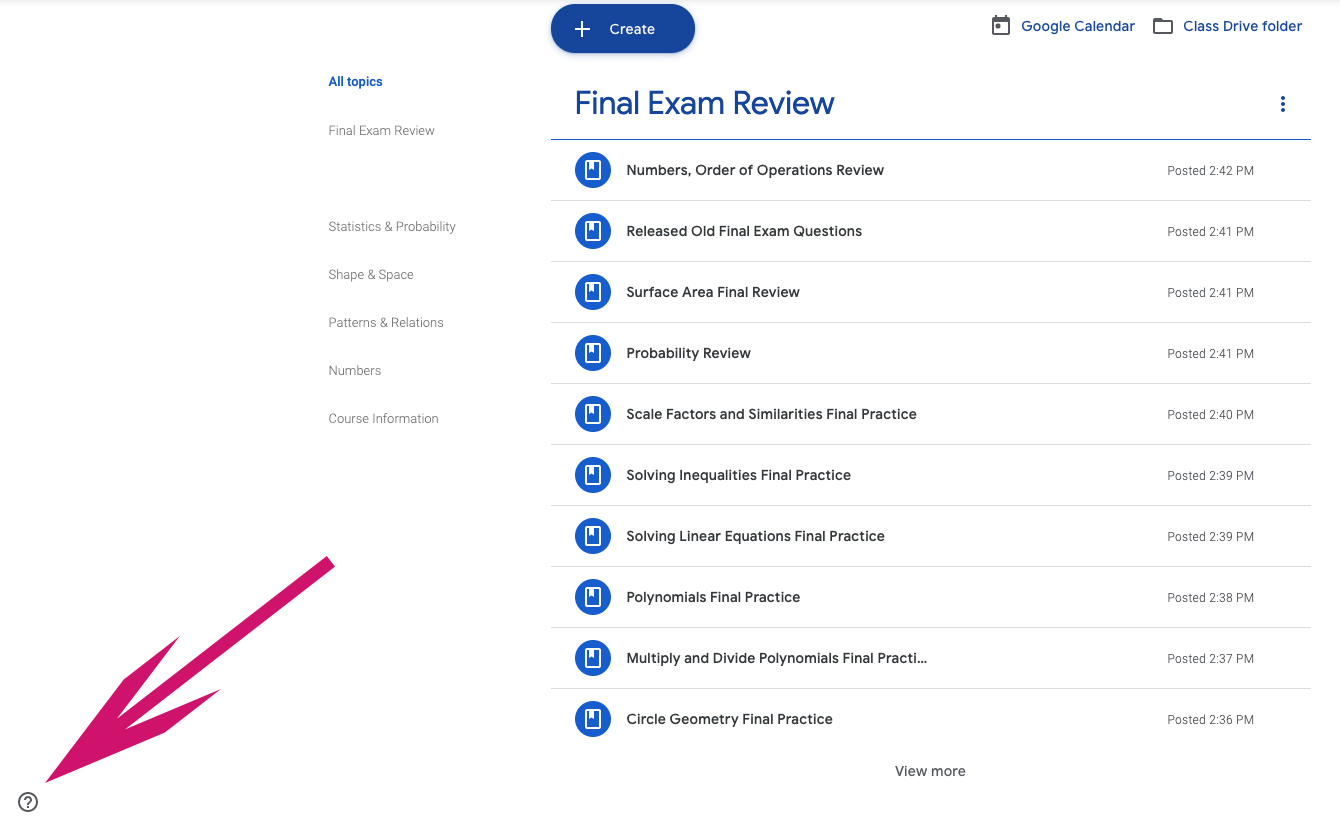
GSuite is a prime example of the evolution of web 2.0 – the dynamic web – making its way into productivity software. With GSuite we are never “three versions behind” in our software. It updates automatically as Google rolls out updates.  Google Classroom is the same – when I began using Google classroom in 2014 when they first introduced it, there were some things that needed attention. It was obvious that the application was created by software engineers and coders, not by teachers. But the question mark in the bottom left of the screen allowed teachers to give feedback. The first feedback I ever offered was this:


I need my students to be sorted (or able to sort) alphabetically by last name.

That’s classroom 101 to a teacher. Not so obvious to a software developer. We don’t understand their job, they don’t understand ours. But with feedback, improvements come. Around the end of the first semester I came to work one day, and ALL MY CLASSES WERE IN ALPHABETICAL ORDER!

I didn’t have to install/update/patch anything to have this take place. When Google had the code ready to make this happen, it happened.

This process of updating software in real-time is the reality of web 2.0. Think of your smartphone – almost daily you likely have at least one app that updates itself (or depending on your settings, asks you to update it). 

So, as we move to Google as our backbone, we now have software that is dynamic. It updates. It improves. Without requiring money, time or skills from us. It’s pretty awesome, to be candid.

Sick of Kahoot?

I know in my classroom last year, kids were getting pretty sick of Kahoot. They loved the engagement, but it was the go-to app that EVERY teacher used. It wasn’t novel any more. It was common. I’d love some feedback on this newcomer to the domain of “Student response systems”. It was designed by a high school student, it’s free, and it has a gamified element where their accumulated points from in-class engagement allows them to make “in-game purchases” with the points – so they have more at stake than just having their names appear on the podium at the end of the quiz. In theory, it should reduce kids answering with silly responses because of the secondary game that their overall points afford them.

Many thanks to Steve at CP Blakely for his professional review after trying it out in his classroom: “Overall, loved the experience and engagement levels for students, just wish there was a bit more on the teacher’s end of things.”

PROS:
– Students review materials at their own pace (as opposed to a whole-class game of Kahoot) – You don’t have to wait for the class to go to the next question
– You can “do something” with your points (i.e., the shopping experience), which in turn motivates students even further to answer questions correctly
– Highly engaging

CONS:
– If you don’t have an even number of students, the teams will not have the same amount of people, giving larger teams the advantage when collecting cash.
– Some students reported some lagging/auto-tapping answers.
– As a teacher, the free version of
GimKit does not allow me to edit “Kits” (or games) I’ve already created. I didn’t know this before I started one, and when I went back to edit it later, I realized I couldn’t. I could have made a new one, but we’ve only got 5 games with the free version as well.
– The data in the reports is not as manipulable or user friendly as Kahoot’s is (if we’re just comparing these two platforms), which is the sweet-sauce for me in using these sorts of games.

Desktop Publishing with Lucidpress

One of the most common challenges new users to Chrome face is finding a replacement for a desktop publishing program. While there are many such programs on the market, one of the more familiar ones is Publisher.

The cool thing about the replacement – it’s WAY better than Publisher. The designs are more modern, the fonts are cooler and the layouts are not from 1995. Take a look at Lucidpress. The website itself boasts a nice layout, simple interface, and direct connection to both Google Classroom and Google Drive.

Further, there is a Lucidpress extension for Chrome, putting the power of Lucid right at your fingertips!

Catch Plagiarism with Draftback

Plagiarism is a serious consideration in any classroom, and it can be tough to conclusively catch. Obviously, teachers can copy/paste the segment in question and do a Google search of the content and you may learn something, but that can be a slow, arduous process.

What if you could watch the writing process your student went through on a time-lapse video? You actually CAN, and it’s awesome!!

With a Chrome Extension called Draftback you can watch your student’s writing process as a time-lapse video. Simply install the extension linked above, and you can have an instant replay of the assignment’s work!

Plagiarism becomes very obvious when you see a sudden large paragraph appear on the time-lapse replay!

Recreating your “Desktop” in Chrome


It’s a bit different, but just as effective.

 In addition to being able to use colours on folders to assist with organizing, there is another handy trick.  You may have already discovered this, but if you haven’t tested this out yet, it’s how I replaced my desktop when I became a Google Educator.  You can right click on anything in your Google Drive (folder or individual document) and you will see that one of the options in the fly-out menu is “Add to Starred”.


    Anything that you add a star to will appear on the left side of your drive when you click the link that says “starred”. As a teacher, I always starred the unit I was currently teaching so it would be quickly available, then I would unstar it at the end of the unit and apply the star to the next topic. If you look at the following image, this is what my “Starred” drive presently looks like:

    When I was teaching I always kept other frequently used documents in there (the Google doc with the ongoing staff meeting minutes, the list of classroom phone numbers, the detention room supervision schedule). Essentially it was the functional equivalent of my windows desktop.

    And one last thing – don’t forget it you swipe upward from the lower portion of your touch screen chromebook you have shortcuts to a myriad of your Google resources – there are shortcuts to things like Drive, Kami, Read and Write and many other extensions, including extensions you’ve added yourself.

    What are Extensions & Add-ons?

    I think we’ve all heard the phrase “There’s an app for that!!” – the GSuite/Chrome environment is part of that vein of thinking. If there is something you have in mind to do with your document or presentation or even spreadsheet, it’s likely that with an extension (those are for Chrome) or an add-on (those are for the individual pieces of software such as Docs, Gmail Slides…), you just might be able to do what you have in mind – perhaps more!

    Generally speaking, extensions are installed into the Chrome Browser and give you an advantage or extra features in more than one application (for example, if you install the Bitmoji extension you will have the Bitmoji icon to the right of your Chrome address bar where your other extensions are (like Read & Write), and you will also have it in the Compose menu of your cesd73 Gmail account.  Add-ons are specific to a particular application. An example of an add-on is Pear Deck – it is only valuable in Google Slides. It would be useless to have in Gmail, Sheets or elsewhere.

    To find extensions for your Chromebook, go to the Chrome Store (easily found by searching “chrome store in the future) and search around. 

    To find Add-ons for the software you are using, open that software (so, open Slides for example) and look at the menu titles. One of the menus in all Google Software is “Add-ons” – in that menu you can get new add-ons (now would be a great time to add Pear Deck onto your slides account), or you can manage the add-ons you already have installed.

    This is where you really harness the power of GSuite for Education. The stuff you don’t need for your particular class are not slowing your Chromebook down, and the stuff you do need can generally be found – – and more!

    Ed Tech Tips, Tricks & Hacks #4

    This edition of Ed Tech Tips, Tricks & Hacks contains nuggets of wisdom on:

    • Ed Tech Framework (This site!)
    • Carmen Sandiego (the new one!)
    • Seesaw
    • Buncee
    • Annotate.net
    • Flipgrid
    • Ed Puzzle
    • CK-12
    • “Freeze” your TV Screen
    • Math Games
    • American Museum of Natural History
    • Listenwise
    • Curiosity
    • Science Project Ideas

    Insert a Page Break – New Feature in Google Docs

    As has been mentioned previously, one of the great things about Google is that when a new feature is rolled out, you immediately have access to the new tool(s) without having to pay any money, update any software, or troubleshoot anything. It just becomes availabe to you. 

    So, recently new in Google Docs is the ability to insert a page break. The image below illustrates for you how to access this much needed feature!

    Moving Files from Your Windows Laptop to your Chromebook

    You will be glad to be reminded that this is an easy task. 

    1. Launch the Chrome browser on your Windows computer
    2. Slide it off to one side so that it only takes up 1/2 your screen. 
    3. Go to drive.google.com
    4. Log in
    5. Drag files off the desktop of your Windows computer onto the Chrome Screen showing your Google Drive
    6. The files will begin to upload to Google Drive


    • If my description above isn’t clear, here’s a video – fast forward to the 5-minute mark for a demonstration of the above steps.

      Recommendation 1 – Create a file called “uploaded” on the desktop of your windows computer and once you’ve uploaded a folder/file place it in that folder called “uploaded” so that you don’t get confused if you have a ton of files.

      Recommendation 2 – Pick up a flash drive or hard drive (Western Digital makes a good drive that is about the size of a deck of cards) and put all your Windows teaching resources (Word, publisher, SMART notebook files) onto this drive. Store it in a safe place.

      My reasons for suggesting this are twofold. Firstly, we can’t know if somewhere down the road someone may write an extension for Chrome that will allow Chrome to read a Smart Notebook file.

      Secondly, that content is yours, and while your windows computer will be returned this spring, maintaining the original files is not likely something you’ll regret.  Finally, all schools will have a Windows computer in the office for teachers to use. So, should you require the ability to access one of those files, you will be able to do so.returned this spring, maintaining the original files is not likely something you’ll regret.  Finally, all schools will have a Windows computer in the office for teachers to use. So, should you require the ability to access one of those files, you will be able to do so.

    Self-Grading Quizzes in Google Forms

    Make a new quiz & answer key

    1. In Google Forms, click Plus (+) .
    2. At the top right, click Settings .
    3. Click Quizzes  -> Make this a quiz.
    4. Optional: To collect email addresses, click General  -> Collect email address.
    5. Click Save

     Make an answer key, assign points & add automatic feedback

    You can make an answer key on certain question types:

    Create an Answer Key
    1. To add a question, click “Add question” .
    2. Fill out your question and answers.
    3. In the bottom left of the question, click Answer key.
    4. Choose the answer or answers that are correct.
    5. In the top right of the question, choose how many points the question is worth.
    6. Optional: To add a written or YouTube video explanation to an answer, click Add answer feedback.
    7. Optional: To edit question or answer options, click Edit question.

    Note: You can assign points and add feedback on all question types.


    Choose what people see during and after the quiz

    You can choose if people can see missed questions, correct answers, and point values.

    1. In Google Forms, open a quiz.
    2. At the top right, click Settings .
    3. Click Quizzes.
    4. Under “Respondent can see,” check the boxes next to the options you want.
    Grade Quizzes

    You can see automatic summaries for all quiz responses, including:

    • Frequently missed questions
    • Graphs marked with correct answers
    • Average, median, and range of scores
    Grade Individual Responses

    If you collect email addresses, you can assign points and leave feedback on individual responses. After you grade each response, save your changes.

    1. In Google Forms, open a quiz.
    2. At the top, click Responses.
    3. Click Individual.
    4. To move between individuals, click Previous  or Next .
    5. Find the question you want to grade.
      • In the top right, enter how many points the response earned.
      • Under the answer, click Add feedback.
    6. Enter your feedback and click Save.
    7. To save your changes, at the bottom, click Save.

    See Quiz Results

    1. In Google Forms, open a quiz.
    2. At the top, click Responses.
    3. Click Summary.

    Grade Question-by-Question

    1. In Google Forms, open a quiz.
    2. At the top, click Responses.
    3. Under “Responses,” click Question.
    4. To award points for a group of answers:
      • Full points: click Mark correct .
      • Partial points: enter the number of points you want to award.
      • No points: click Mark incorrect .
    5. To add written or YouTube video feedback for a question, click Add feedback.
    6. To move between questions, at the top, click Previous  or Next .
    7. When you’re done grading, at the bottom, click Save.

    Send Results to Google Classroom

    You can import grades all at once from Forms directly into Classroom’s Student Work page if you attach a quiz to an assignment.

    If you import grades, all grades are imported. You can’t select some grades to import. Extended instructions can be found in Google’s Teacher Centre.

    Photoshop Replacement

    One of our brilliant tech EAs alerted me to the existence of Photopea today – https://www.photopea.com/ – The screen actually looks exactly like Photoshop, and while it lacks a few of the “bells and whistles” of photoshop (keyboard shortcuts, for instance), it would certainly be more than any student not enrolled in 30-level CTS courses would need!!

    I want to Print Photos from a Chromebook

    With the old Windows computers, the utility for printing photos grew familiar throughout the years that people actually did this (printed photos at home). But, printing photos at home is no longer something that -people do, and so this feature is disappearing.

    If we can make our peace with the fact that printing photos from a Chromebook is going to be different, then 50% of the frustration evaporates.

    You can set your smartphone to upload your camera roll into Google Photos automatically (Personally, I do this with my photos; the space in education accounts is unlimited, and the privacy policy of Google as it pertains to education is solid.). If your smartphone loads photos into your Google Photos account, it means they will be in a folder in your Google Drive (called Google Photos). Running them through this handy little website makes printing them a Breeze.

    Here is a screencast I did today of this process.

    Google’s Teacher Center

    Did you know Google has a significant training course for teachers? Did you know that by completing the training you could become a Google Certified Educator?

    Have a look at https://teachercenter.withgoogle.com/

    Even if you don’t want to become certified, the lessons there are well designed and will expand your capacity to use GSuite in your classroom. You’ll learn things you had no idea Google would allow you to do (I certainly did!) and you’ll be well-informed as to Google’s policies surrounding education, kids and privacy.

    There are resources ready for your use here!

    Pin It on Pinterest