Recreating your “Desktop” in Chrome

Recreating your “Desktop” in Chrome


It’s a bit different, but just as effective.

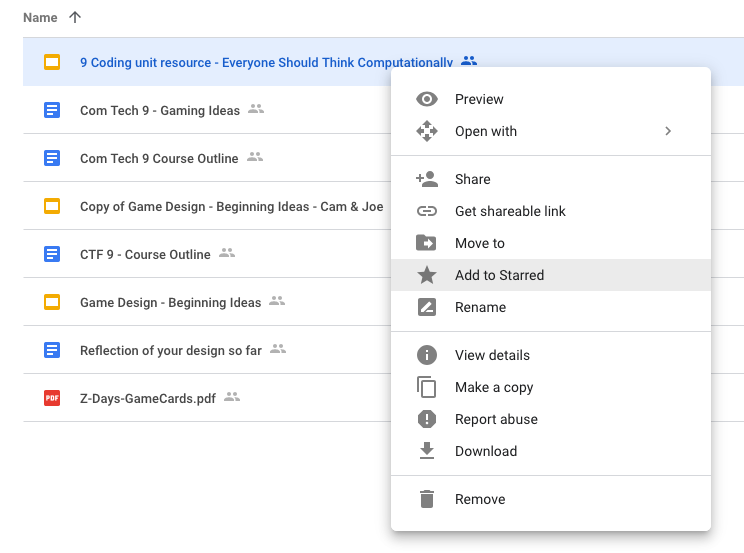
 In addition to being able to use colours on folders to assist with organizing, there is another handy trick.  You may have already discovered this, but if you haven’t tested this out yet, it’s how I replaced my desktop when I became a Google Educator.  You can right click on anything in your Google Drive (folder or individual document) and you will see that one of the options in the fly-out menu is “Add to Starred”.
     

    Anything that you add a star to will appear on the left side of your drive when you click the link that says “starred”. As a teacher, I always starred the unit I was currently teaching so it would be quickly available, then I would unstar it at the end of the unit and apply the star to the next topic. If you look at the following image, this is what my “Starred” drive presently looks like:
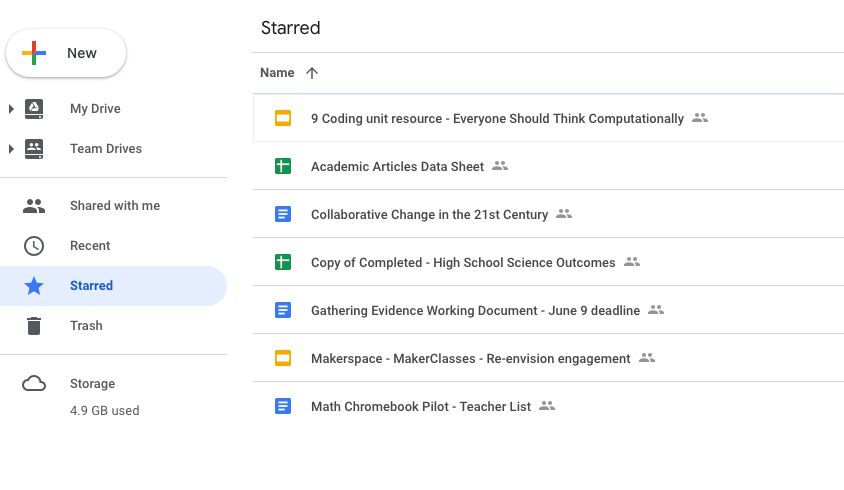
    When I was teaching I always kept other frequently used documents in there (the Google doc with the ongoing staff meeting minutes, the list of classroom phone numbers, the detention room supervision schedule). Essentially it was the functional equivalent of my windows desktop.

    And one last thing – don’t forget it you swipe upward from the lower portion of your touch screen chromebook you have shortcuts to a myriad of your Google resources – there are shortcuts to things like Drive, Kami, Read and Write and many other extensions, including extensions you’ve added yourself.

    Text on a Screen and Meaning

    Text on a Screen and Meaning

    I never said she stole my money.

    I never said she stole my money.

    I never said she stole my money.

    I never said she stole my money.

    I never said she stole my money.

    I never said she stole my money.

    I never said she stole my money.

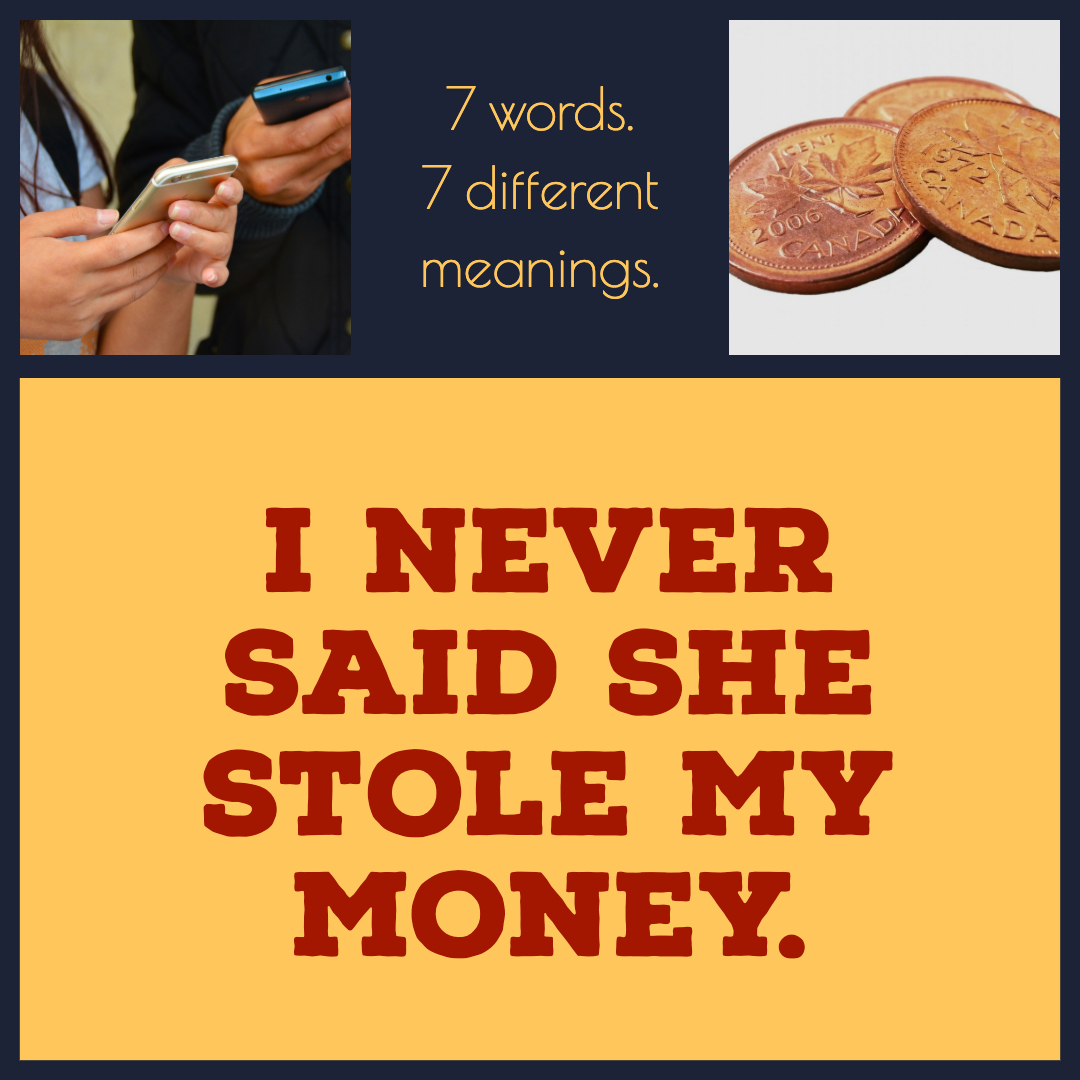
    The image shown on this post provides a valuable classroom lesson regarding the loss of meaning when communication occurs primarily, predominately, or only in a digital environment. If I had texted you those seven words, what would I be communicating to you? It’s actually pretty vague and open to the interpretation on the part of the reader if we pause to consider it. Which word are you supposed to put the emphasis on? You have no way of knowing! But depending on which word you put the emphasis on, this seven word phrase can have seven different meanings! Try it out!

    Is it any wonder kids with cellphones are often embroiled in miscommunication? Is it any wonder adults find themselves in awkward situations with texting? It can happen so easily when we are communicating in a digital environment!

    What are Extensions & Add-ons?

    What are Extensions & Add-ons?

    I think we’ve all heard the phrase “There’s an app for that!!” – the GSuite/Chrome environment is part of that vein of thinking. If there is something you have in mind to do with your document or presentation or even spreadsheet, it’s likely that with an extension (those are for Chrome) or an add-on (those are for the individual pieces of software such as Docs, Gmail Slides…), you just might be able to do what you have in mind – perhaps more!

    Generally speaking, extensions are installed into the Chrome Browser and give you an advantage or extra features in more than one application (for example, if you install the Bitmoji extension you will have the Bitmoji icon to the right of your Chrome address bar where your other extensions are (like Read & Write), and you will also have it in the Compose menu of your cesd73 Gmail account.  Add-ons are specific to a particular application. An example of an add-on is Pear Deck – it is only valuable in Google Slides. It would be useless to have in Gmail, Sheets or elsewhere.

    To find extensions for your Chromebook, go to the Chrome Store (easily found by searching “chrome store in the future) and search around. 

    To find Add-ons for the software you are using, open that software (so, open Slides for example) and look at the menu titles. One of the menus in all Google Software is “Add-ons” – in that menu you can get new add-ons (now would be a great time to add Pear Deck onto your slides account), or you can manage the add-ons you already have installed.

    This is where you really harness the power of GSuite for Education. The stuff you don’t need for your particular class are not slowing your Chromebook down, and the stuff you do need can generally be found – – and more!

    Gamification Field Trip

    Gamification Field Trip

    The Battle for Scientia Terra

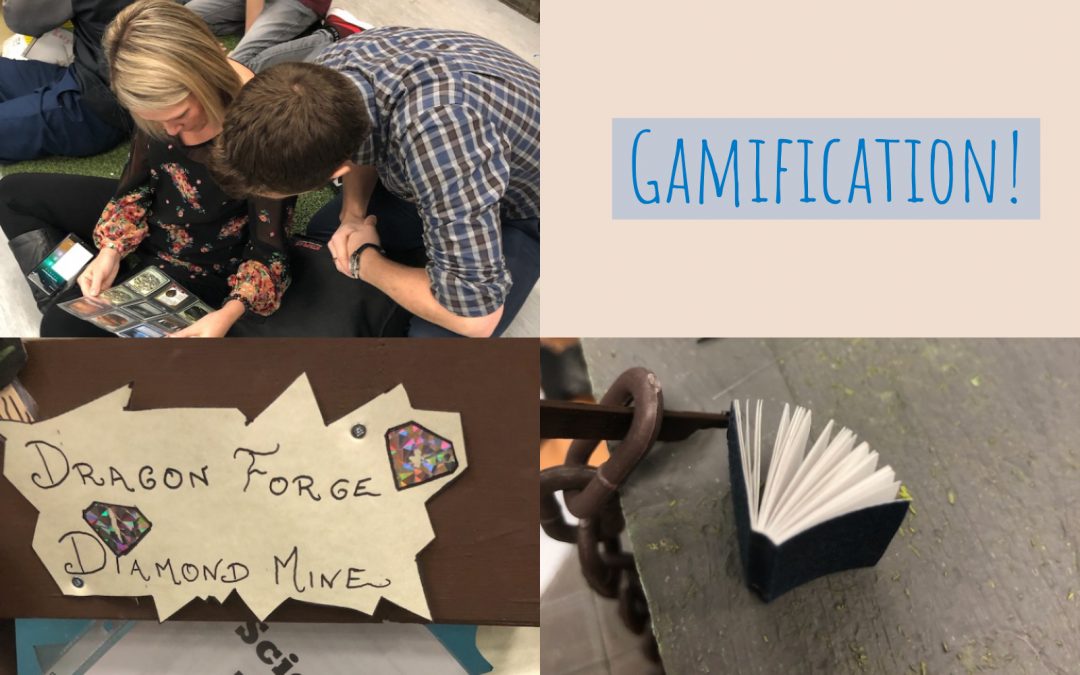
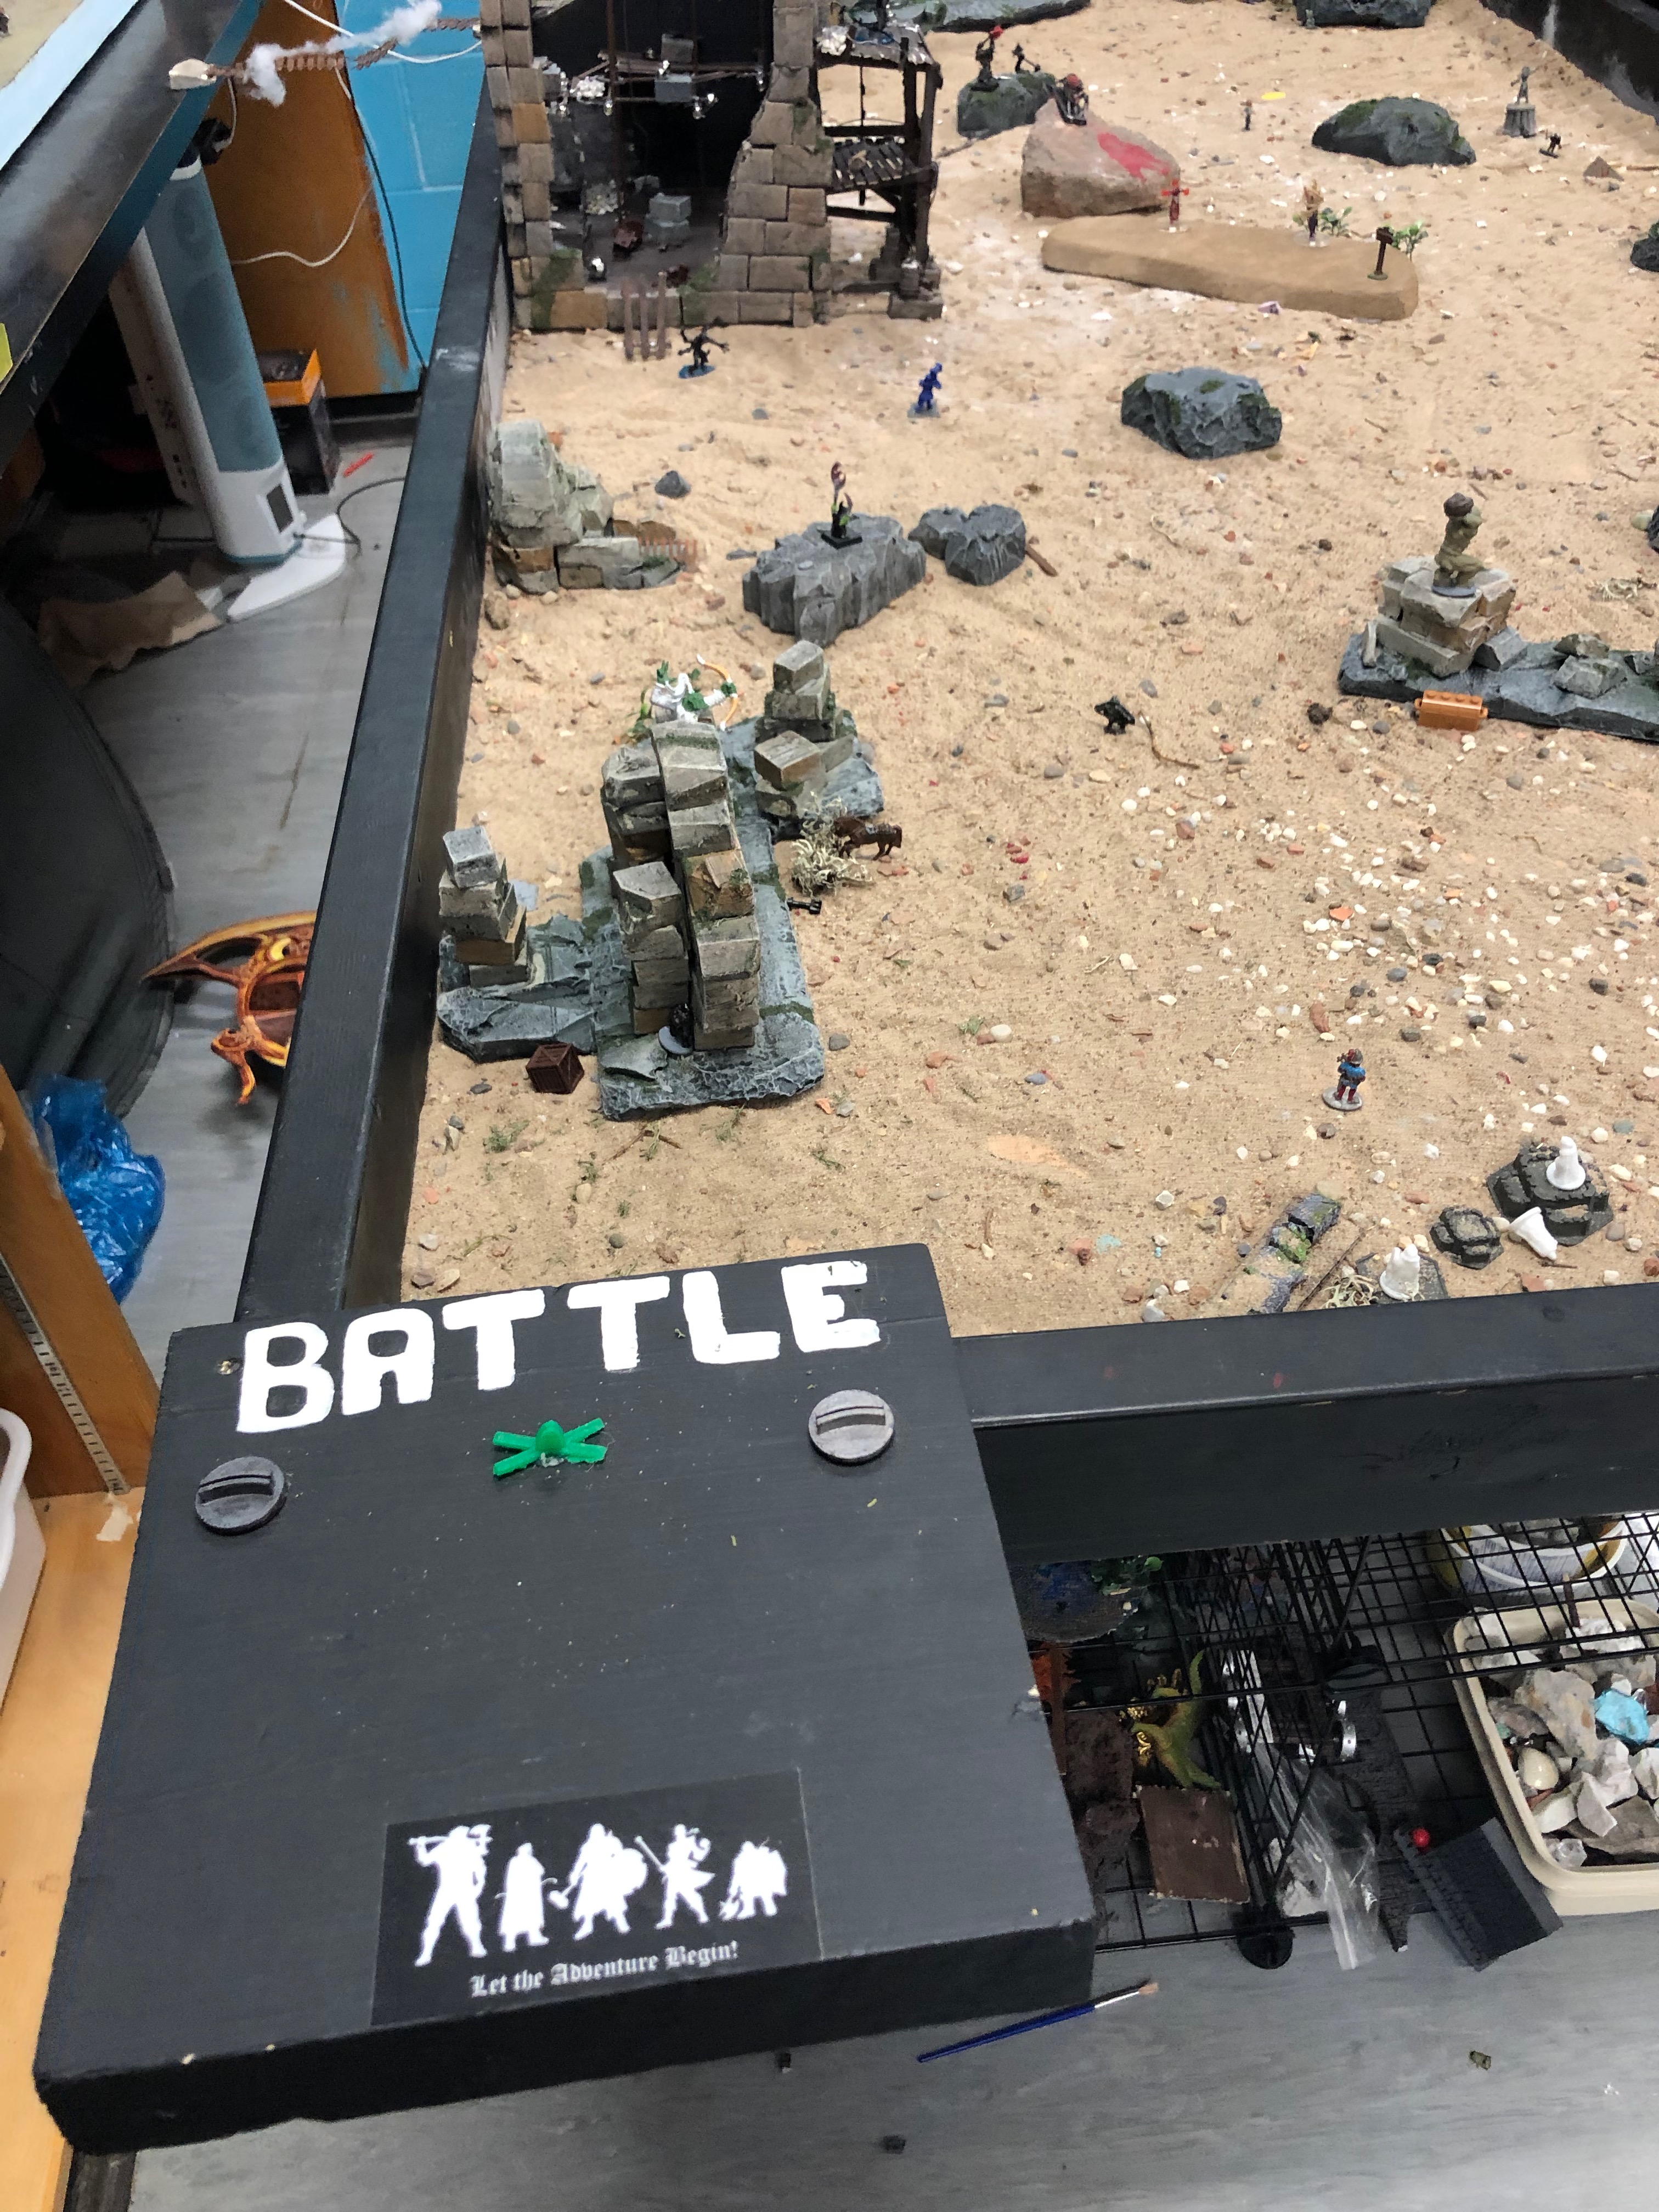
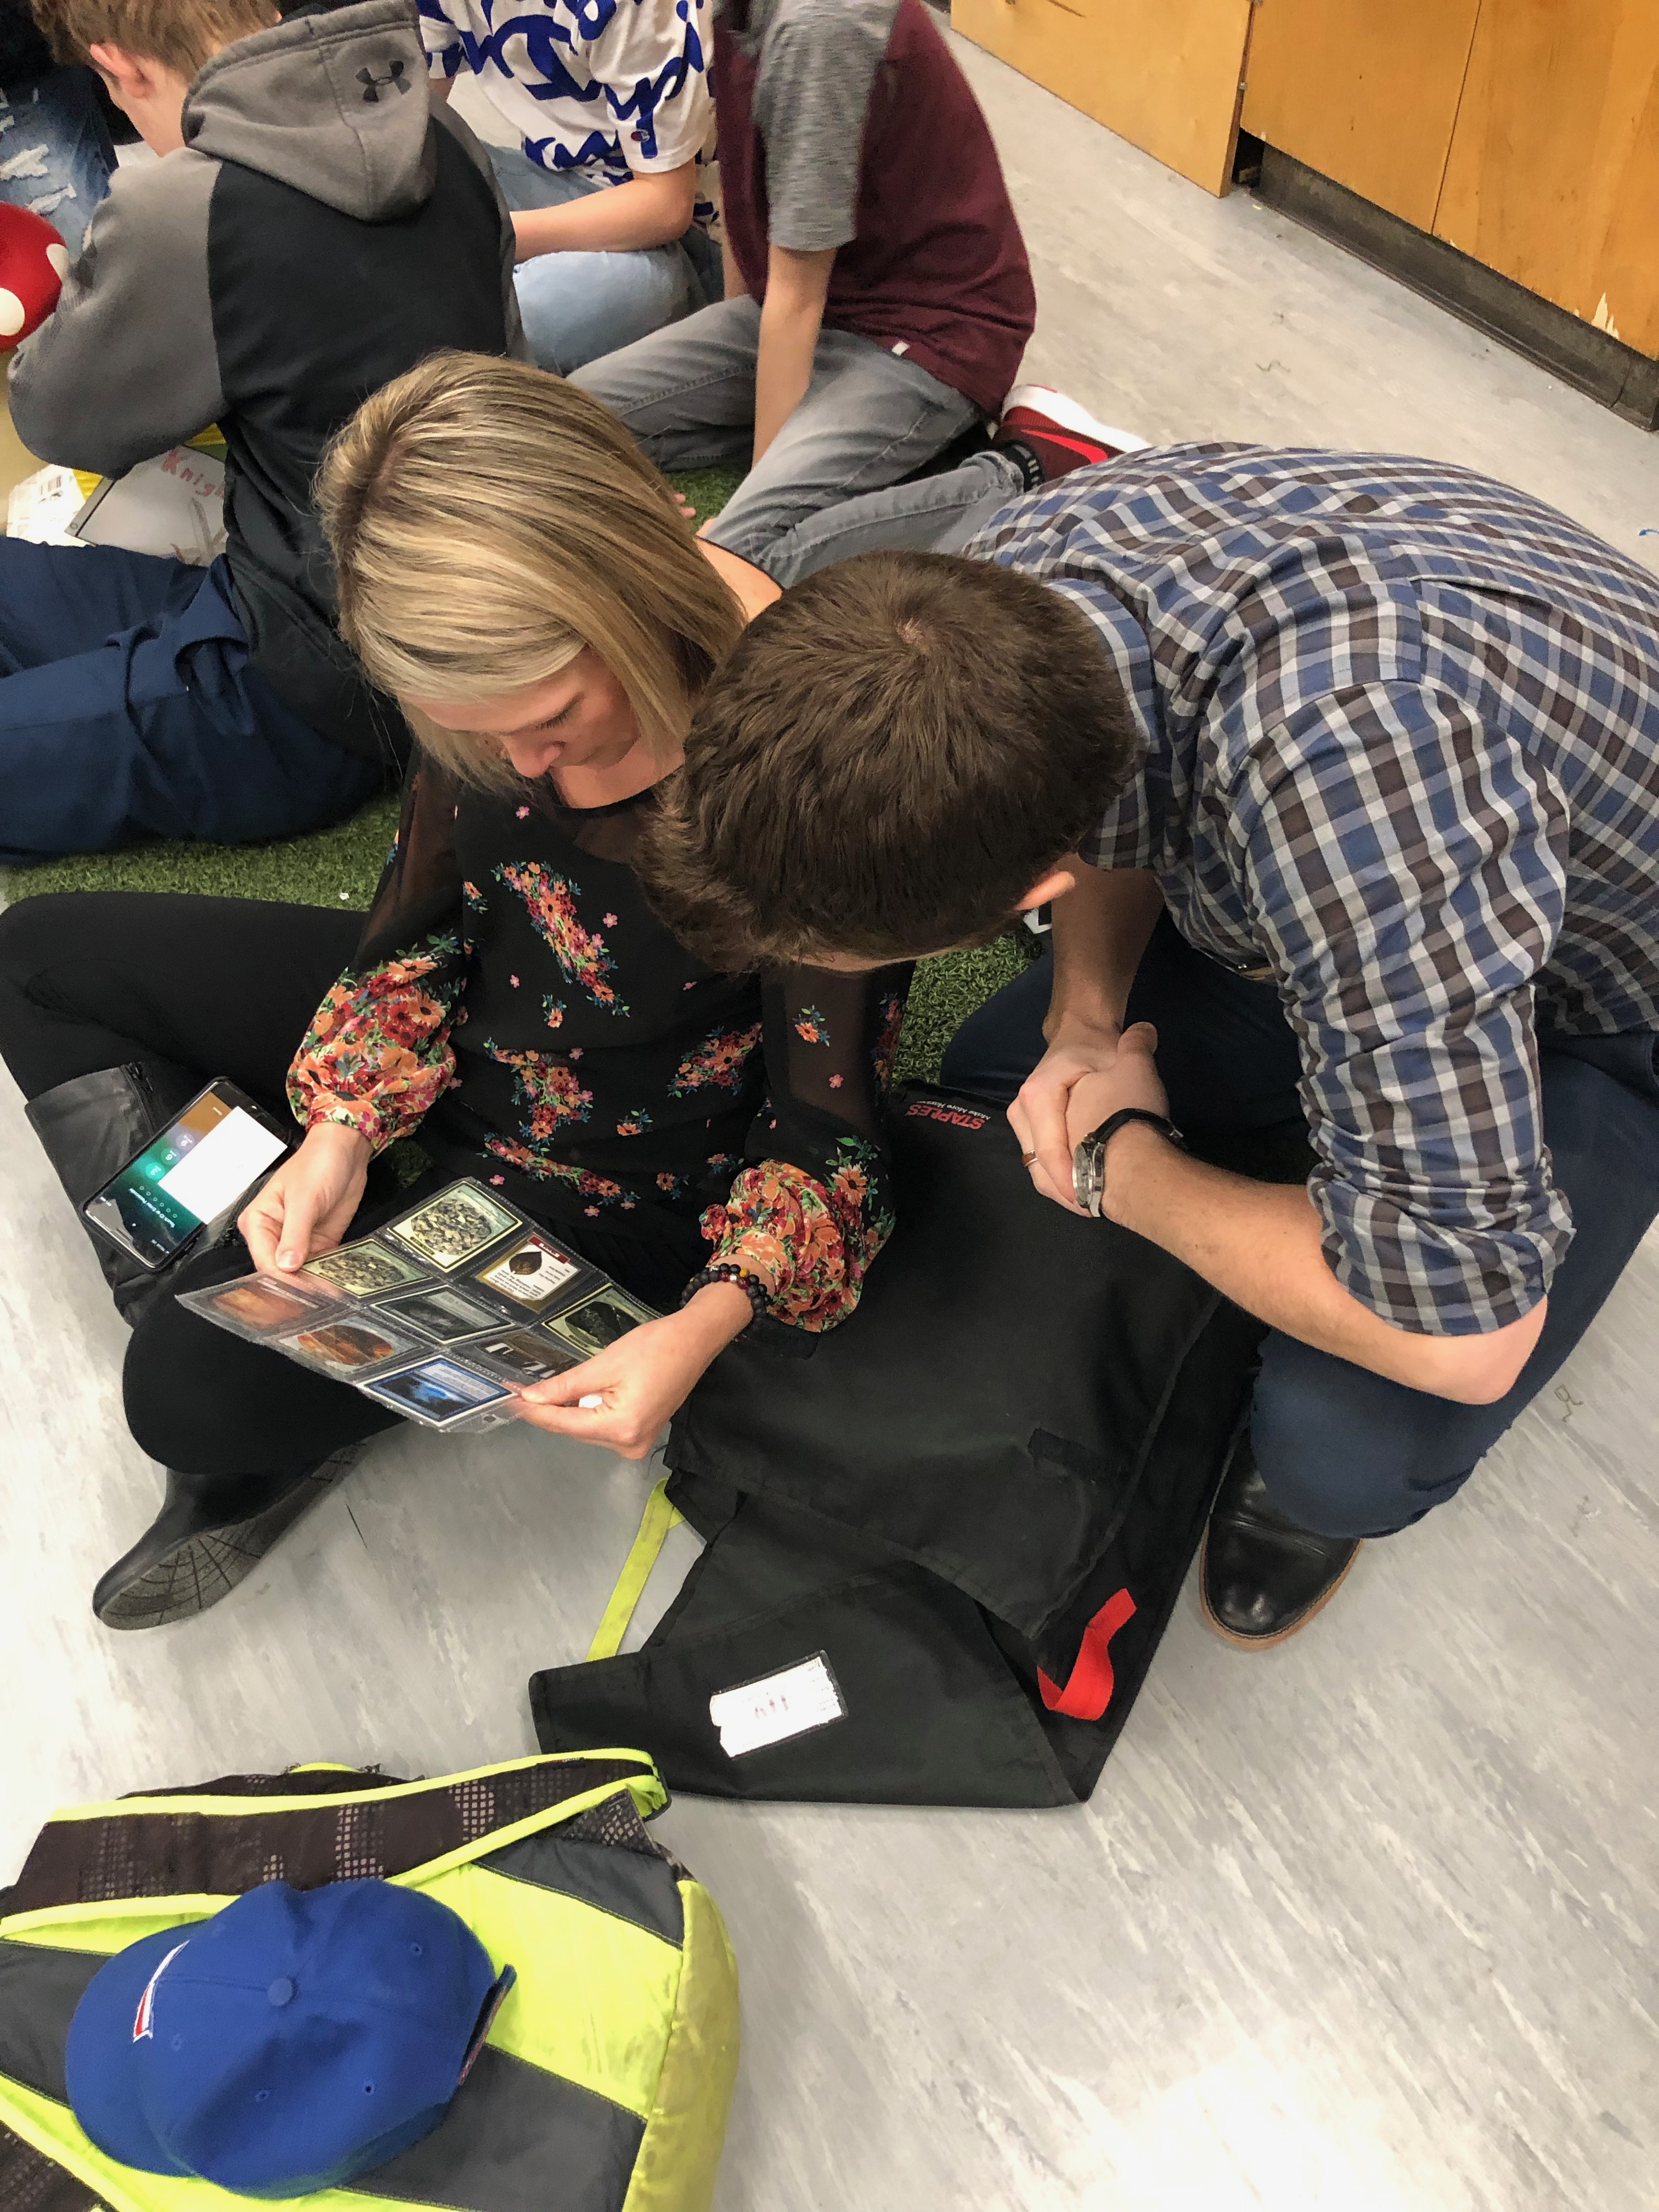
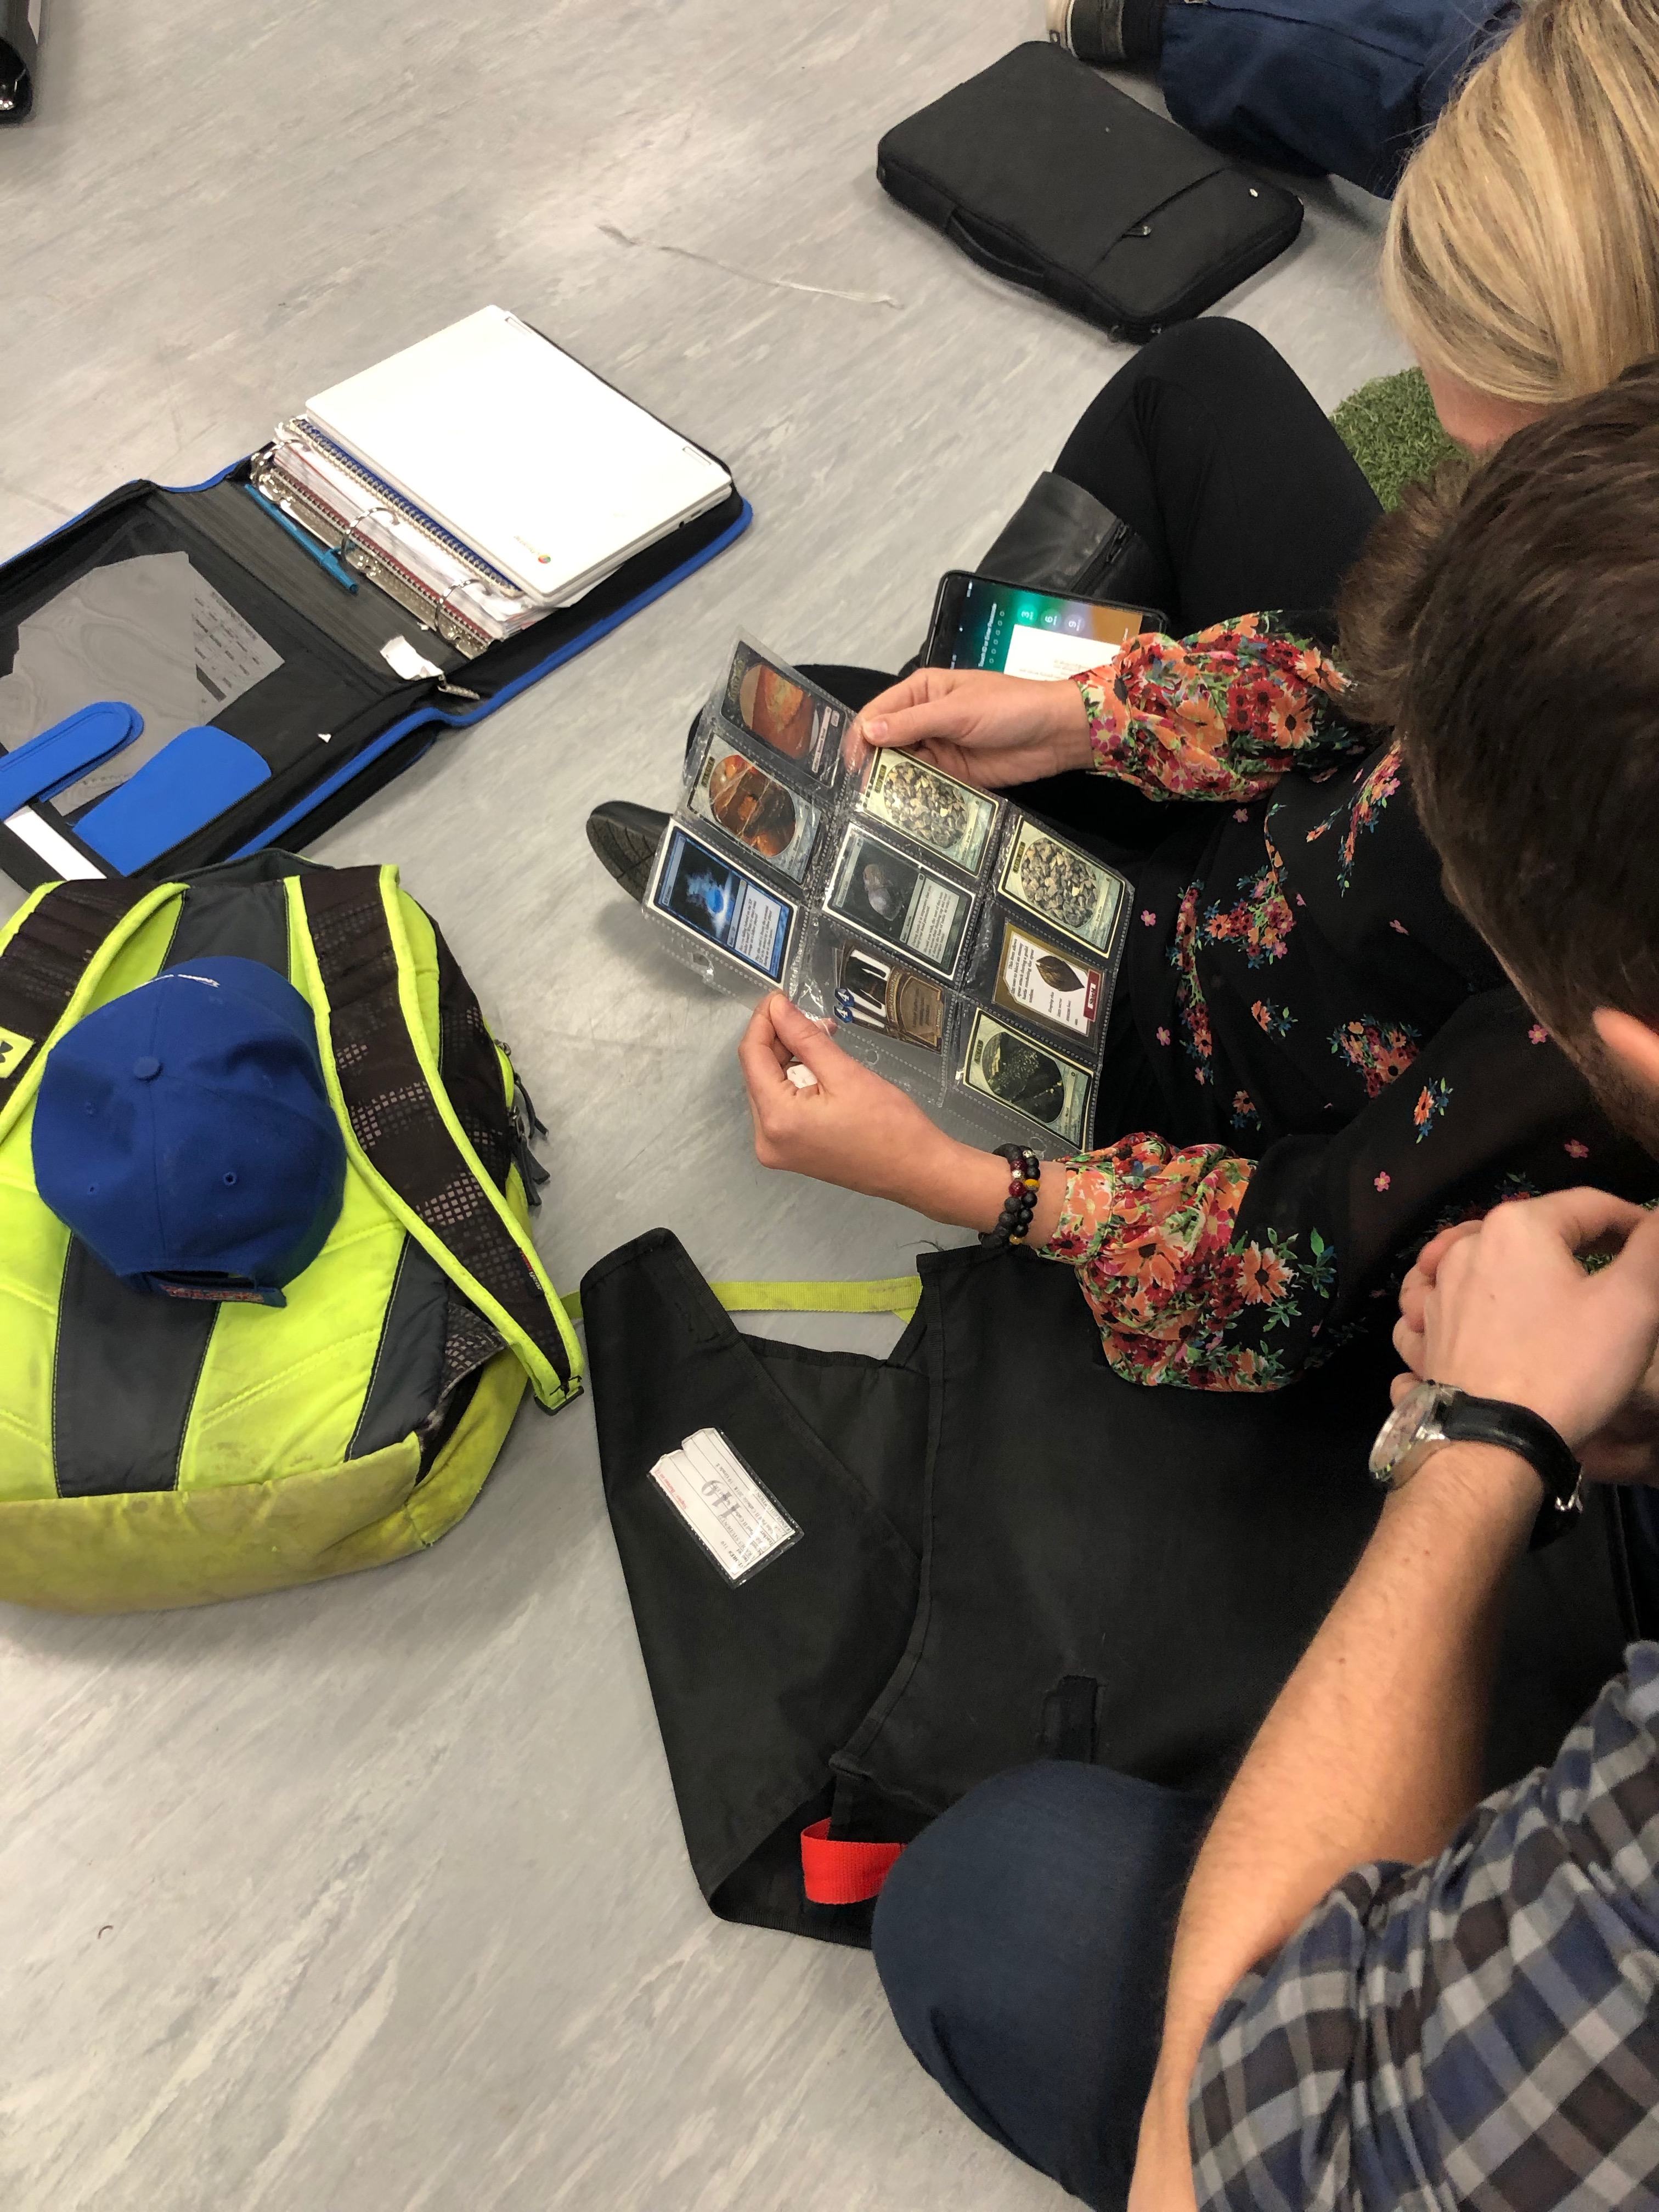
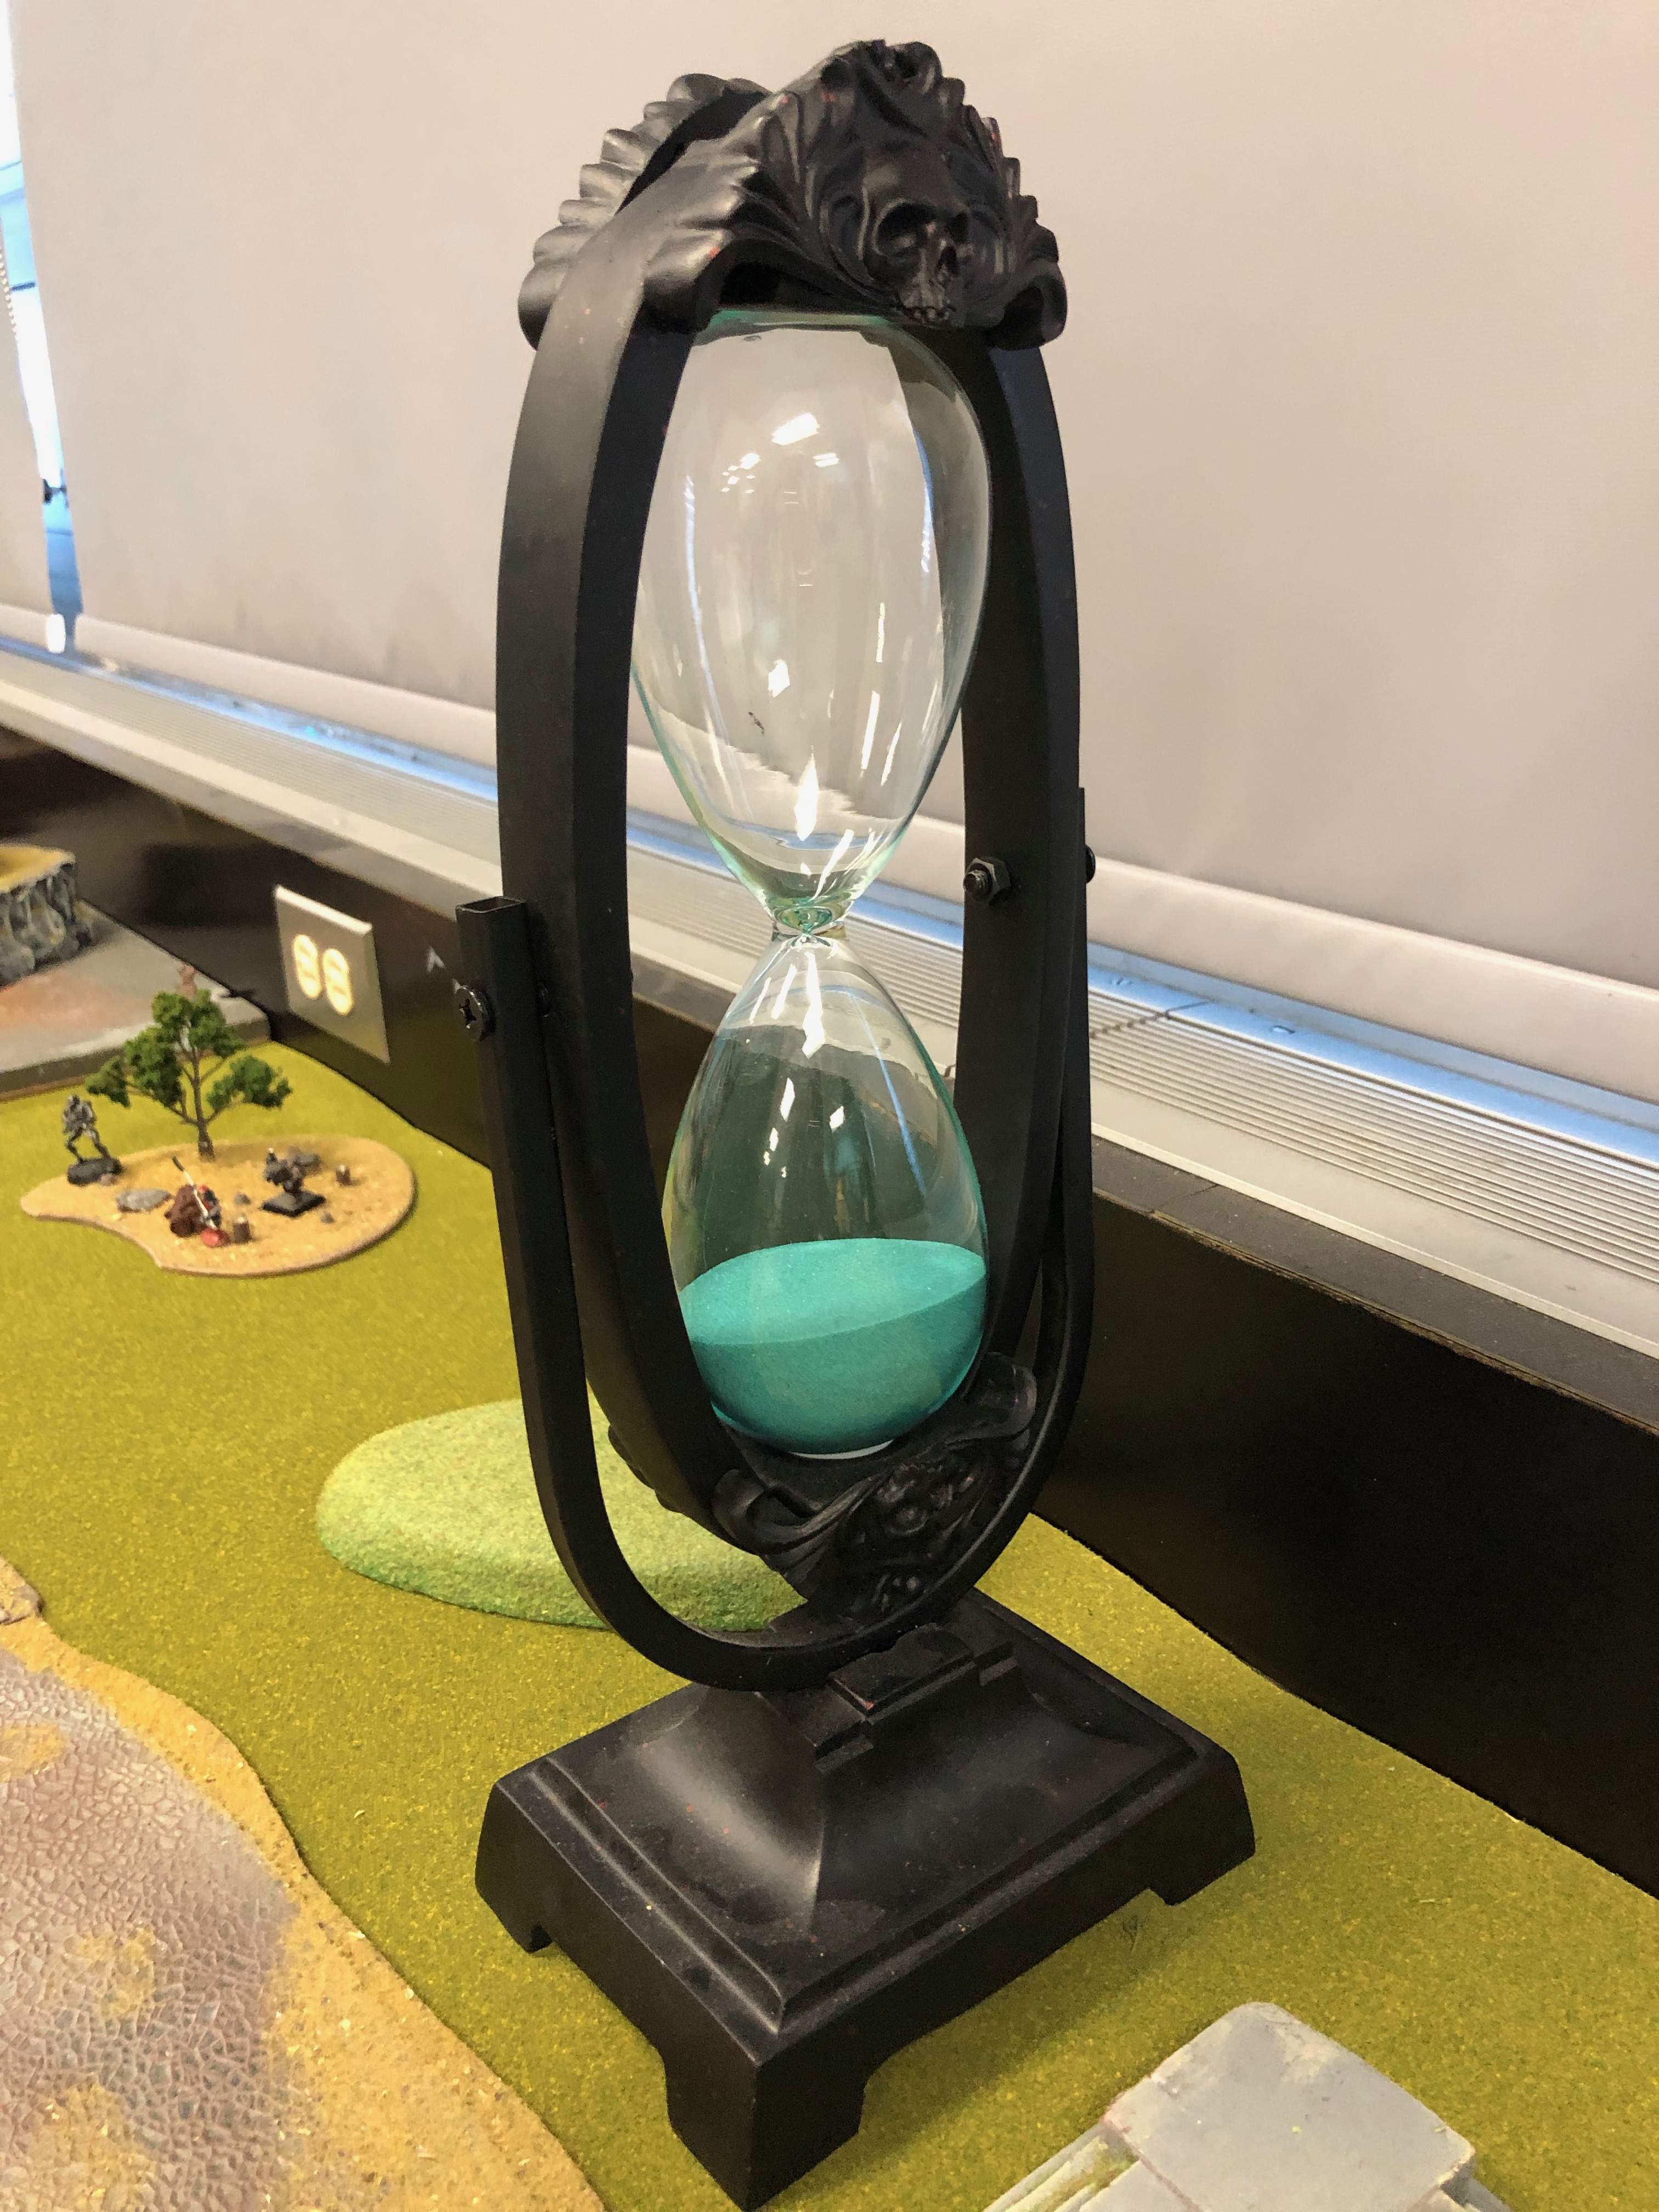
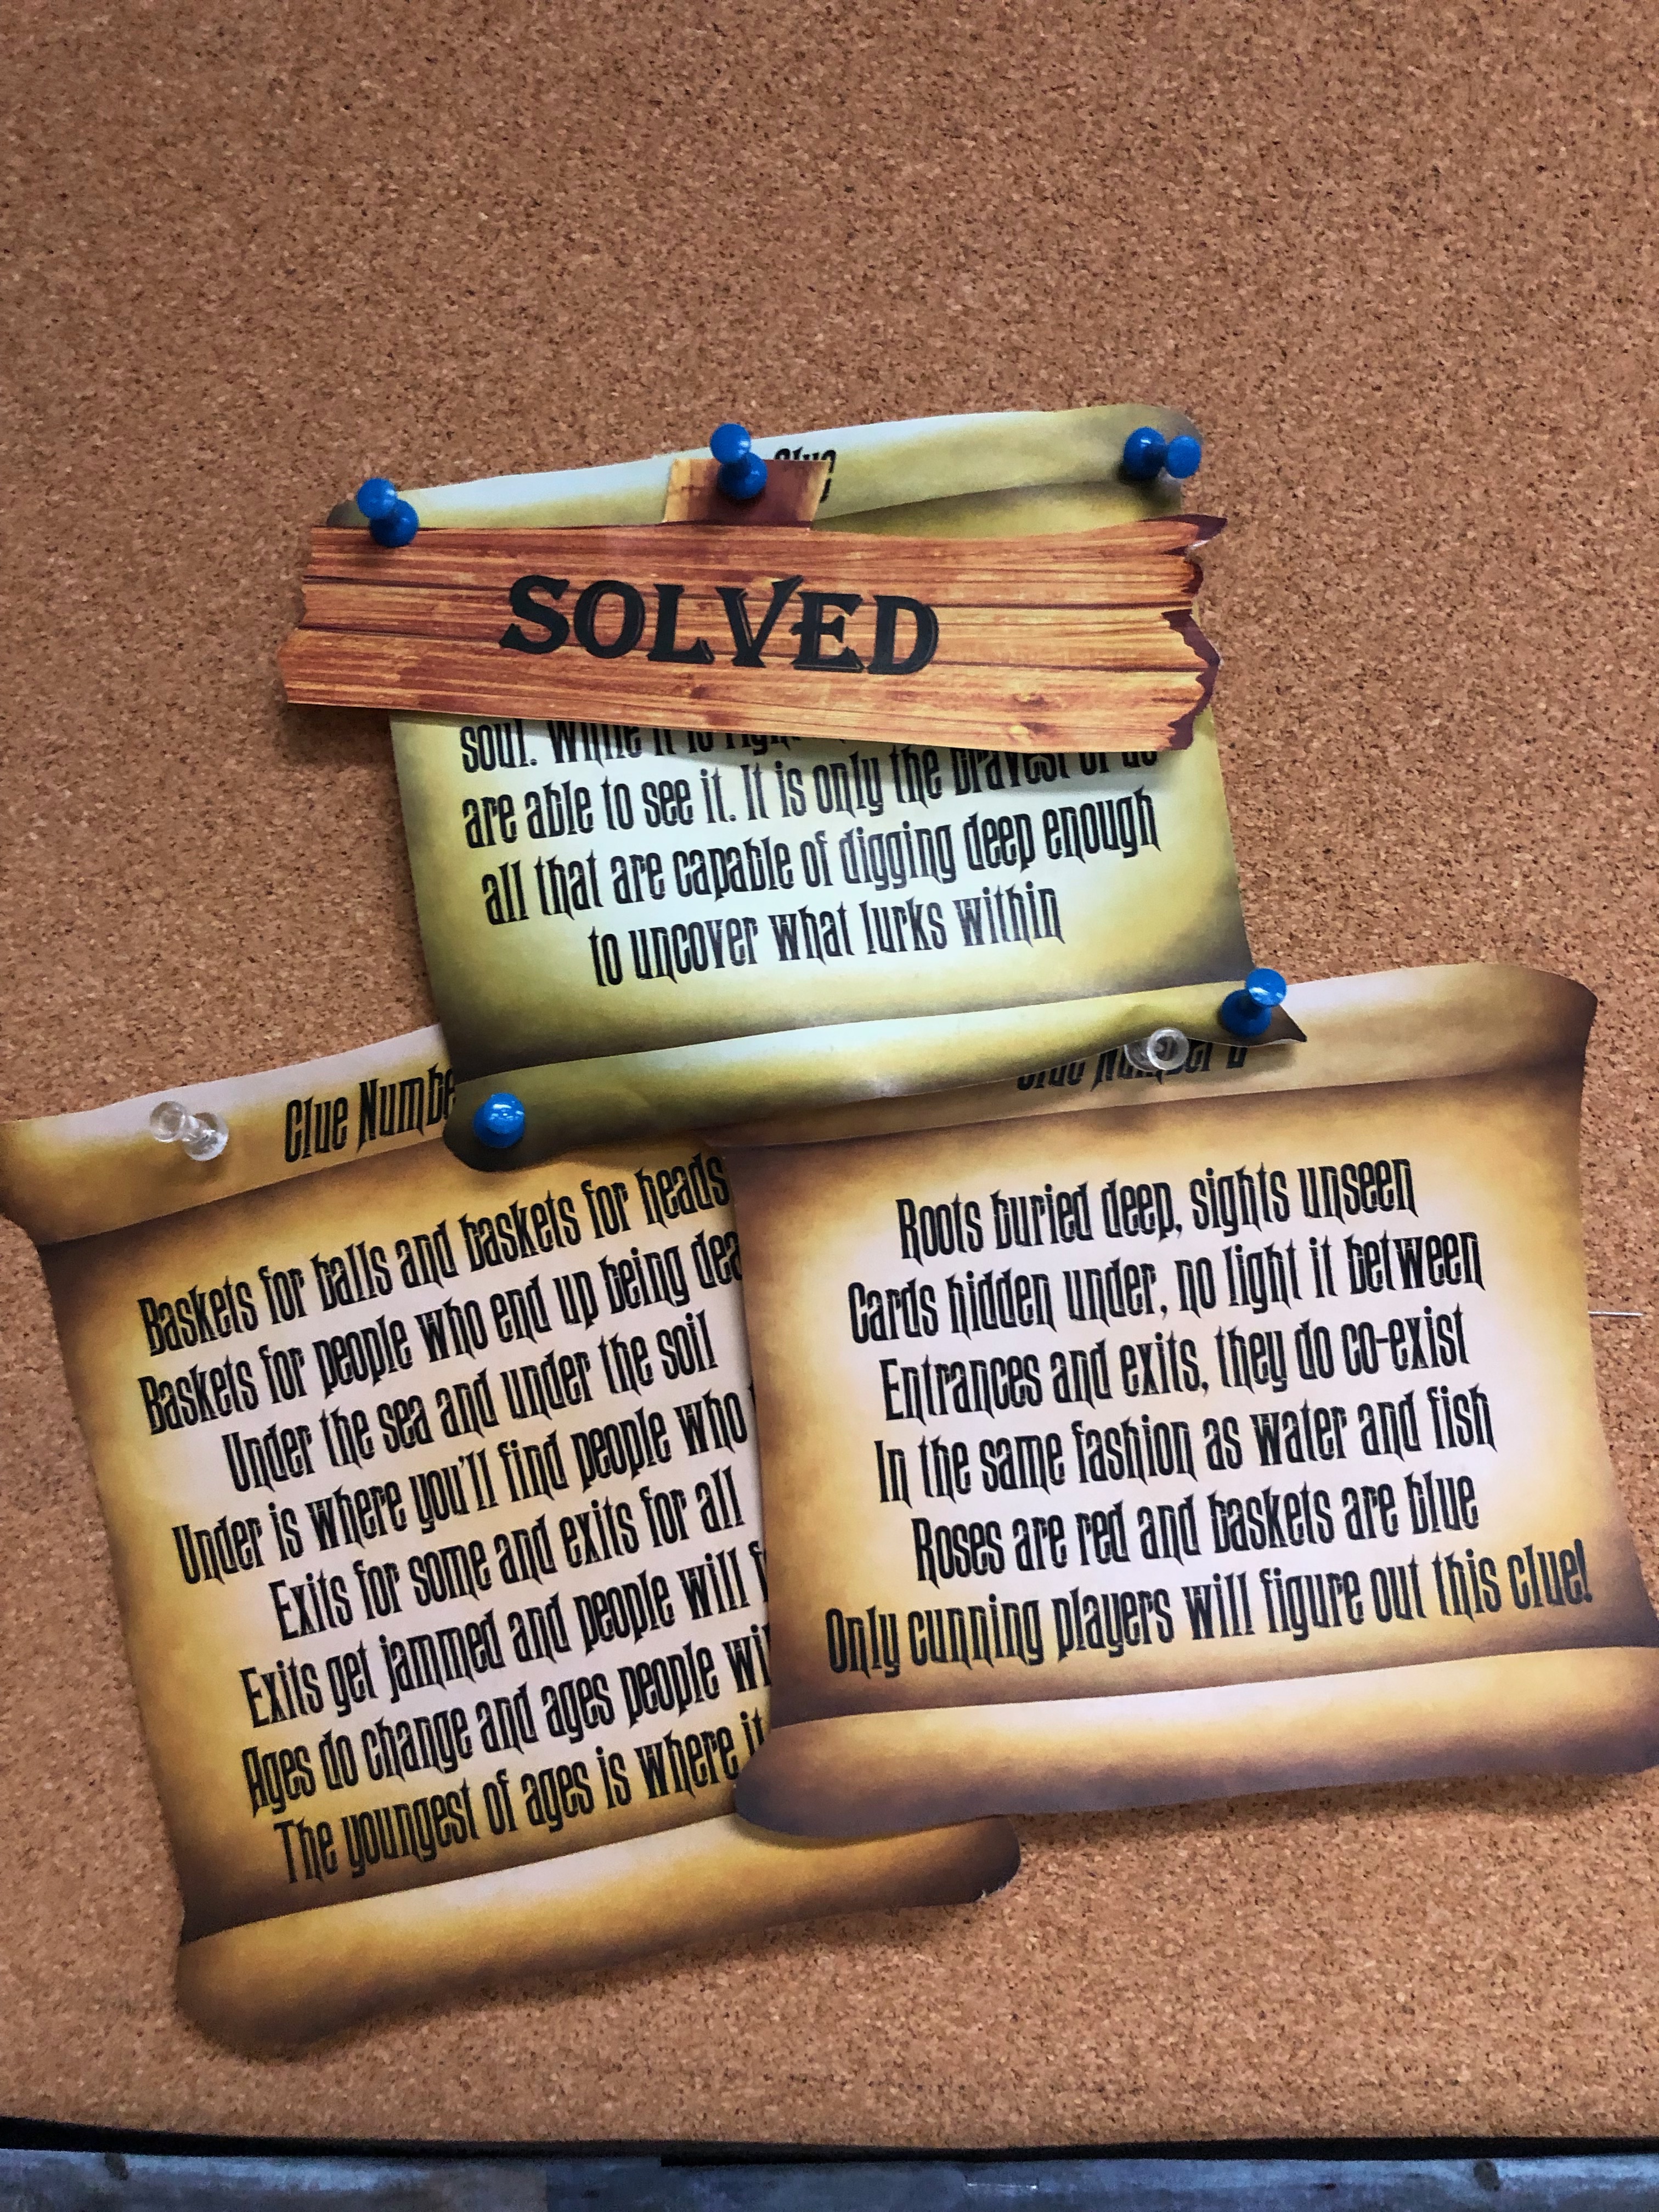
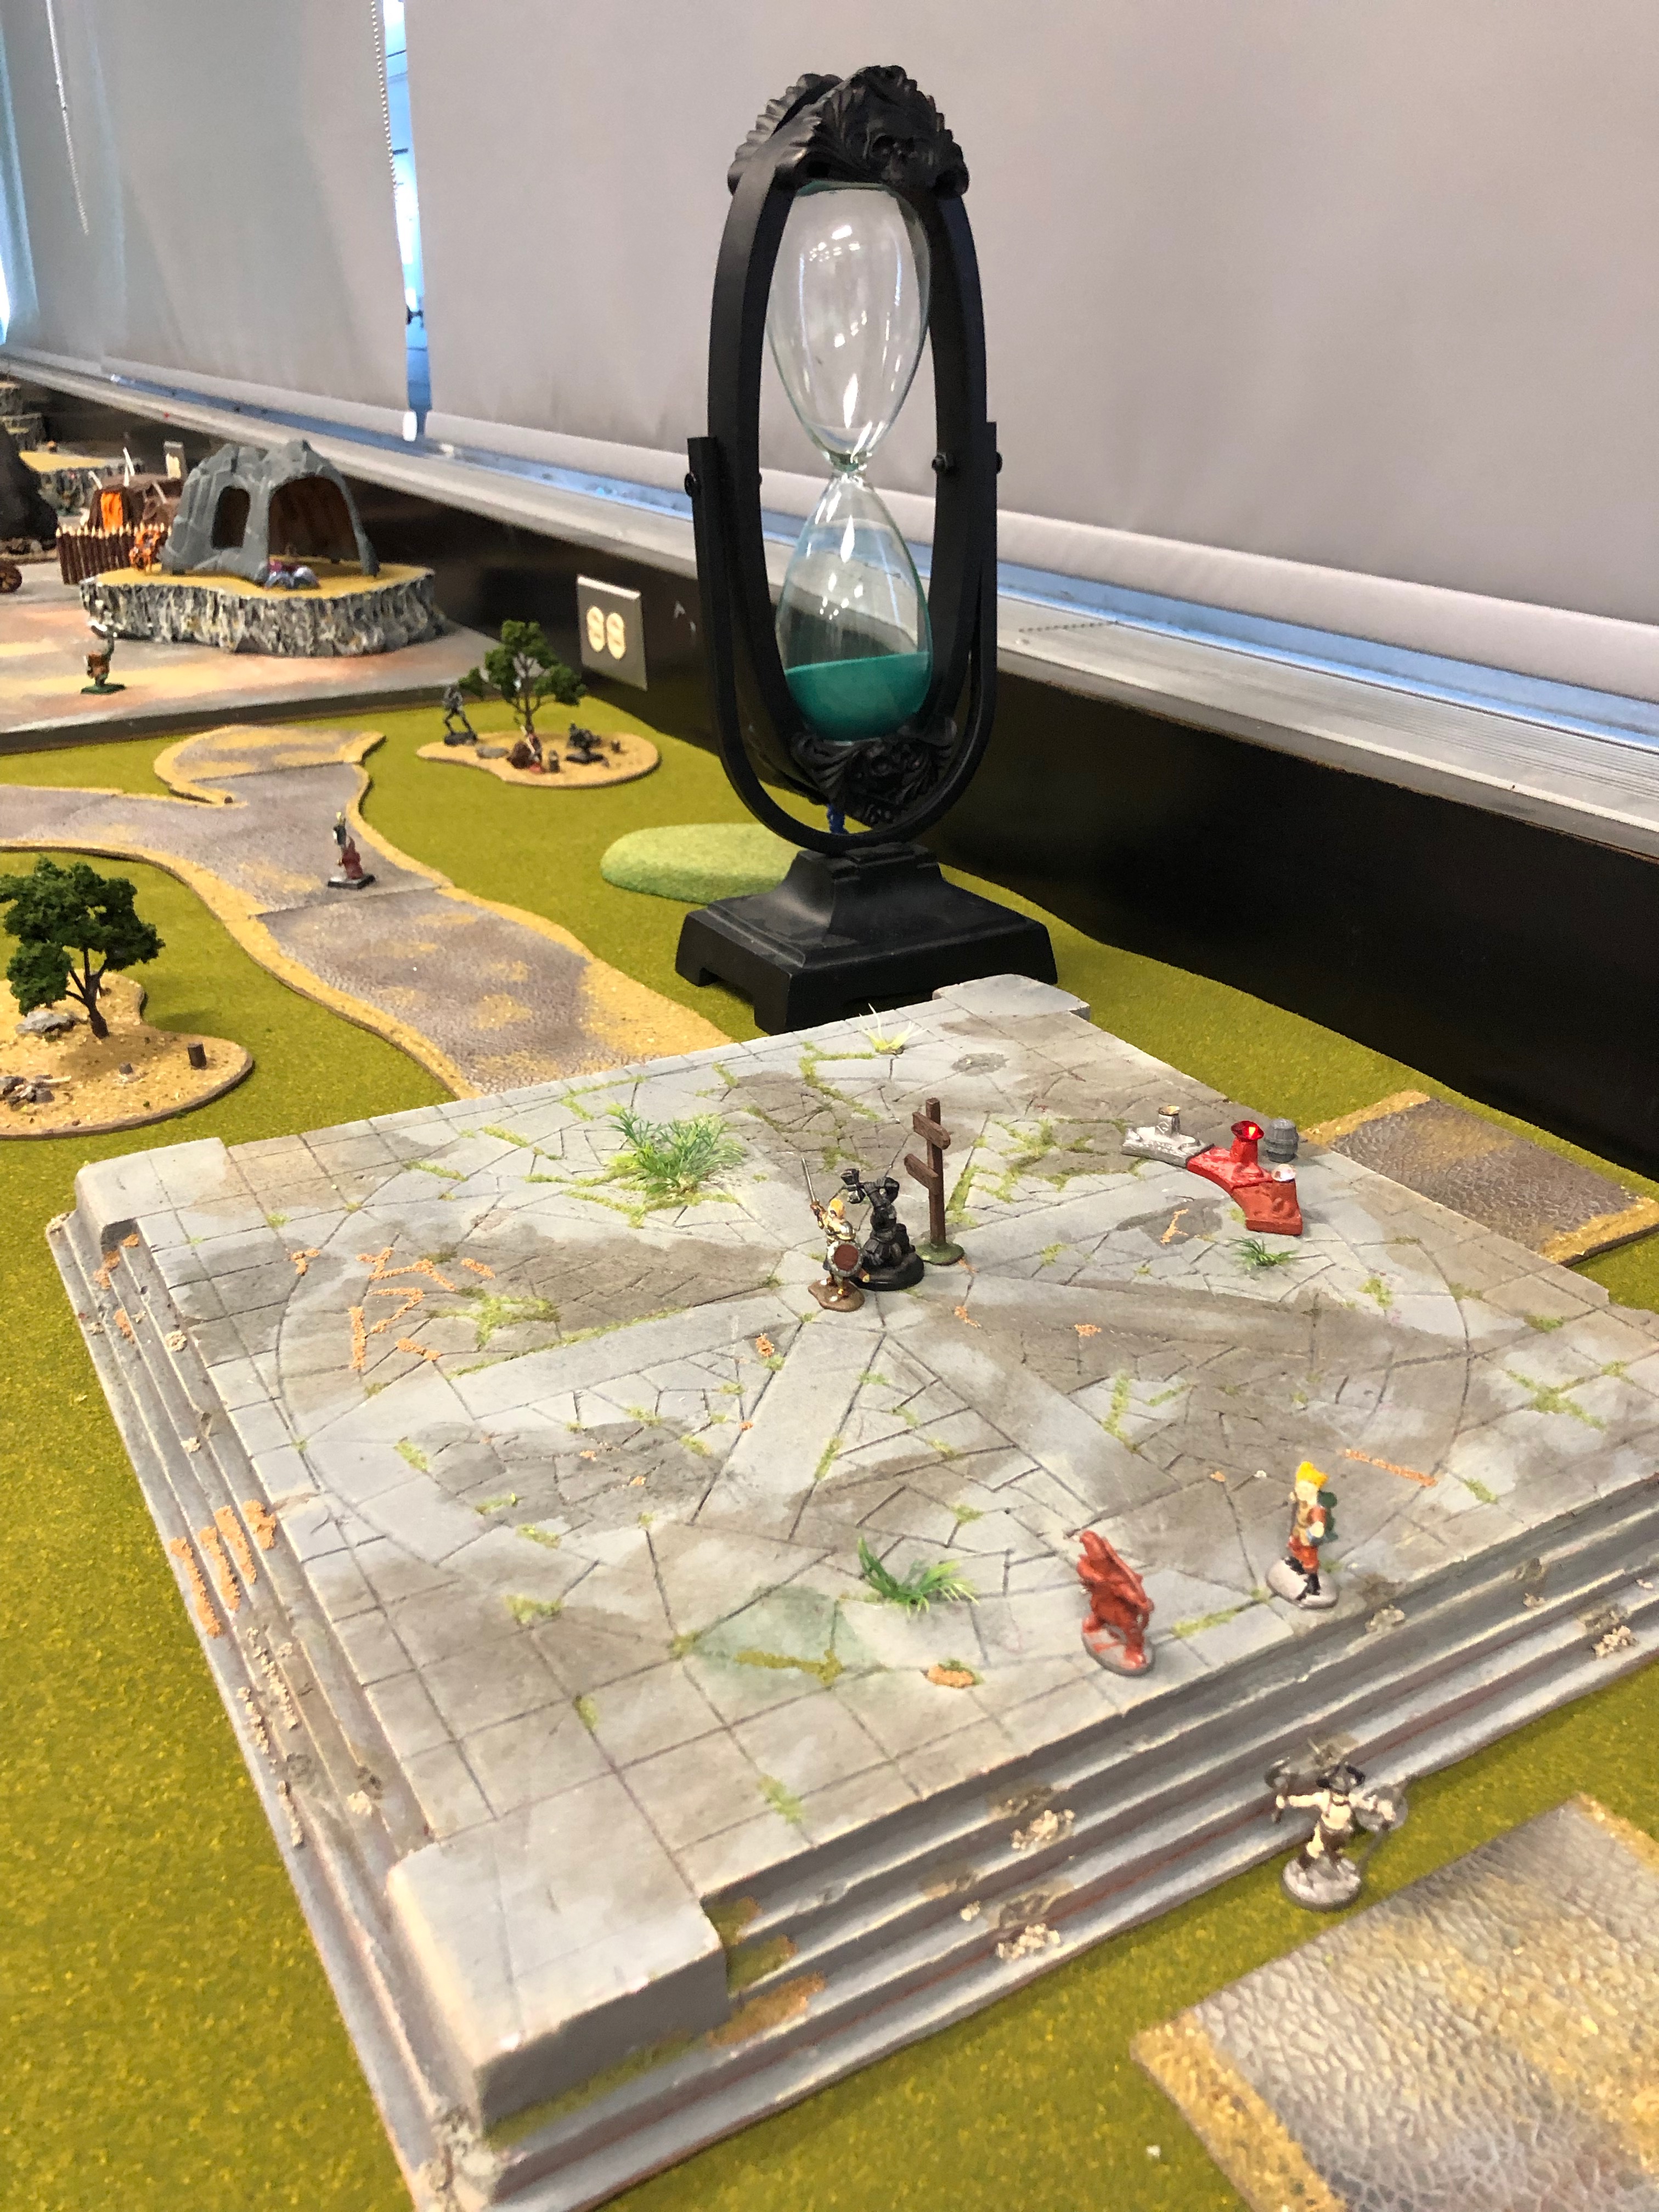
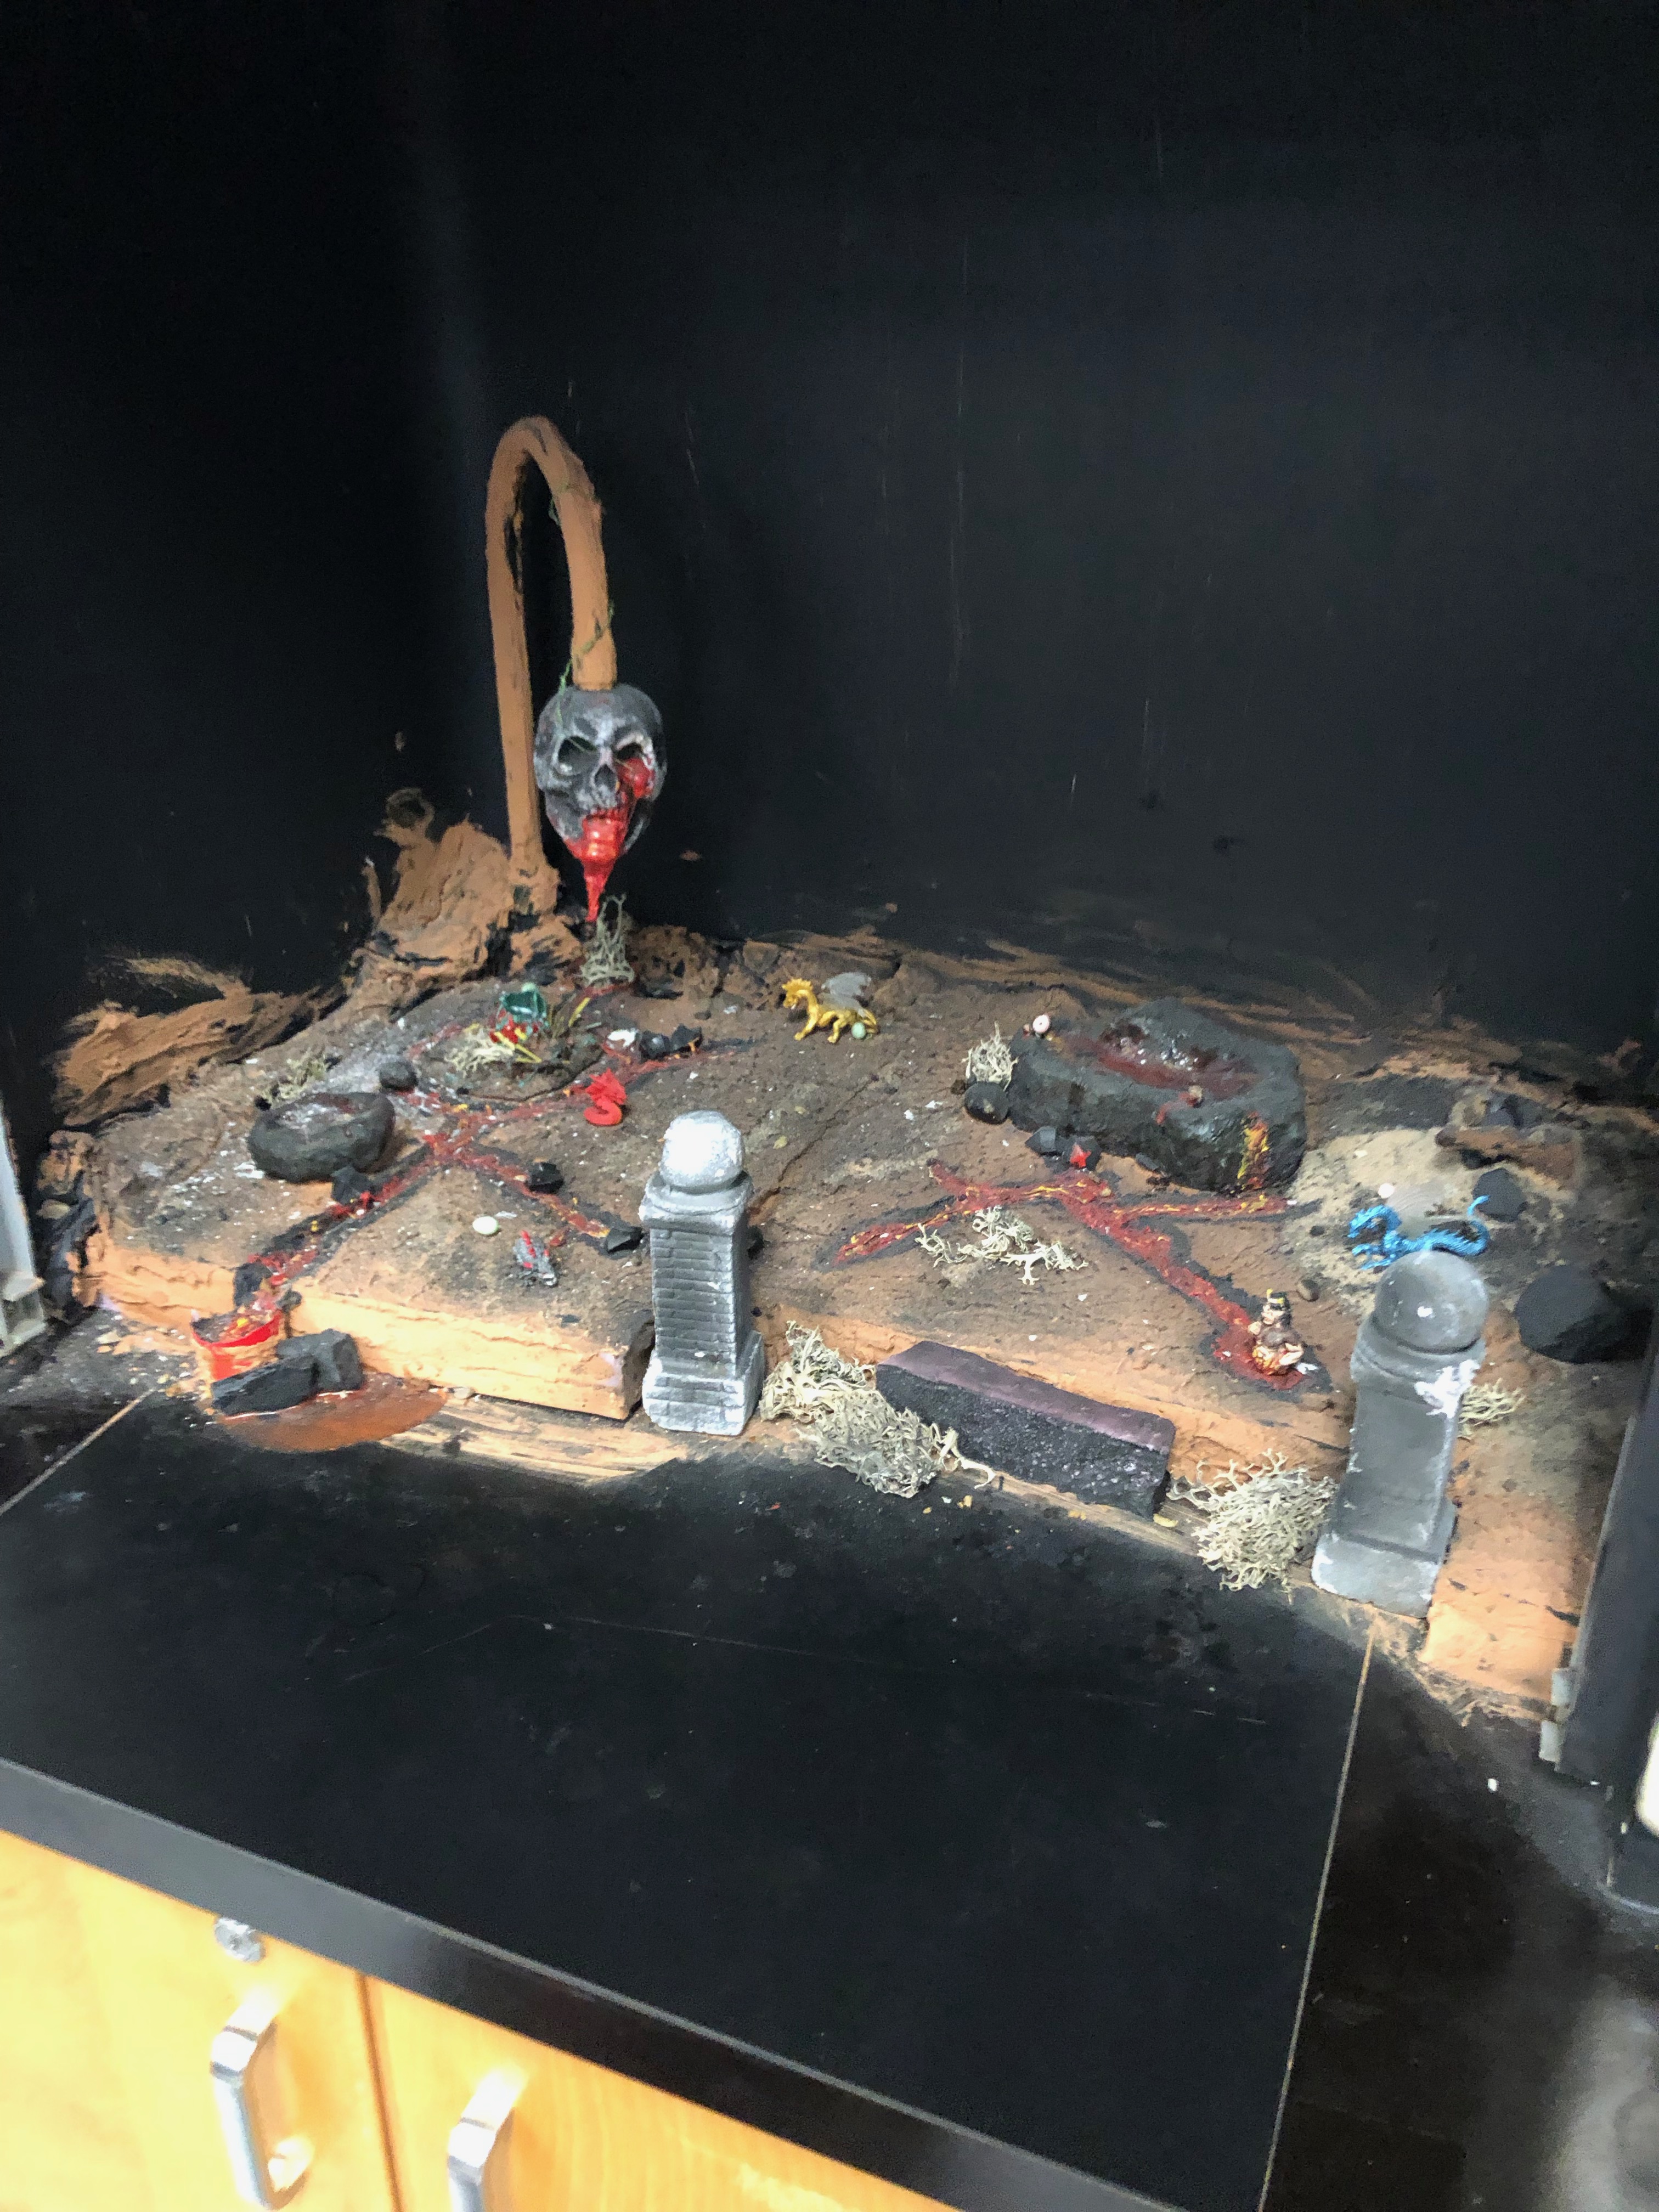
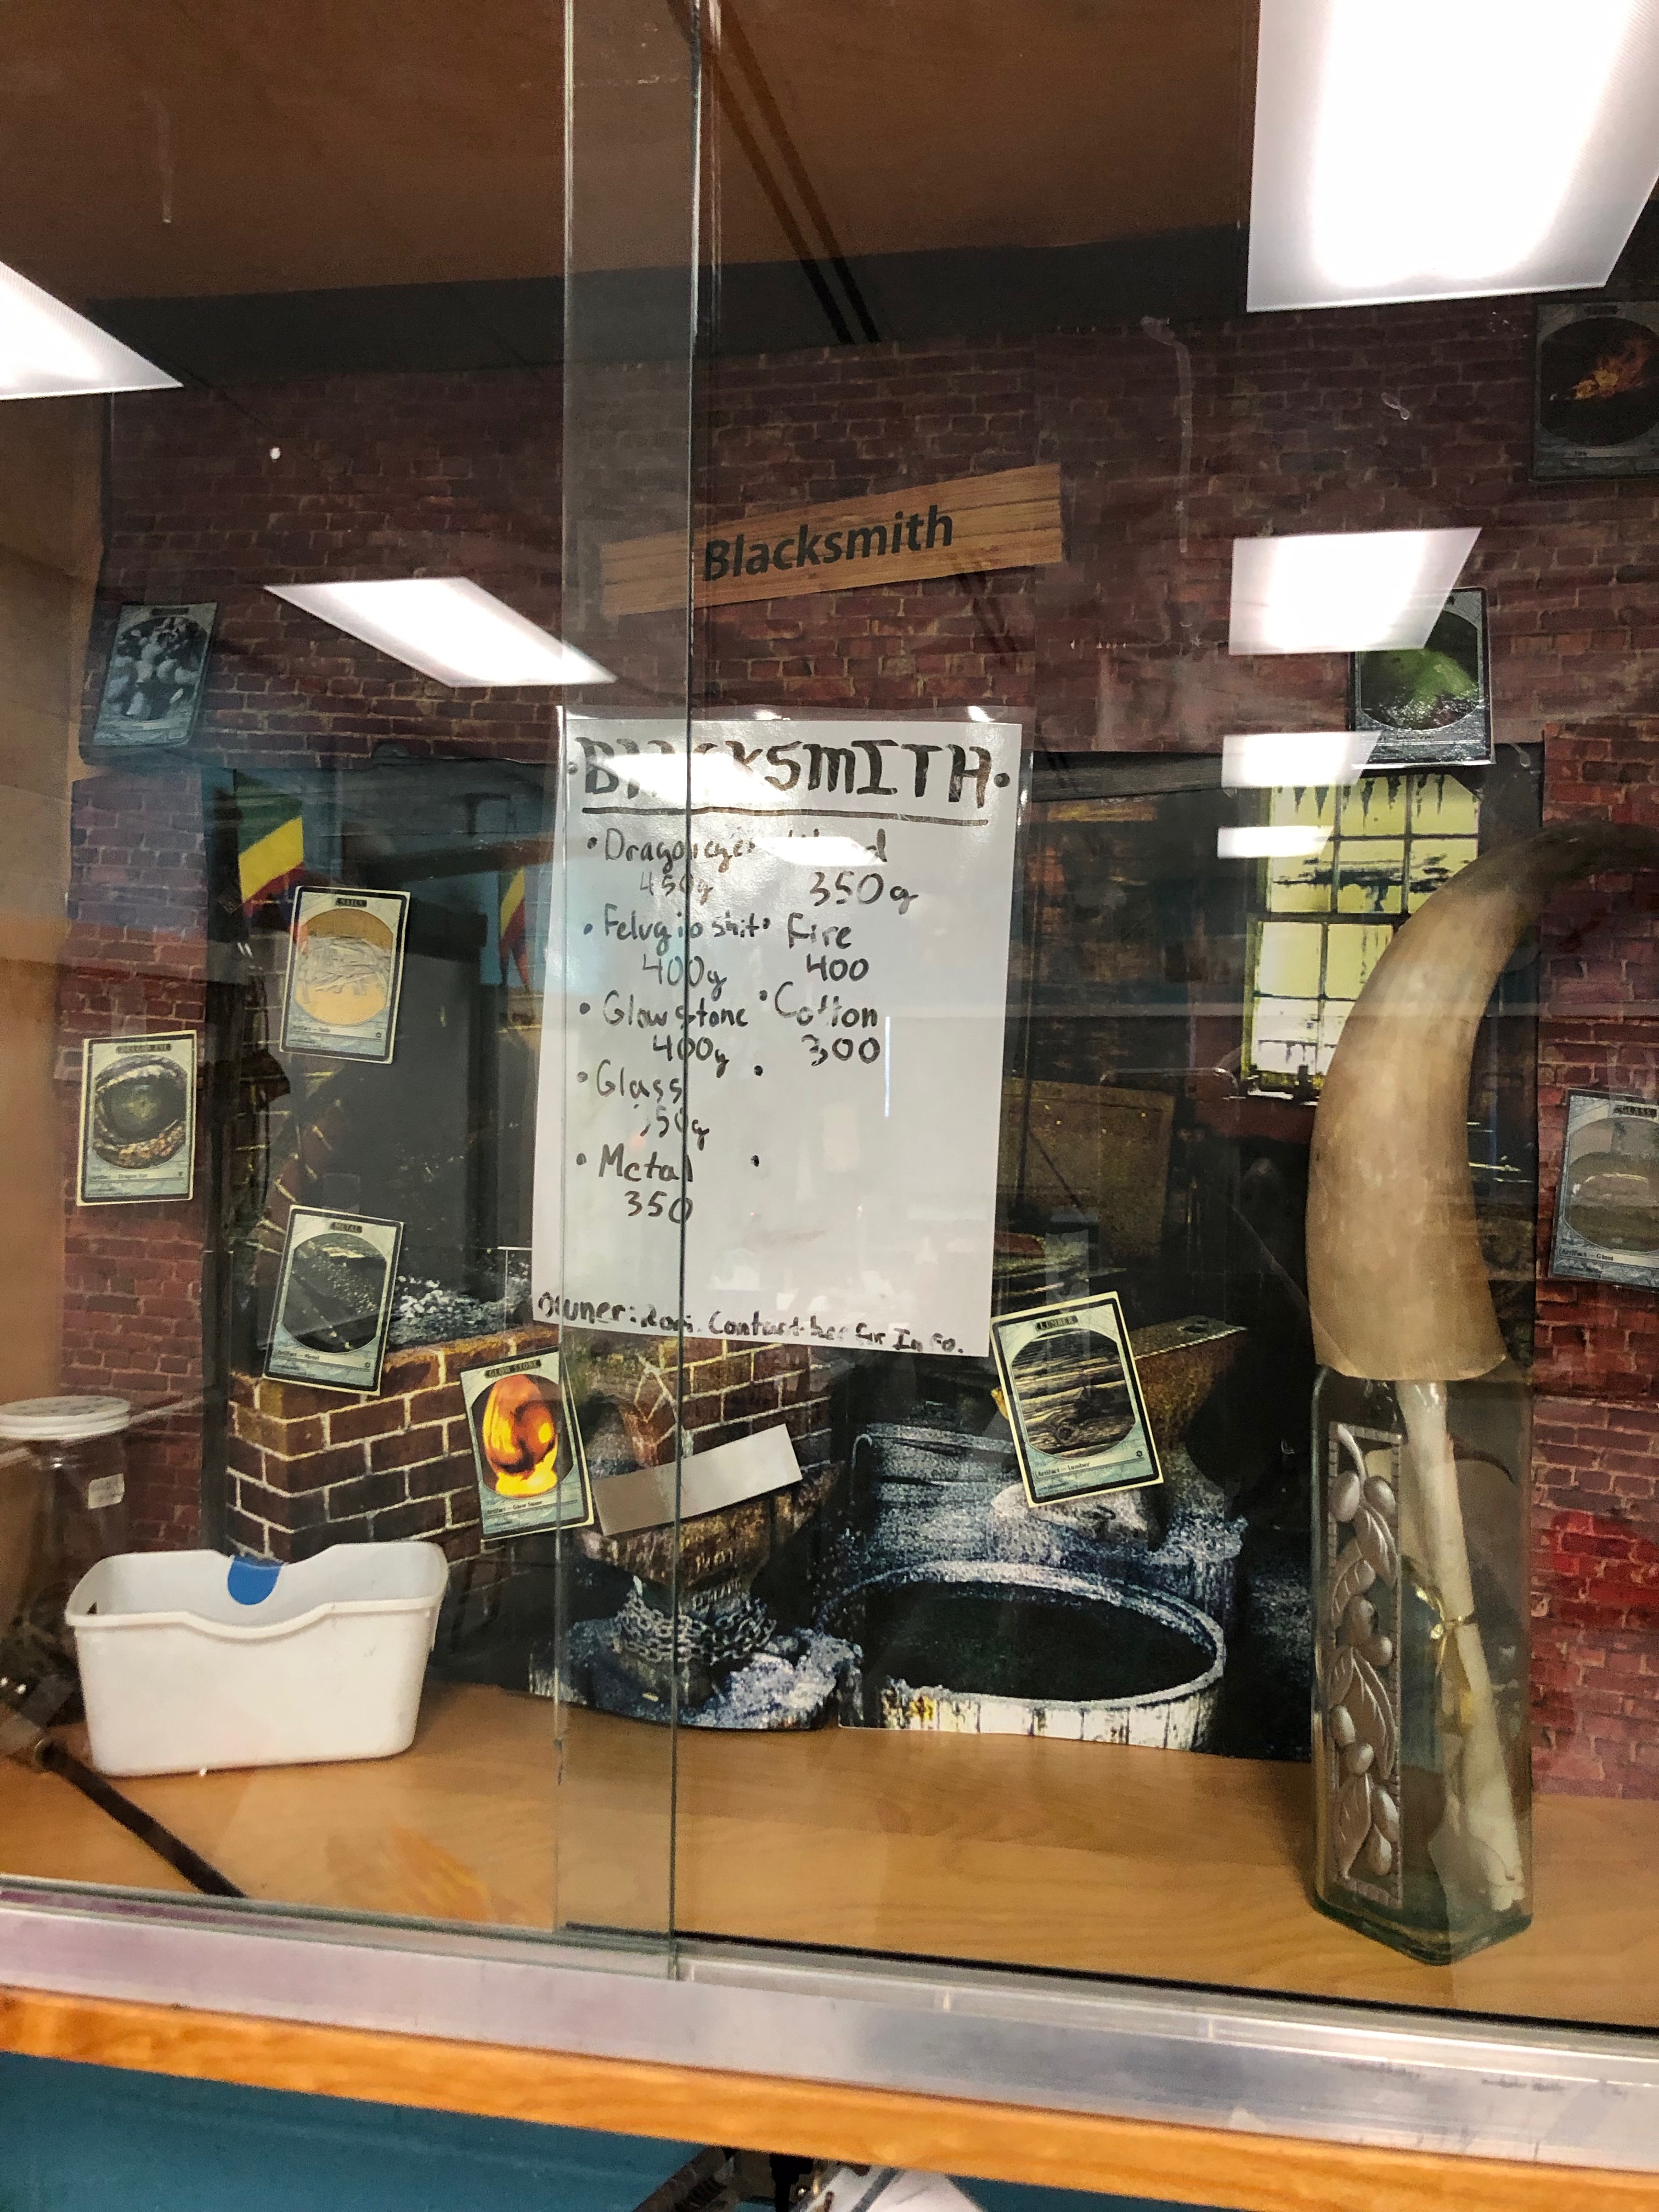
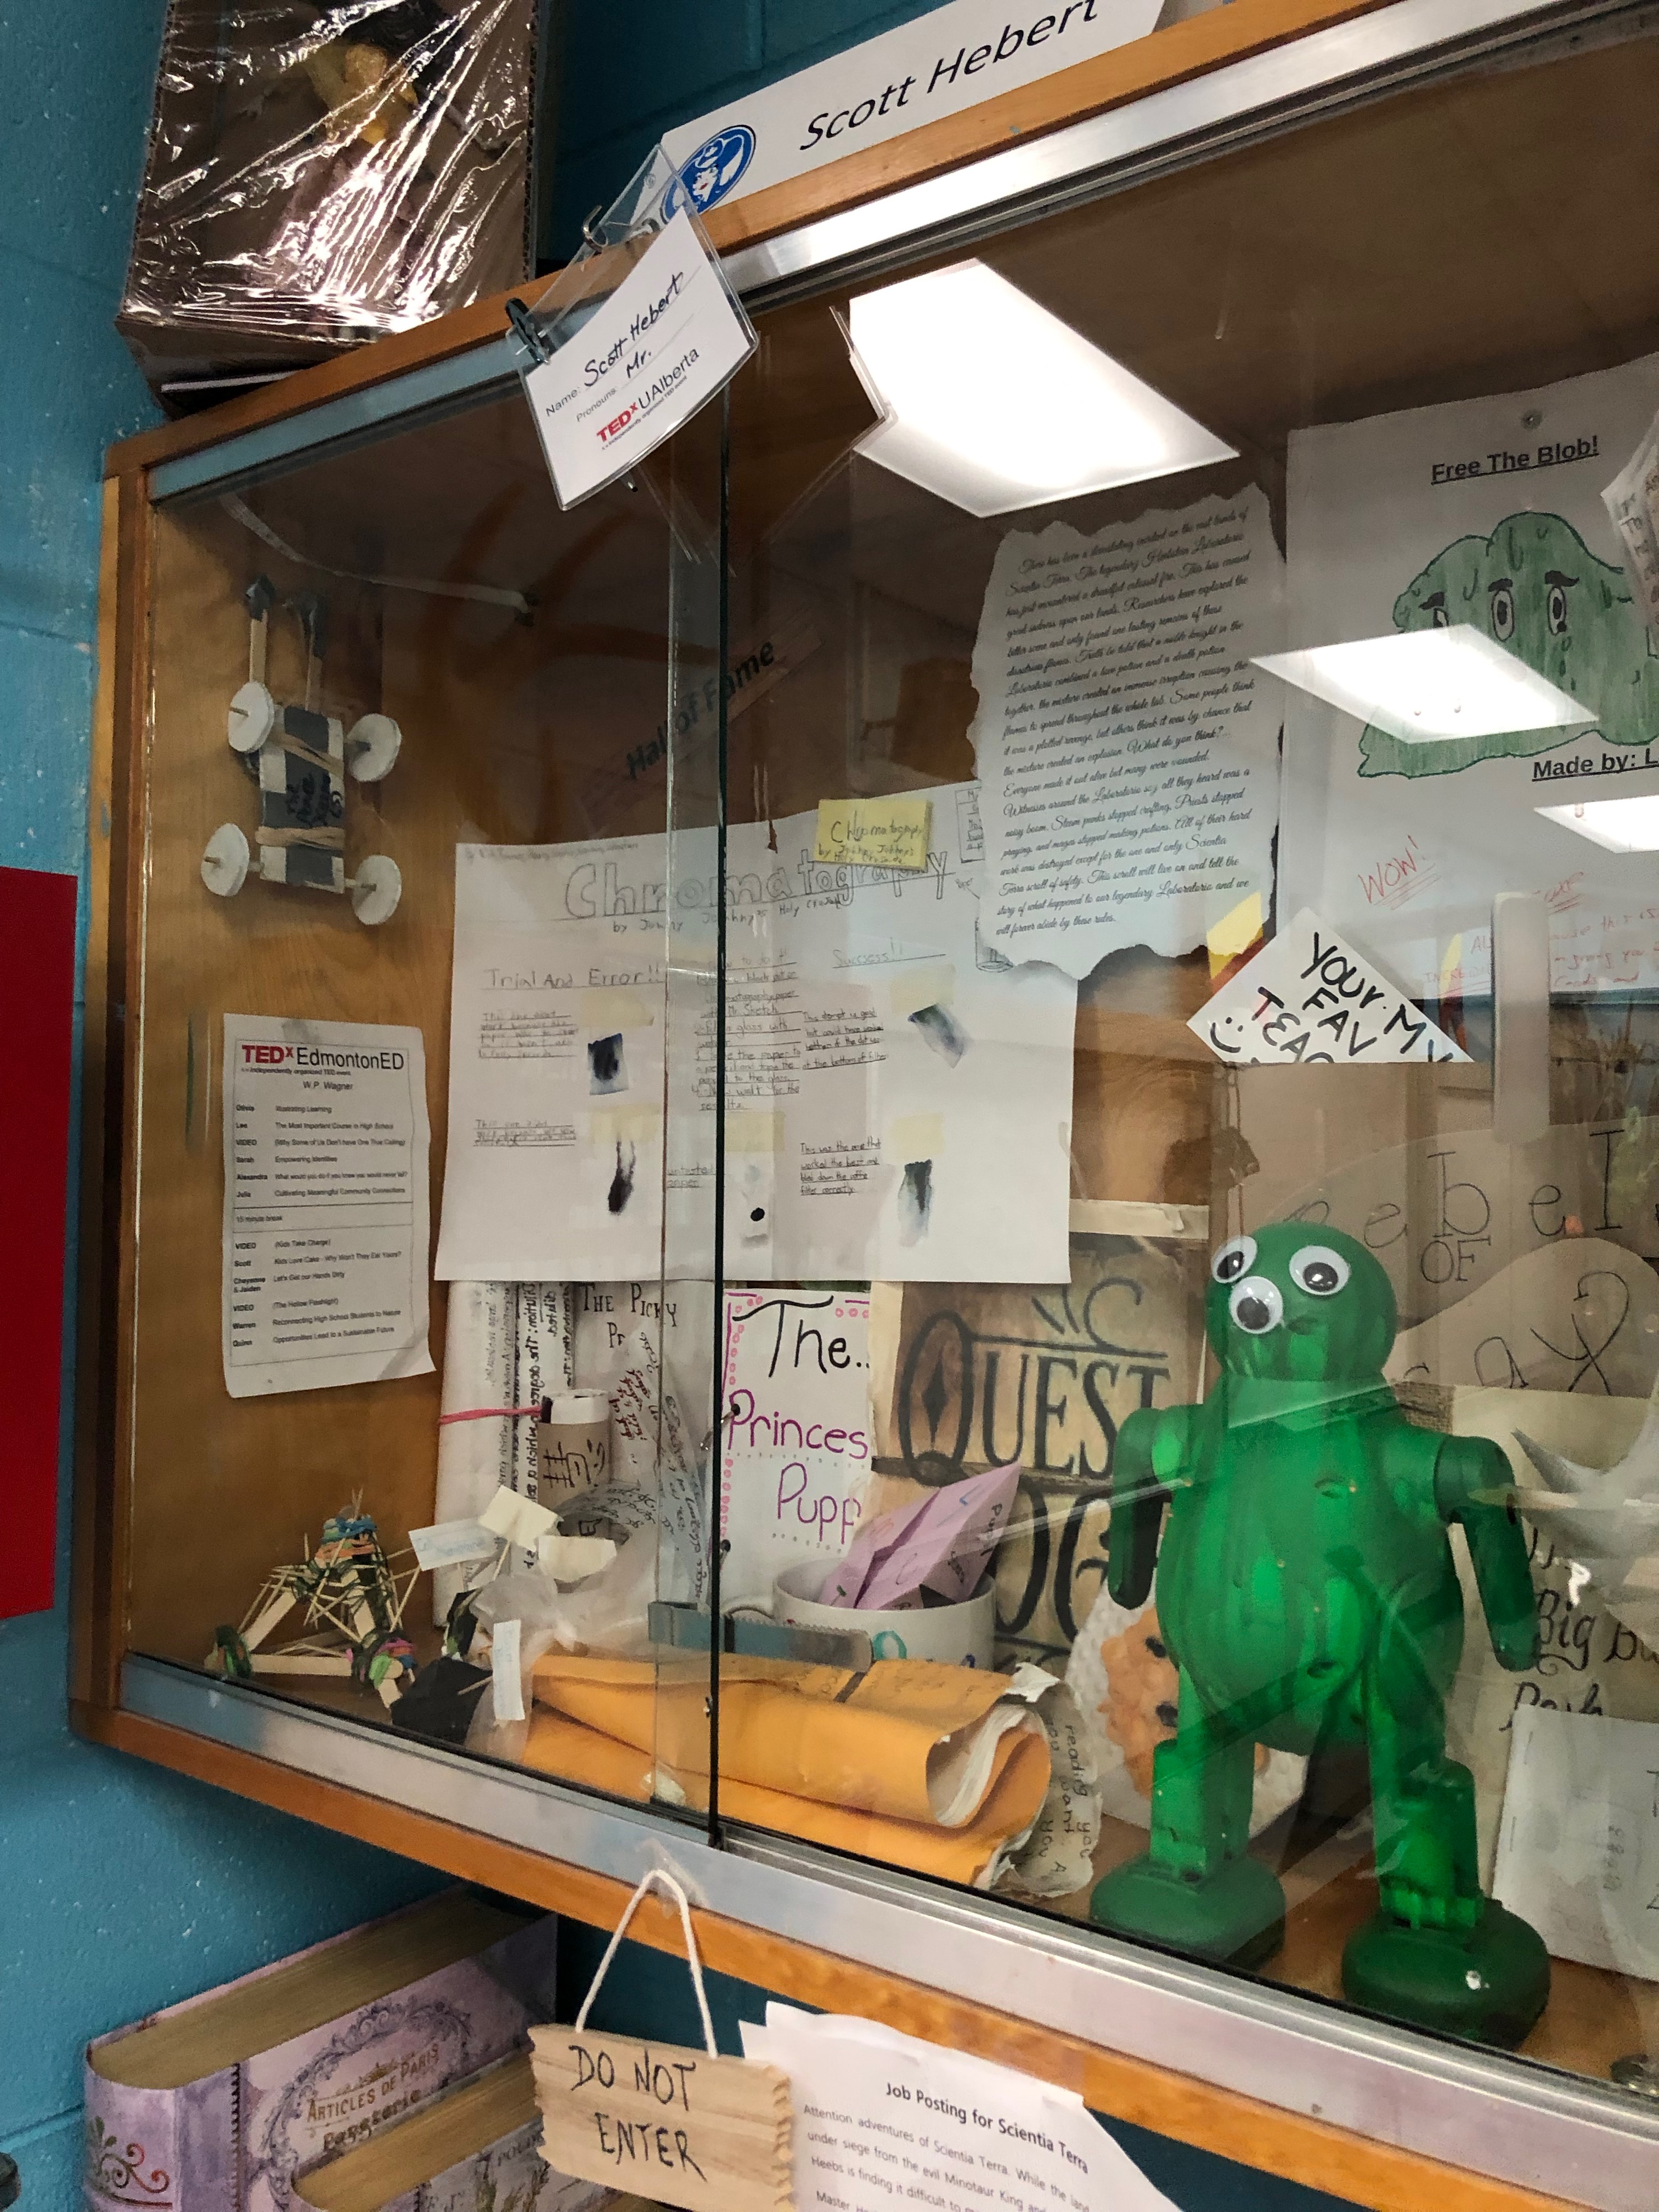
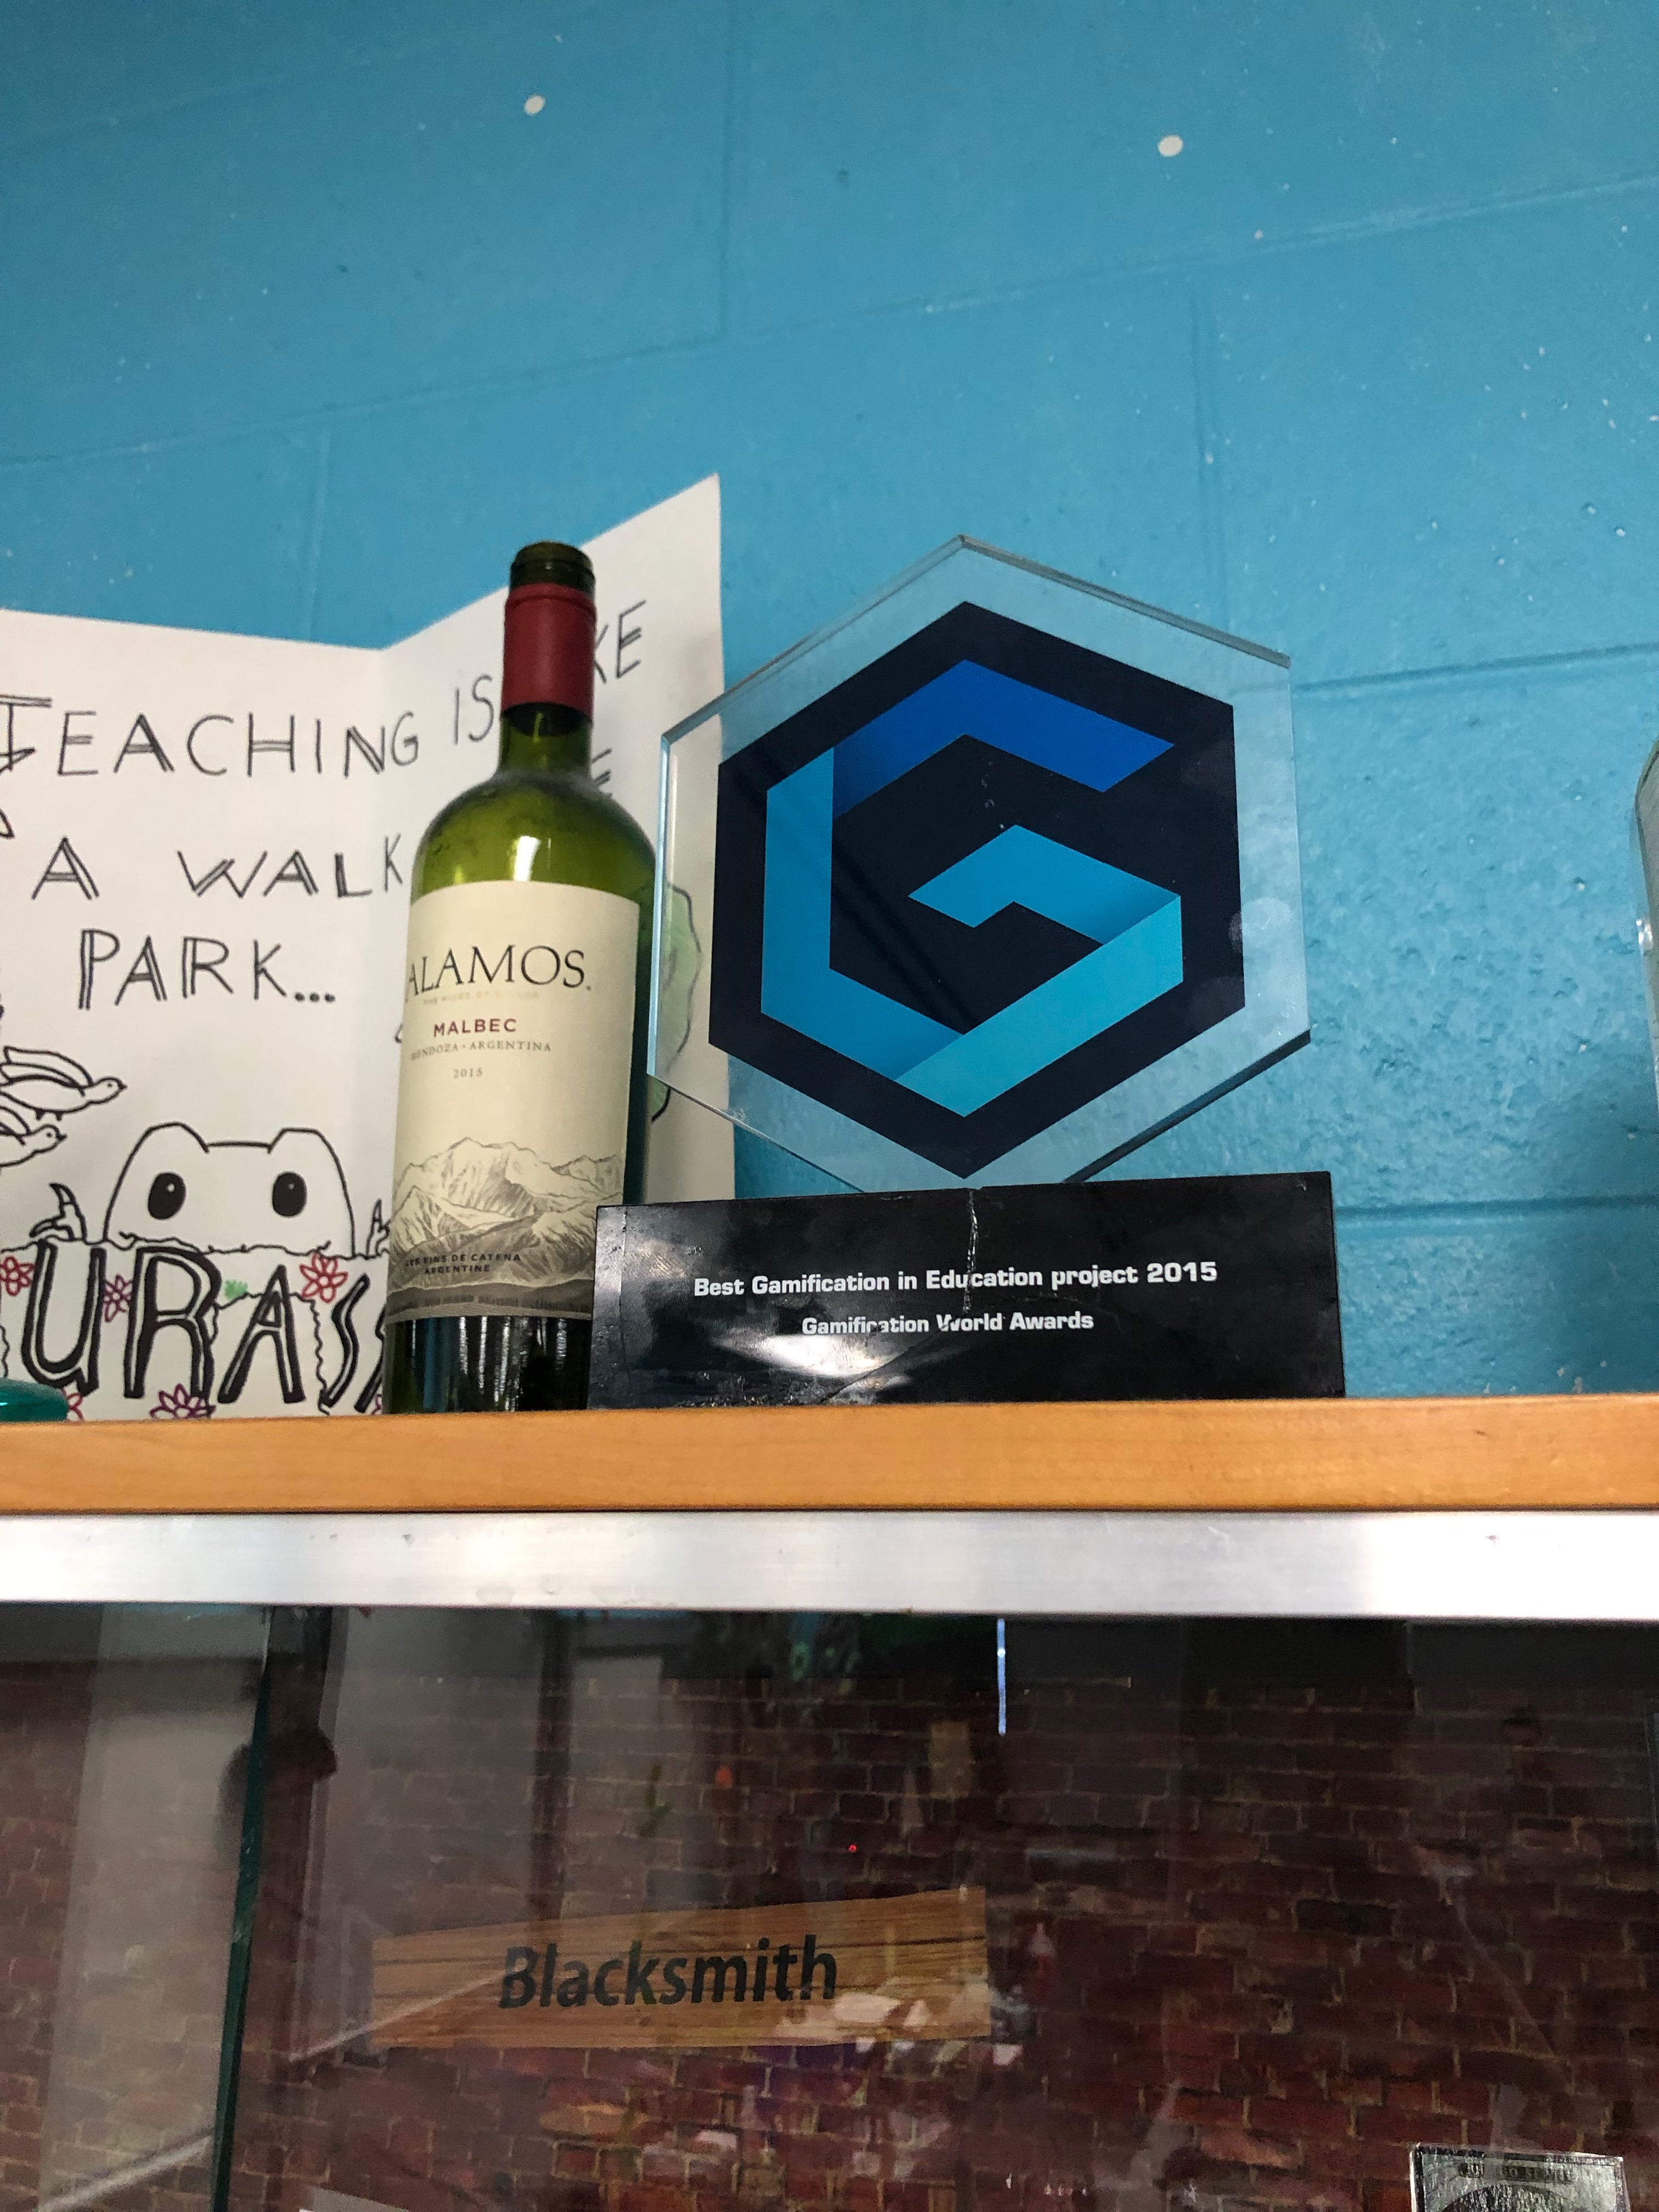
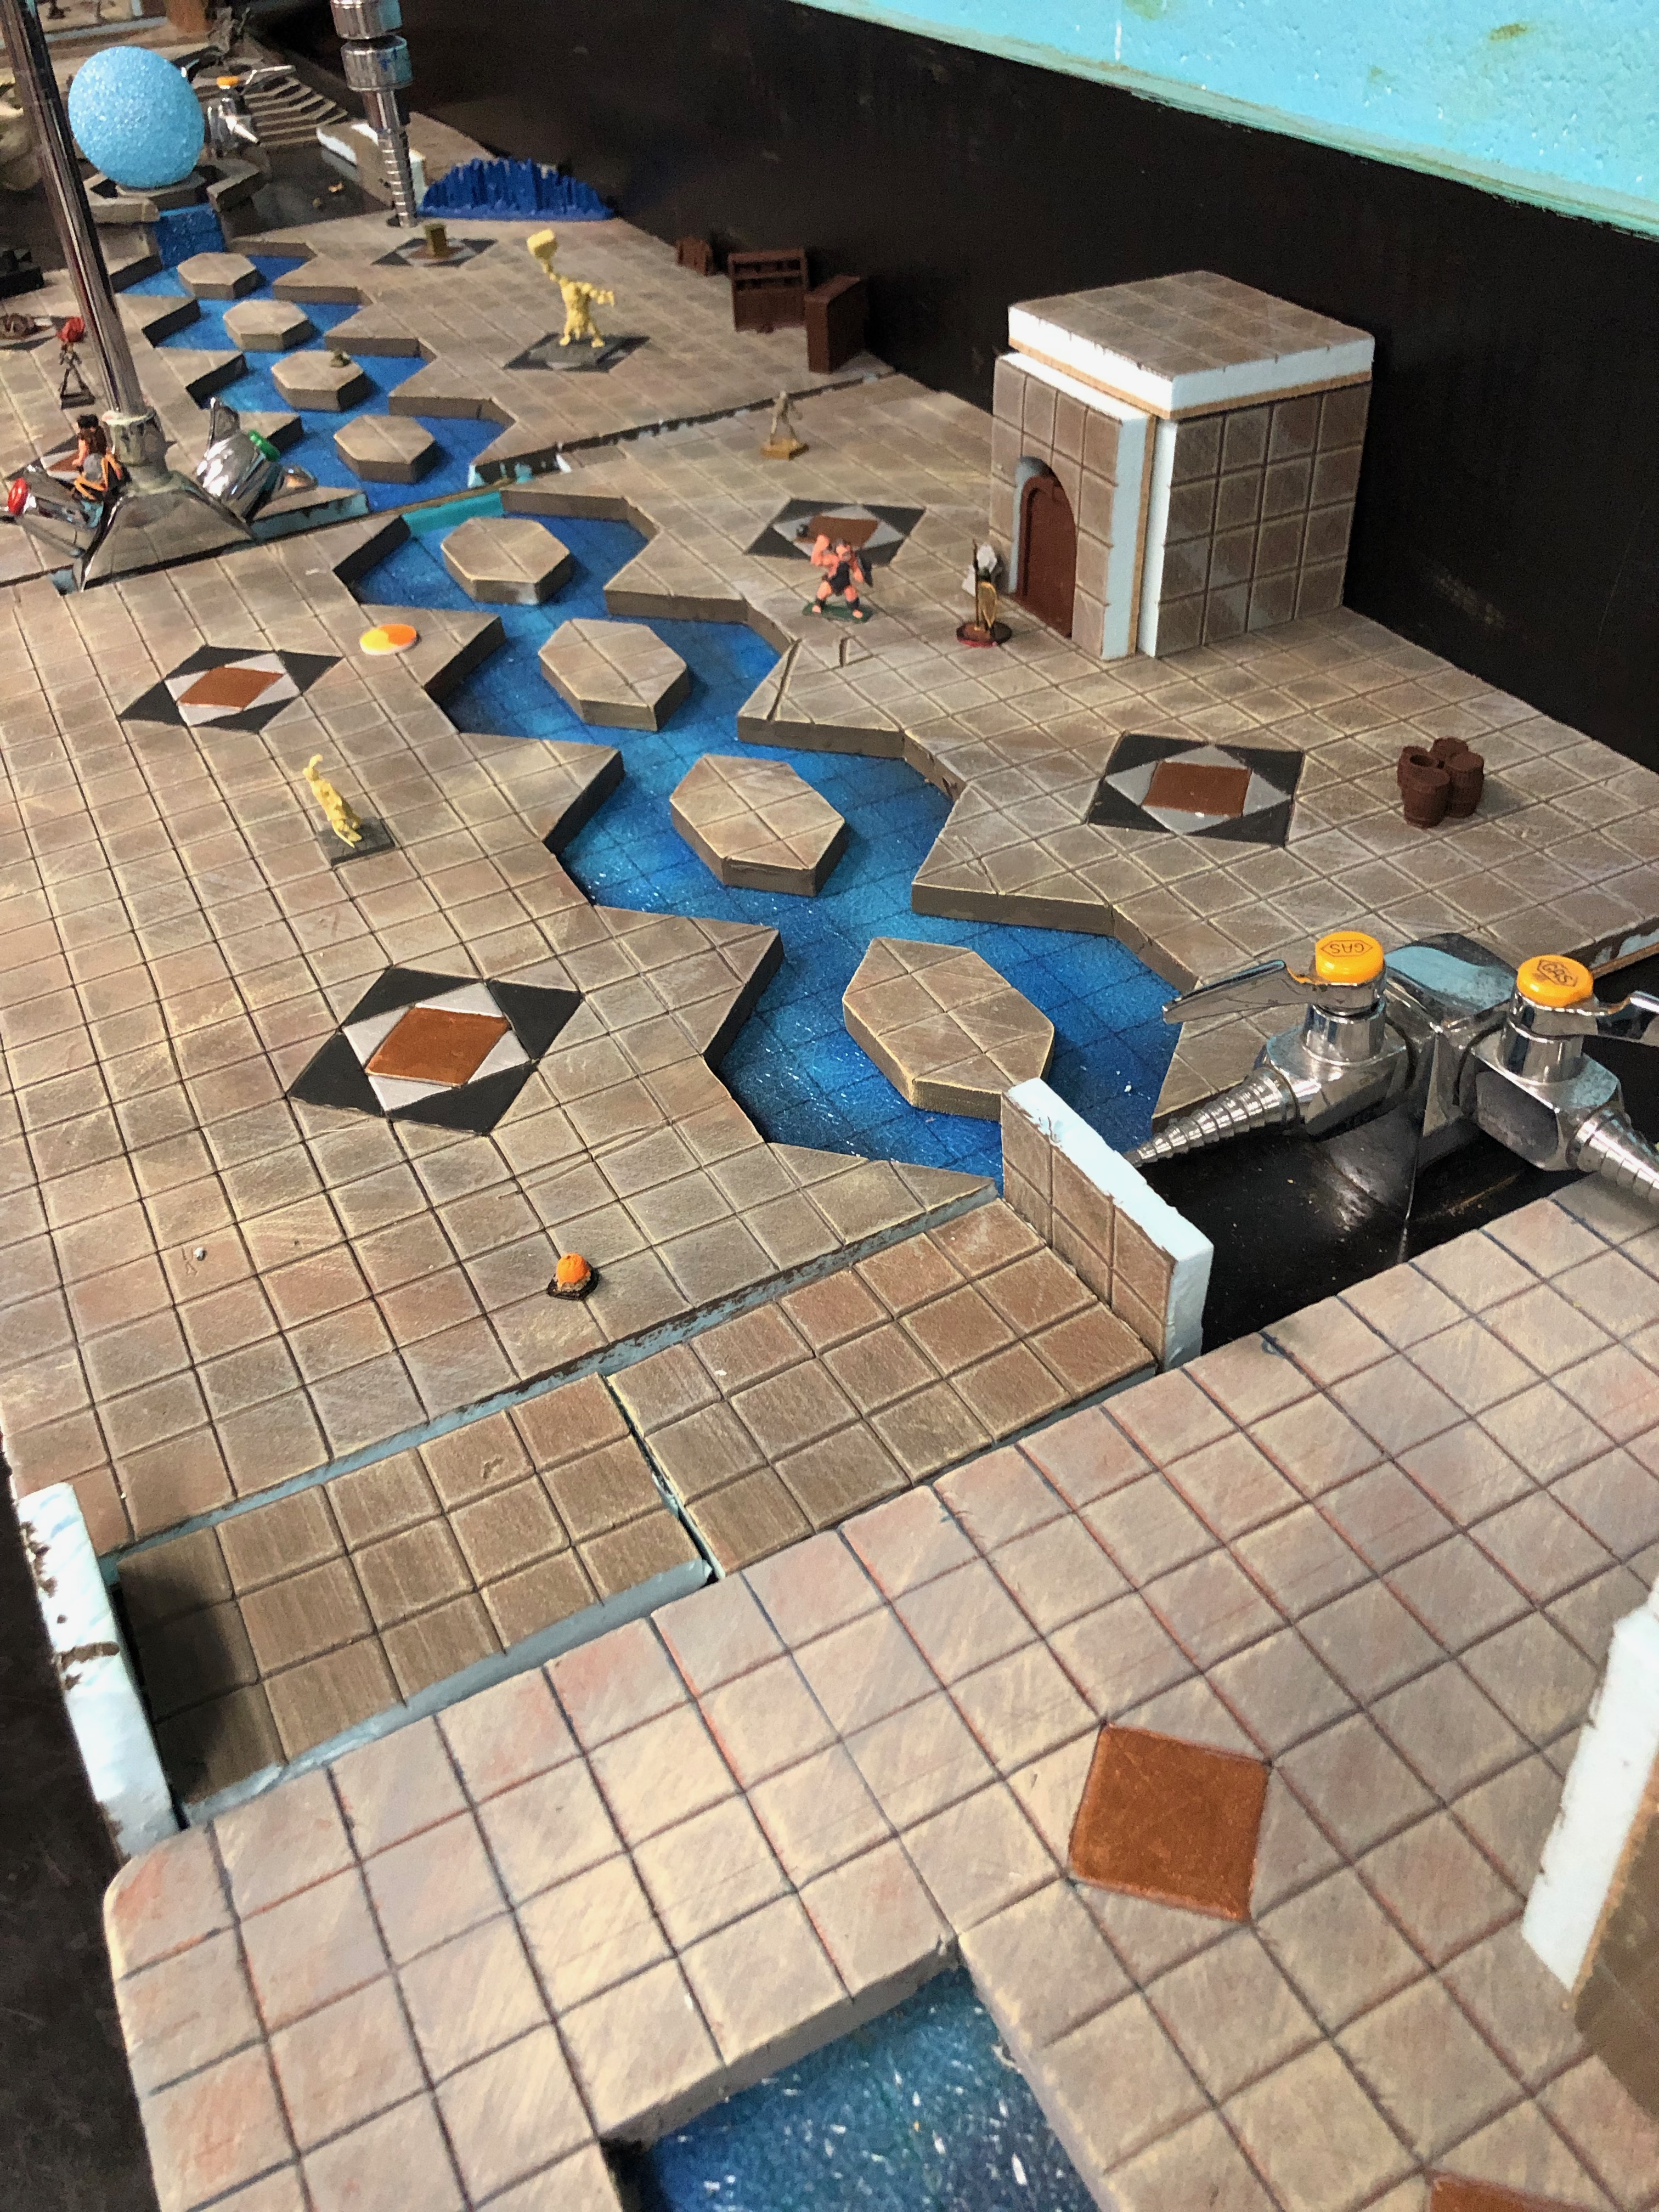
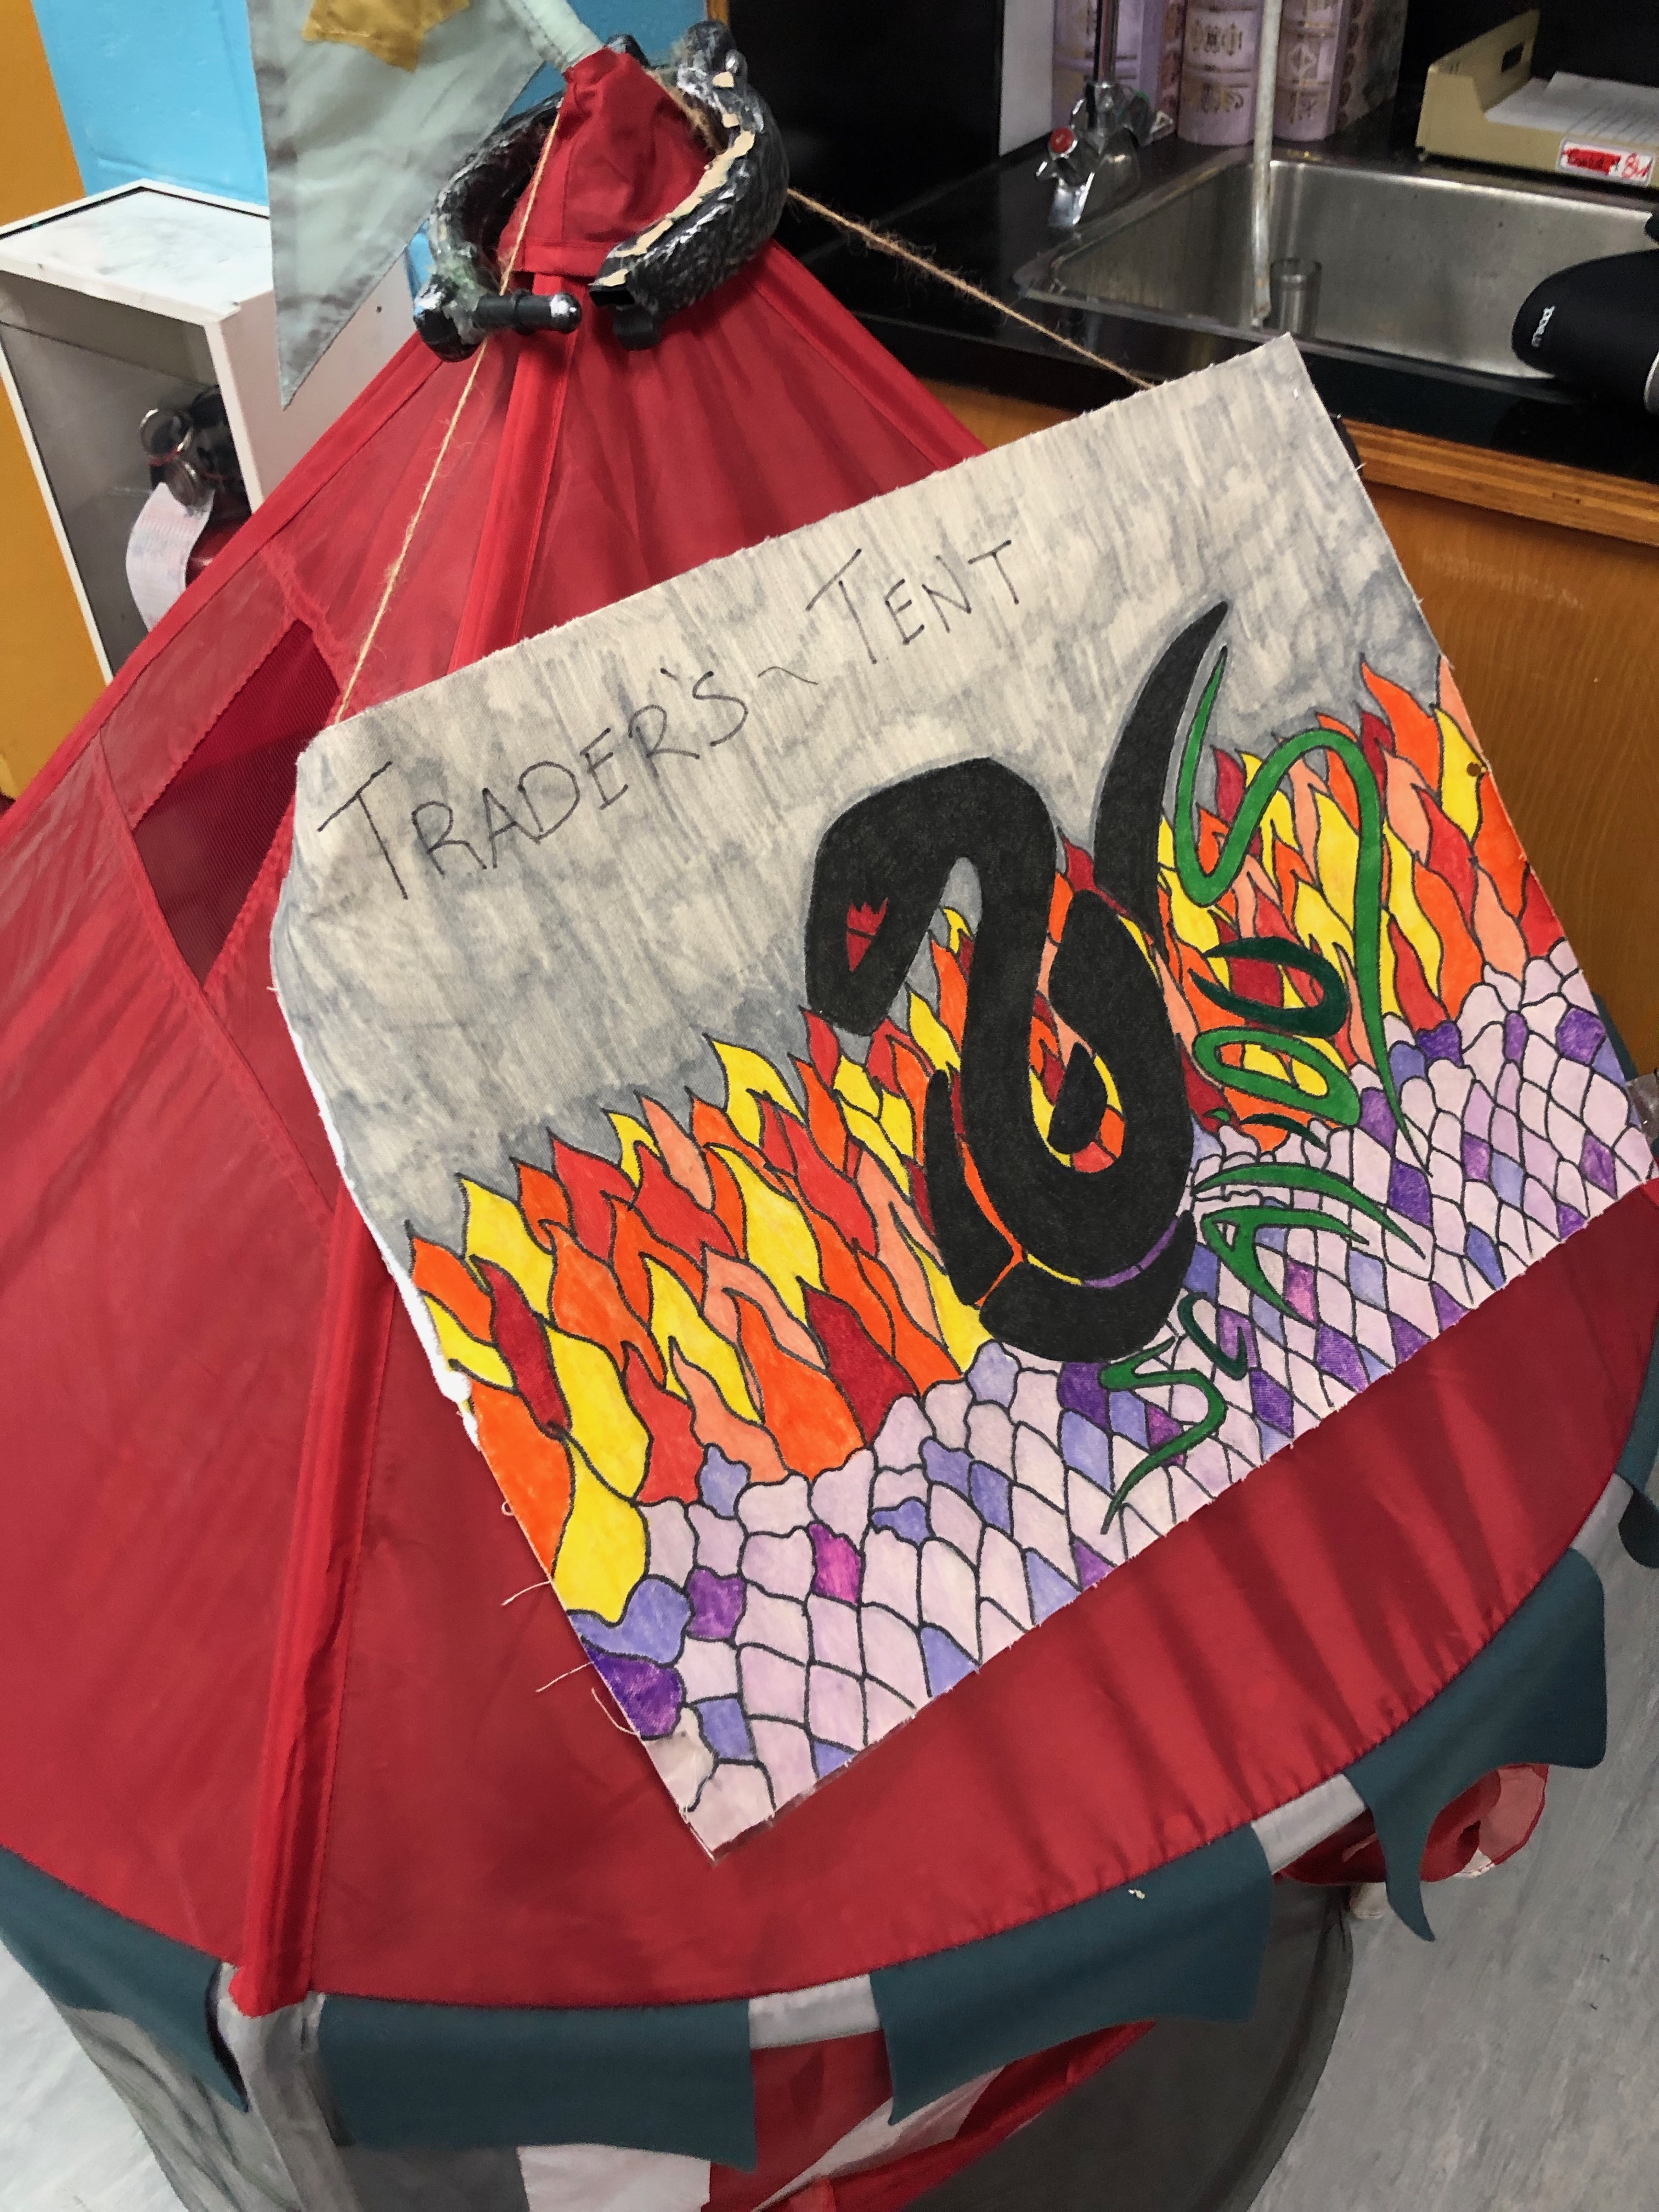
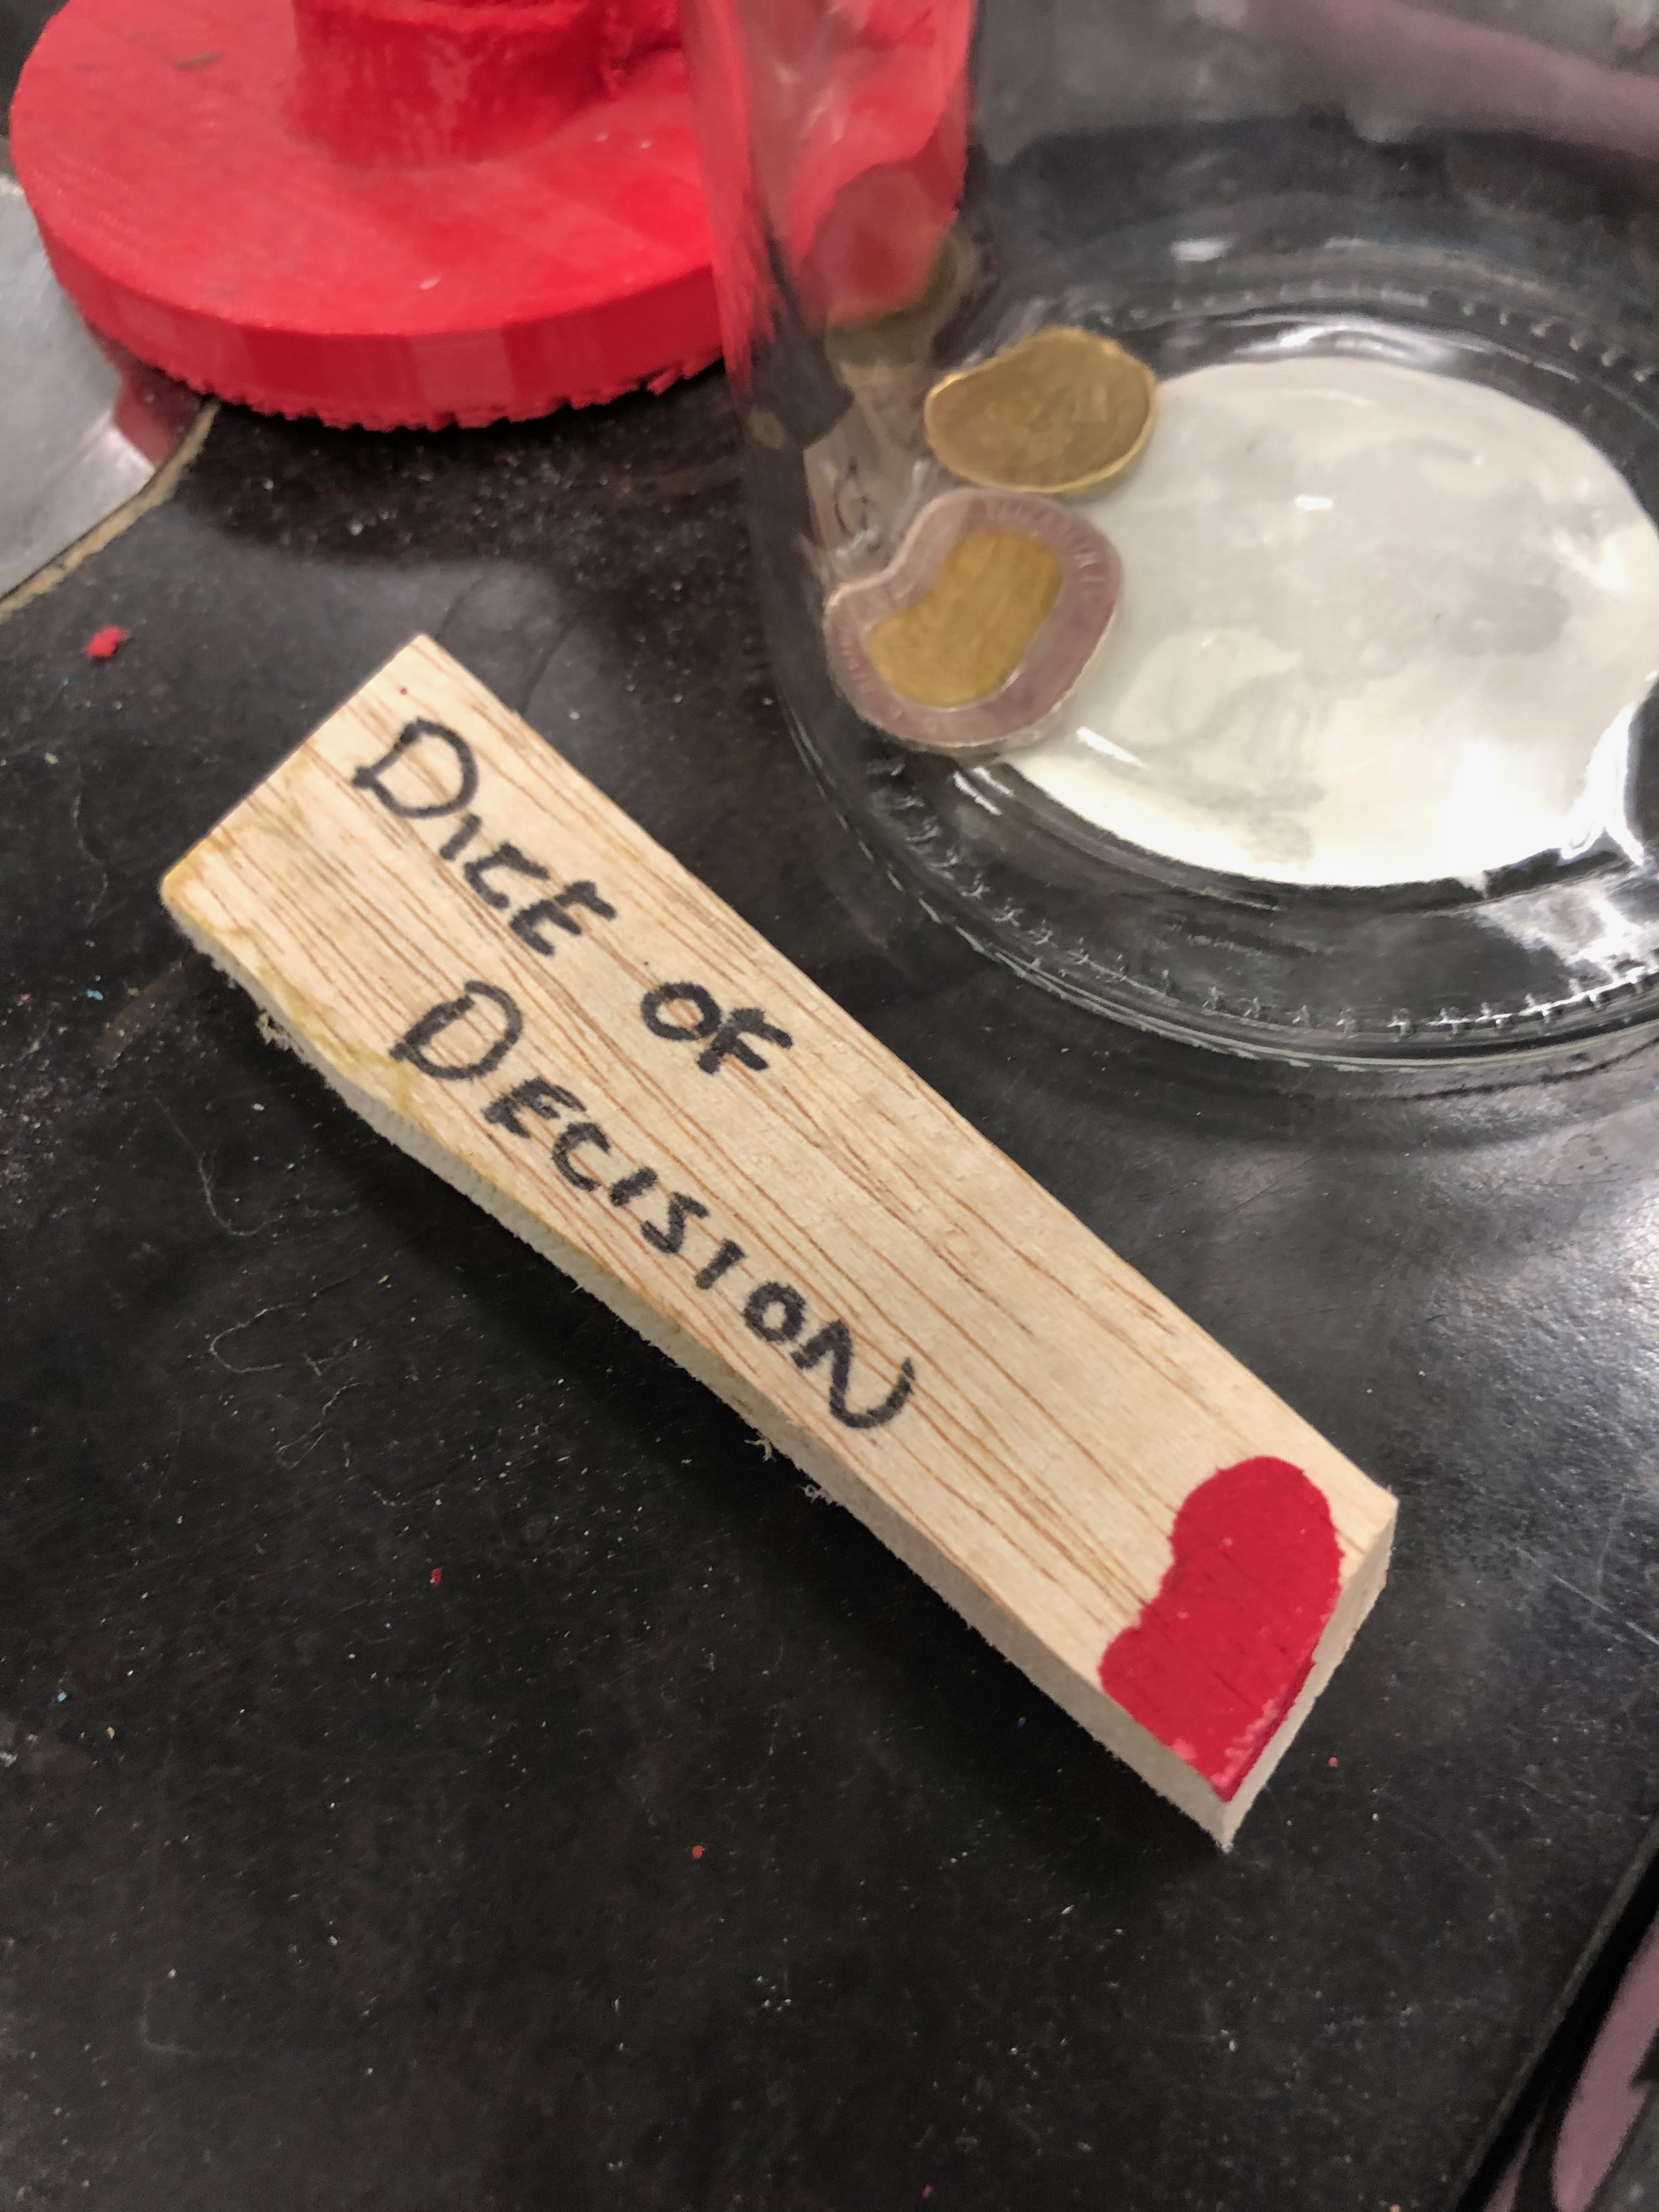
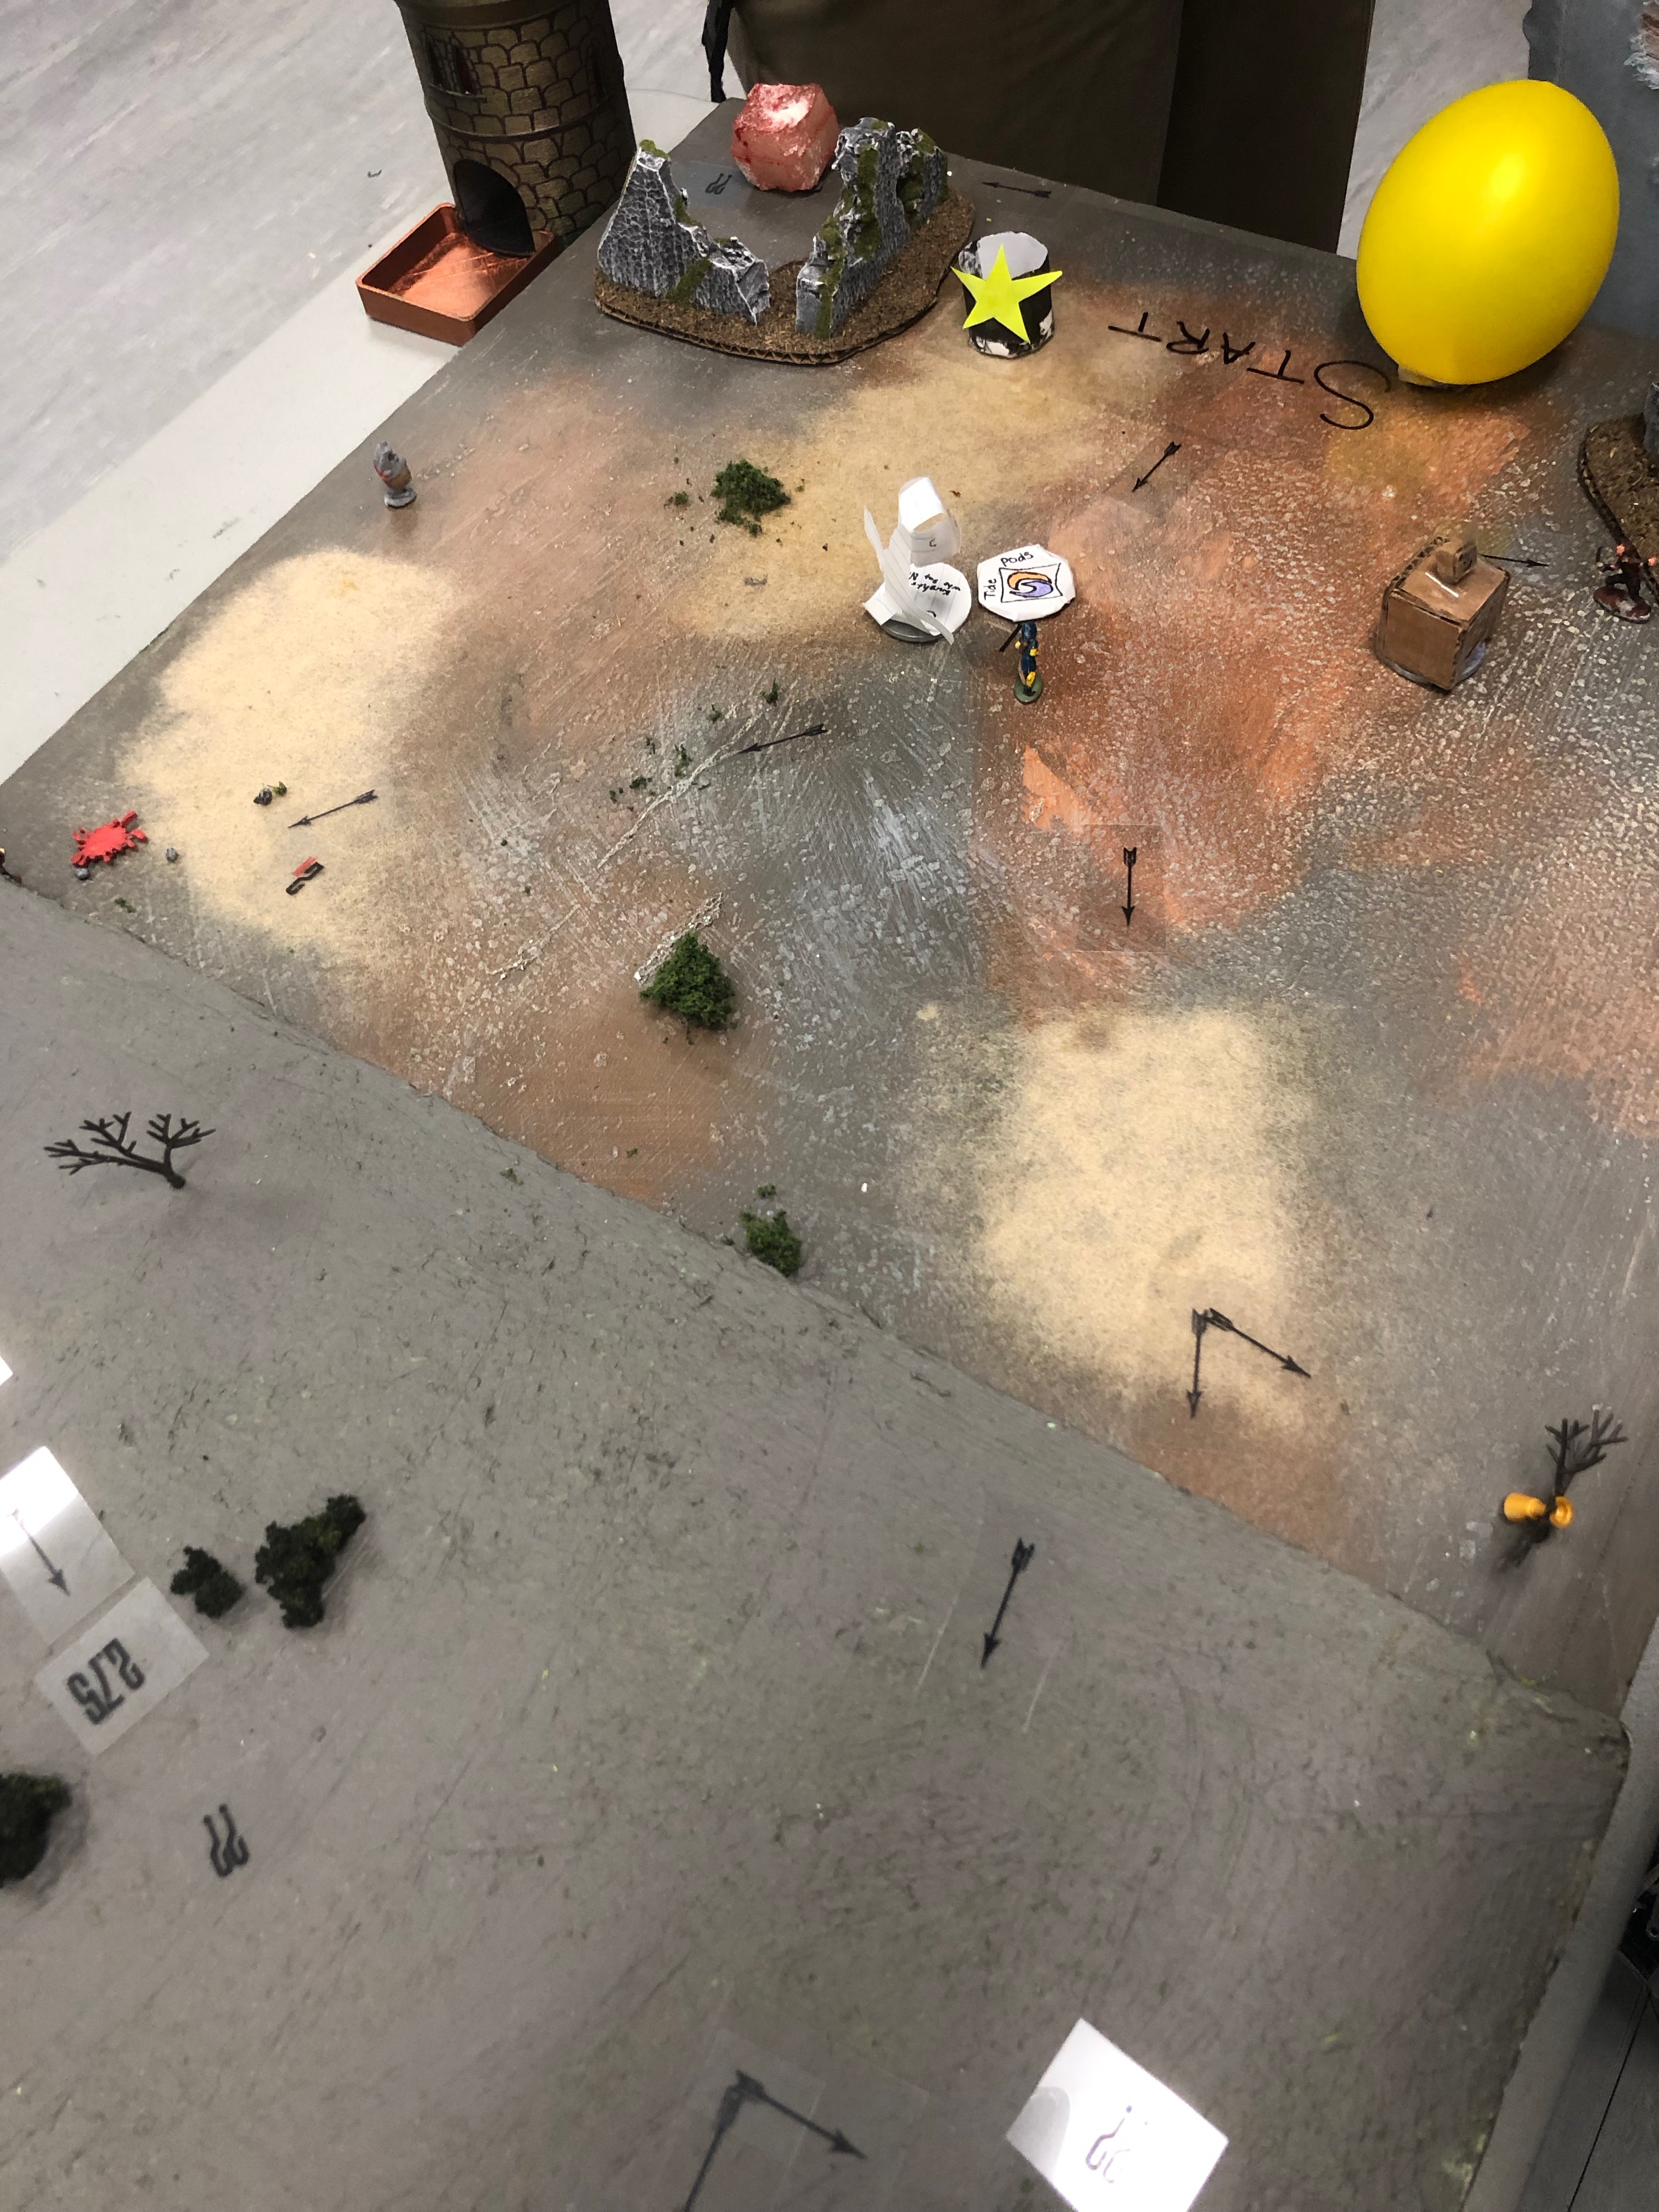
    On March 11, a small group of educators from CESD took a professional field trip to Fort Saskatchewan to visit the classroom of Scott Hebert (@MrHebertPE ) to witness an imagination-filled gamified classroom – a game that Mr. Hebert (Master Heebs in game) has invented to suit his own classroom. The majority of items in Mr. Hebert’s classroom have been created by hand, from his own imagination and at minimal cost. In terms of classroom engagement – Wow!! The story of Scientia Terra has his students working (call it playing – it sounds so much more pleasant!) and learning. Scott is very active on social media, he facilitates excellent conversations on Twitter, his YouTube channel is very active, and he’s even done a TED talk about it!!

    If you’re interested, please check out his online resources (including the books he has written) as you will see much more. We’ve posted only photos that do not include students for privacy protection. Scott has permission to show much more than we can!


    Ed Tech Tips, Tricks & Hacks #4

    Ed Tech Tips, Tricks & Hacks #4

    This edition of Ed Tech Tips, Tricks & Hacks contains nuggets of wisdom on:

    • Ed Tech Framework (This site!)
    • Carmen Sandiego (the new one!)
    • Seesaw
    • Buncee
    • Annotate.net
    • Flipgrid
    • Ed Puzzle
    • CK-12
    • “Freeze” your TV Screen
    • Math Games
    • American Museum of Natural History
    • Listenwise
    • Curiosity
    • Science Project Ideas
    Free Math, LA, Science Resource

    Free Math, LA, Science Resource

    The CK-12 Foundation is a California-based non-profit organization whose stated mission is to reduce the cost of, and increase access to, K-12 education in the United States and abroad. CK-12 provides free and customizable K-12 open educational resources aligned to state curriculum standards. The resource they have assembled online is phenomenal.

    Their service comes up anytime one googles “online textbook”, and as such, teachers are likely to find some excellent content to overhaul or extend exsiting assignments and textbooks already being used.

    Ed Tech Tips, Tricks & Hacks #3

    Ed Tech Tips, Tricks & Hacks #3

    This edition of Ed Tech Tips, Tricks & Hacks contains nuggets of wisdom on:

    • Pear Deck
    • Everfi
    • Printing Photos in Chrome
    • Keyboarding practice on a Chromebook
    • Inserting a page break into a Google Doc
    • Loading your iTunes library into Google Play
    • A Google a Day
    • Webjets,
    • Book Creator
    • Geoguessr
    Insert a Page Break – New Feature in Google Docs

    Insert a Page Break – New Feature in Google Docs

    As has been mentioned previously, one of the great things about Google is that when a new feature is rolled out, you immediately have access to the new tool(s) without having to pay any money, update any software, or troubleshoot anything. It just becomes availabe to you. 

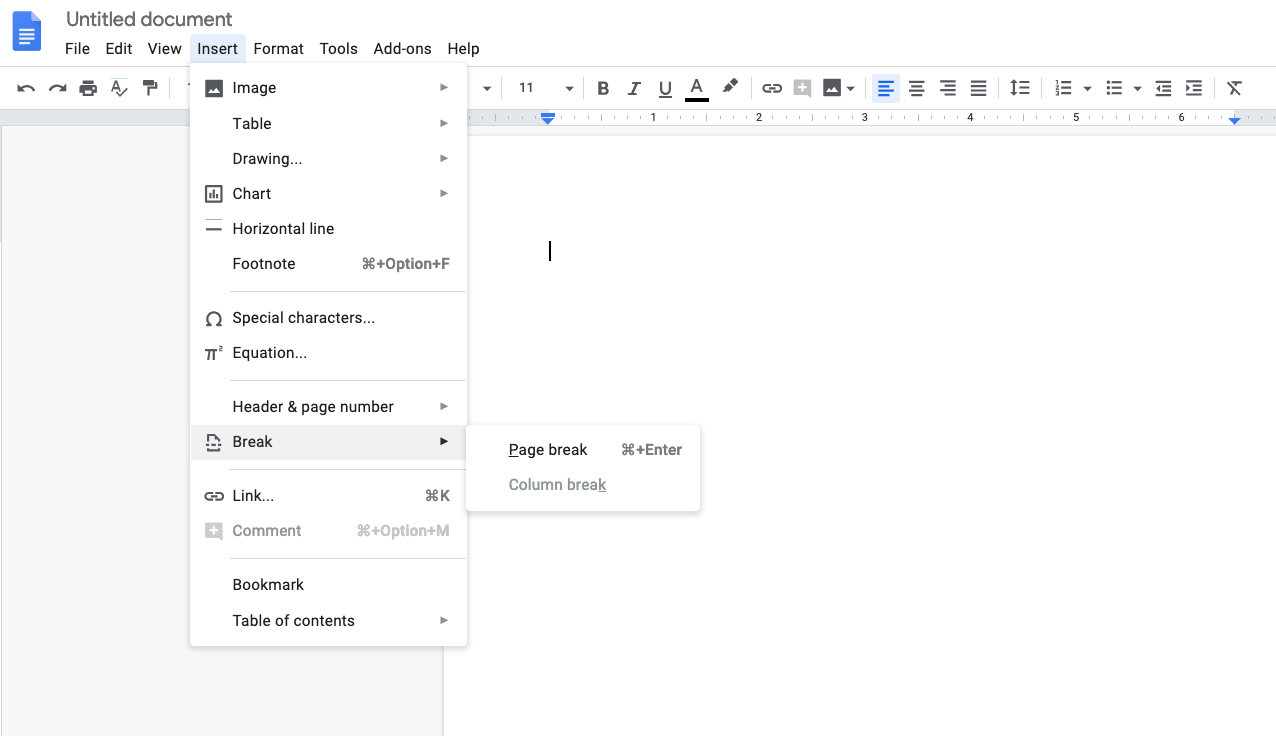
    So, recently new in Google Docs is the ability to insert a page break. The image below illustrates for you how to access this much needed feature!

    Coding Resources

    Coding Resources

    There are many ways to approach coding with young people. And the good news is that you don’t need to be a coder. You don’t actually even need to know anything about coding to expose the students in your class. You can learn right alongside your students! Or, you can take a step back and allow your students to work through a few exercises independently with encouragement given to them to synergize, collaborate and help one another out

    …in no particular order (though I tried to sort them from easiest to harder)

    Moving Files from Your Windows Laptop to your Chromebook

    Moving Files from Your Windows Laptop to your Chromebook

    You will be glad to be reminded that this is an easy task. 

    1. Launch the Chrome browser on your Windows computer
    2. Slide it off to one side so that it only takes up 1/2 your screen. 
    3. Go to drive.google.com
    4. Log in
    5. Drag files off the desktop of your Windows computer onto the Chrome Screen showing your Google Drive
    6. The files will begin to upload to Google Drive


    • If my description above isn’t clear, here’s a video – fast forward to the 5-minute mark for a demonstration of the above steps.

      Recommendation 1 – Create a file called “uploaded” on the desktop of your windows computer and once you’ve uploaded a folder/file place it in that folder called “uploaded” so that you don’t get confused if you have a ton of files.

      Recommendation 2 – Pick up a flash drive or hard drive (Western Digital makes a good drive that is about the size of a deck of cards) and put all your Windows teaching resources (Word, publisher, SMART notebook files) onto this drive. Store it in a safe place.

      My reasons for suggesting this are twofold. Firstly, we can’t know if somewhere down the road someone may write an extension for Chrome that will allow Chrome to read a Smart Notebook file.

      Secondly, that content is yours, and while your windows computer will be returned this spring, maintaining the original files is not likely something you’ll regret.  Finally, all schools will have a Windows computer in the office for teachers to use. So, should you require the ability to access one of those files, you will be able to do so.returned this spring, maintaining the original files is not likely something you’ll regret.  Finally, all schools will have a Windows computer in the office for teachers to use. So, should you require the ability to access one of those files, you will be able to do so.

    Self-Grading Quizzes in Google Forms

    Self-Grading Quizzes in Google Forms

    Make a new quiz & answer key

    1. In Google Forms, click Plus (+) .
    2. At the top right, click Settings .
    3. Click Quizzes  -> Make this a quiz.
    4. Optional: To collect email addresses, click General  -> Collect email address.
    5. Click Save

     Make an answer key, assign points & add automatic feedback

    You can make an answer key on certain question types:

    Create an Answer Key
    1. To add a question, click “Add question” .
    2. Fill out your question and answers.
    3. In the bottom left of the question, click Answer key.
    4. Choose the answer or answers that are correct.
    5. In the top right of the question, choose how many points the question is worth.
    6. Optional: To add a written or YouTube video explanation to an answer, click Add answer feedback.
    7. Optional: To edit question or answer options, click Edit question.

    Note: You can assign points and add feedback on all question types.


    Choose what people see during and after the quiz

    You can choose if people can see missed questions, correct answers, and point values.

    1. In Google Forms, open a quiz.
    2. At the top right, click Settings .
    3. Click Quizzes.
    4. Under “Respondent can see,” check the boxes next to the options you want.
    Grade Quizzes

    You can see automatic summaries for all quiz responses, including:

    • Frequently missed questions
    • Graphs marked with correct answers
    • Average, median, and range of scores
    Grade Individual Responses

    If you collect email addresses, you can assign points and leave feedback on individual responses. After you grade each response, save your changes.

    1. In Google Forms, open a quiz.
    2. At the top, click Responses.
    3. Click Individual.
    4. To move between individuals, click Previous  or Next .
    5. Find the question you want to grade.
      • In the top right, enter how many points the response earned.
      • Under the answer, click Add feedback.
    6. Enter your feedback and click Save.
    7. To save your changes, at the bottom, click Save.

    See Quiz Results

    1. In Google Forms, open a quiz.
    2. At the top, click Responses.
    3. Click Summary.

    Grade Question-by-Question

    1. In Google Forms, open a quiz.
    2. At the top, click Responses.
    3. Under “Responses,” click Question.
    4. To award points for a group of answers:
      • Full points: click Mark correct .
      • Partial points: enter the number of points you want to award.
      • No points: click Mark incorrect .
    5. To add written or YouTube video feedback for a question, click Add feedback.
    6. To move between questions, at the top, click Previous  or Next .
    7. When you’re done grading, at the bottom, click Save.

    Send Results to Google Classroom

    You can import grades all at once from Forms directly into Classroom’s Student Work page if you attach a quiz to an assignment.

    If you import grades, all grades are imported. You can’t select some grades to import. Extended instructions can be found in Google’s Teacher Centre.

    Photoshop Replacement

    Photoshop Replacement

    One of our brilliant tech EAs alerted me to the existence of Photopea today – https://www.photopea.com/ – The screen actually looks exactly like Photoshop, and while it lacks a few of the “bells and whistles” of photoshop (keyboard shortcuts, for instance), it would certainly be more than any student not enrolled in 30-level CTS courses would need!!

    I want to Print Photos from a Chromebook

    I want to Print Photos from a Chromebook

    With the old Windows computers, the utility for printing photos grew familiar throughout the years that people actually did this (printed photos at home). But, printing photos at home is no longer something that -people do, and so this feature is disappearing.

    If we can make our peace with the fact that printing photos from a Chromebook is going to be different, then 50% of the frustration evaporates.

    You can set your smartphone to upload your camera roll into Google Photos automatically (Personally, I do this with my photos; the space in education accounts is unlimited, and the privacy policy of Google as it pertains to education is solid.). If your smartphone loads photos into your Google Photos account, it means they will be in a folder in your Google Drive (called Google Photos). Running them through this handy little website makes printing them a Breeze.

    Here is a screencast I did today of this process.

    OCR Scanning for Read & Write and Kami

    OCR Scanning for Read & Write and Kami

    OCR = Optical Character Recognition – it means that the letters on the pdf represent letters to the software as opposed to “dots” (You know you don’t have an OCR scanned document when Kami reads “dot dot dot dot….” through the text to speech feature!)

    A quick way to scan a poem, short story or other printed item for use in Kami is by using your smartphone. There are a number of other apps that can handle scanning to .pdf, but many are paid. https://mashtips.com/ocr-scanner-ios-apps/

      Pin It on Pinterest