Ed Tech Tips, Tricks & Hacks #2
The second Ed Tips, Tricks and Hacks newsletter that Michelle emailed to all staff on the first day back in 2019.
The second Ed Tips, Tricks and Hacks newsletter that Michelle emailed to all staff on the first day back in 2019.
One of our brilliant tech EAs alerted me to the existence of Photopea today – https://www.photopea.com/ – The screen actually looks exactly like Photoshop, and while it lacks a few of the “bells and whistles” of photoshop (keyboard shortcuts, for instance), it would certainly be more than any student not enrolled in 30-level CTS courses would need!!
With the old Windows computers, the utility for printing photos grew familiar throughout the years that people actually did this (printed photos at home). But, printing photos at home is no longer something that -people do, and so this feature is disappearing.
If we can make our peace with the fact that printing photos from a Chromebook is going to be different, then 50% of the frustration evaporates.
You can set your smartphone to upload your camera roll into Google Photos automatically (Personally, I do this with my photos; the space in education accounts is unlimited, and the privacy policy of Google as it pertains to education is solid.). If your smartphone loads photos into your Google Photos account, it means they will be in a folder in your Google Drive (called Google Photos). Running them through this handy little website makes printing them a Breeze.
Here is a screencast I did today of this process.

OCR = Optical Character Recognition – it means that the letters on the pdf represent letters to the software as opposed to “dots” (You know you don’t have an OCR scanned document when Kami reads “dot dot dot dot….” through the text to speech feature!)
A quick way to scan a poem, short story or other printed item for use in Kami is by using your smartphone. There are a number of other apps that can handle scanning to .pdf, but many are paid. https://mashtips.com/ocr-scanner-ios-apps/

Did you know Google has a significant training course for teachers? Did you know that by completing the training you could become a Google Certified Educator?
Have a look at https://teachercenter.withgoogle.com/
Even if you don’t want to become certified, the lessons there are well designed and will expand your capacity to use GSuite in your classroom. You’ll learn things you had no idea Google would allow you to do (I certainly did!) and you’ll be well-informed as to Google’s policies surrounding education, kids and privacy.
There are resources ready for your use here!

Attached is a .pdf file of keyboard shortcuts for your chromebook!!
I have used Kami to annotate (highlight in this instance) the most useful shortcuts for classroom use. For more details on Kami, please visit the Mini Course Listing here on the Ed Tech Framework!

I searched high and low last year for a jeopardy game to use in my French Classes. I ended up paying for one, and it was pretty “meh”, but it was the best thing I could find (playfactile.com was the website).
This morning, while searching for a different classroom utility, I found FLIPQUIZ. An online Jeopardy simulation. While I admit, I’ve not used it in a classroom, I’d have been all about giving it a try in my classroom last year.
If you do use this one, I’d love feedback on Google Classroom as to how it went, and any tips you might have for using it!
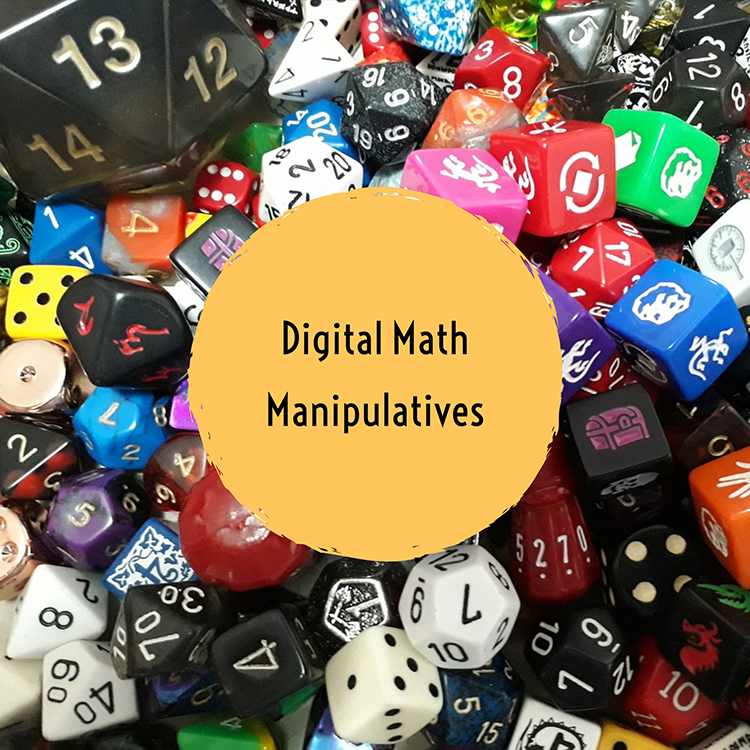
Class Playground offers a number of online, free, digital math manipulatives that may prove valuable in our math classrooms. Algebra tiles, fraction circles, area, perimeter… it’s all there!!
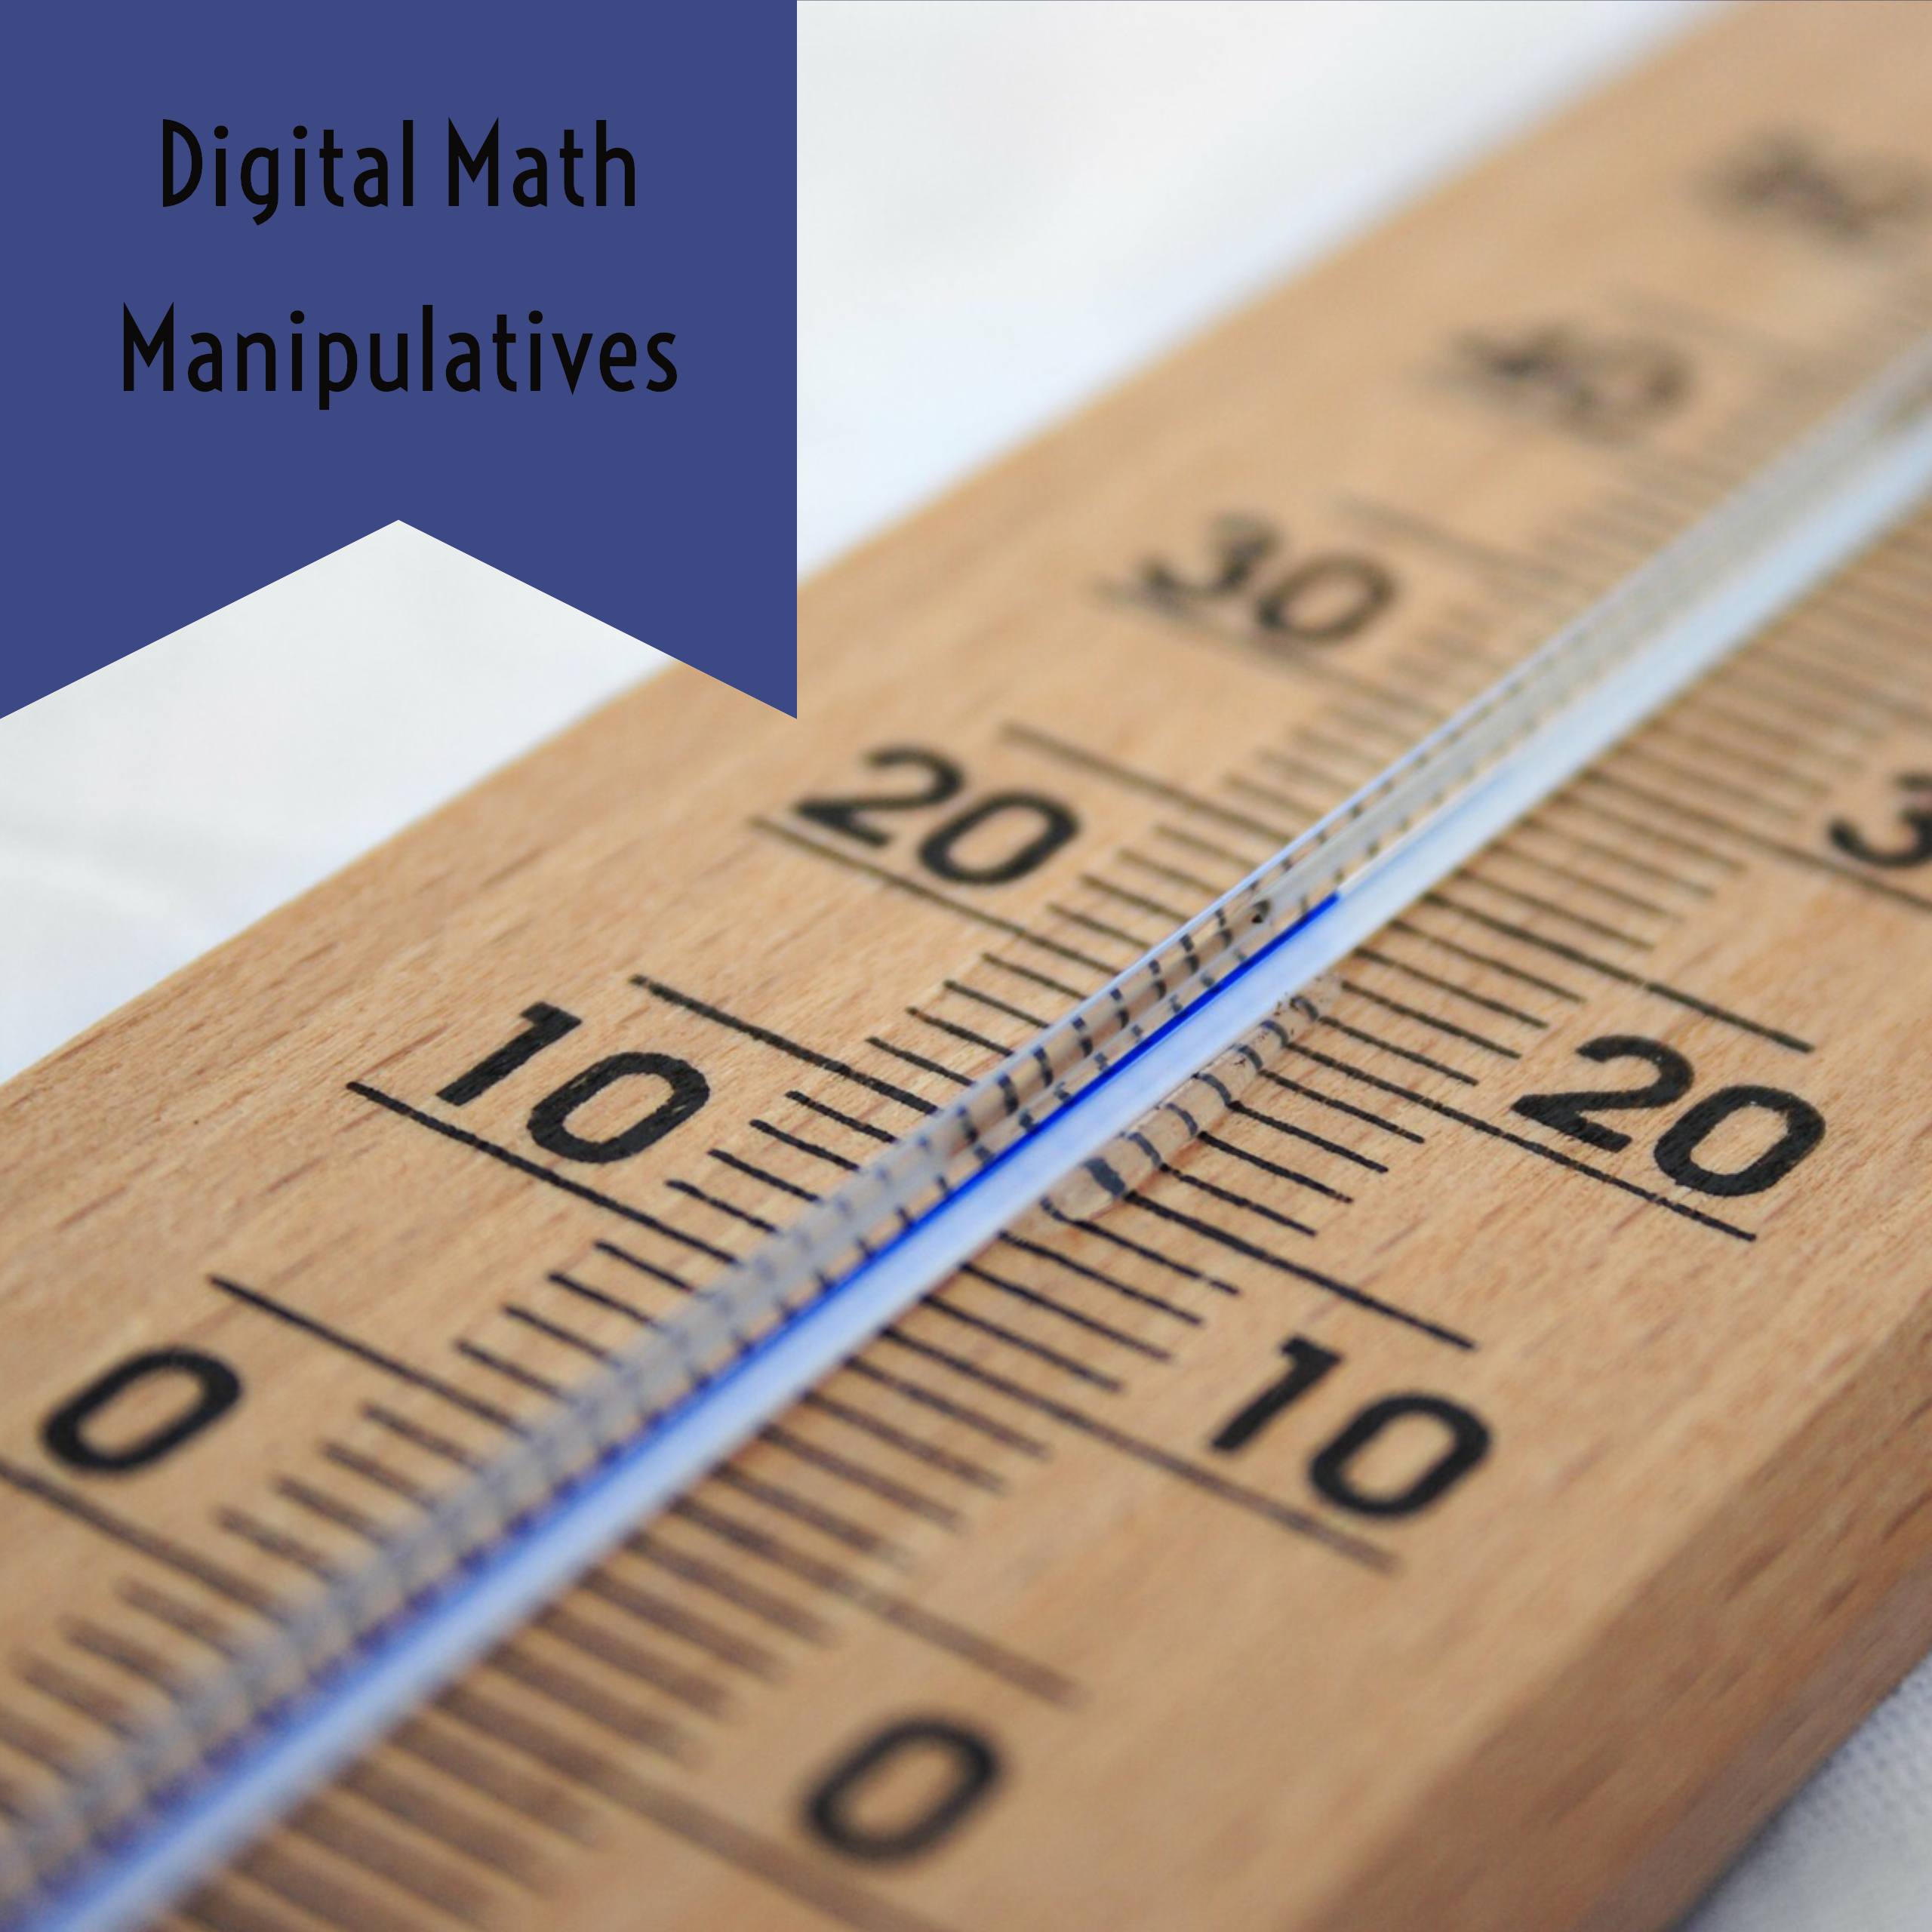
I have just discovered an online source for digital math manipulatives. Need some Base-ten blocks on your Chromebook? A classroom timer? A spinner? Some dice? How about a thermometer?
There are also a number of math games there that look to be reasonably good!
This tutorial will cover a FREE and EASY method to add audio files into a Google Doc. This tip allows teachers to read the questions for their test in advance, and embed the audio files into the document.
WHY??
Students who struggle to read will be able to complete their work without having another person present to read aloud to them, will be able to work at their own pace, and can return to questions as needed.
HOW??
1) Install the Google Drive app to your smartphone. Log in to your CESD account.
2) Create a folder in your Drive called Audio Files
3) Create a subfolder in this new folder and give it the name of the test you will be reading.
4) Move the test into the folder (failing to do this step will break the audio links when you move the test folder into the Team Drive for Myles to create testing accounts for!)
4) Using the audio recording application on your phone, read each set of instructions or questions aloud SEPARATELY. You will have a bunch of audio files once you’ve read each instruction, source and question aloud separately. (On an iOS device, the audio recording app is called “Voice Memos” and it comes factory-installed.)
5) Upload your audio files to the folder you created in step 3.
6) Find an icon online to represent audio to your students.
7) Insert the icon after each set of instructions, source excerpt or question. (Once you have it at a size you like, COPY-PASTE it!)
8) Open Google Drive in another tab and browse to the folder you uploaded your audio files to.
9) Right click on the desired audio file.
10) Choose “Get Sharable Link” – Google will copy the link automatically for you.
11) Right click on the icon and choose “LINK”
12) Paste the link
Repeat, repeat, repeat – but remember – once this is done, you never have to do it again!!!
BUT MY FORMATTING!!
You can make adjustments to the icon by choosing INSERT->DRAWING and shrinking the icon you selected in step 6 above in the drawing screen to better fit your allotted space.
…and score some formative assessment feedback for yourself in the process.
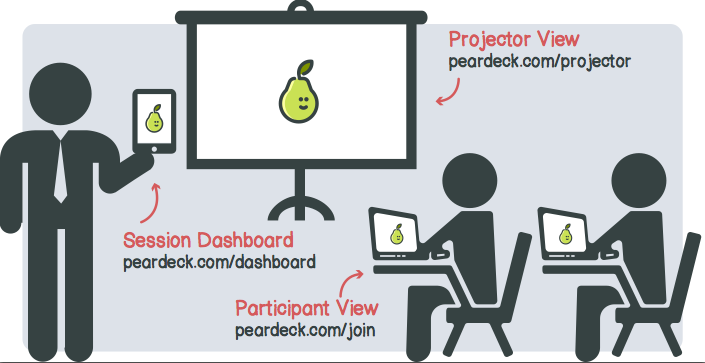
Take a peek at Peardeck to accomplish these things. Peardeck contains a number of slide templates to ask questions during the process of learning and in so doing offers you, the teacher, a wealth of information as to how the learning is going.
Ditch that Texbook gives some good tips for using this fantastic add-on.
If you’ve used it, please don’t hesitate to offer some feedback to me on the ease-of-use or the challenges with it. When offering recommendations, I do like to be able to articulate these things to the person I’m speaking to.
If you’re looking for some extra knowledge for managing your Google Calendar (or Google Calendars as the case may be), here’s a little tutorial Michelle did for the Division Office staff.
There are a few things you can do to assist with organizing your Teacher Resources in Google Drive. You don’t need to do all of them, but to construct your individual workflow, considering the following may be helpful.
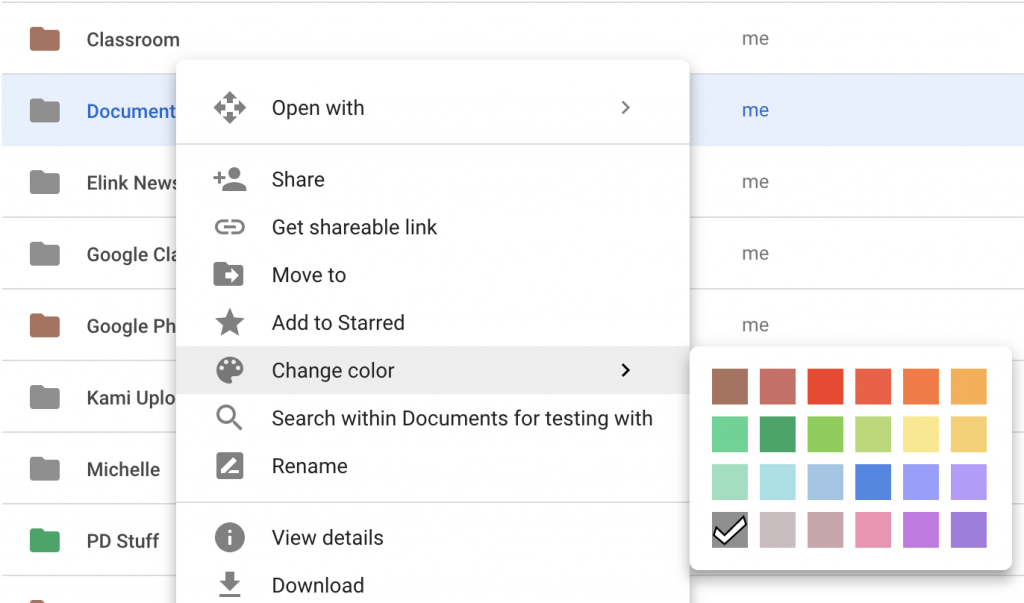
3. You can also mark folders or documents with a star (right above the “change color” option) and henceforth when you use the “search” feature of Drive, the starred items will be boosted to the top of the search results. Additionally, on the left-located menu, beneath “My Drive” and “Team Drive” is a label “Starred” – if you click that, it will shortlist all documents you’ve applied a star to!